
A good Parallel Clamp Guide should explain more than clamp size. The real value of these tools comes from their deep jaws, stable bars, large pads, and ability to apply pressure while keeping work aligned. For many U.S. furniture makers and serious DIY woodworkers, parallel clamps become some of the most used clamps in the shop.
The key lesson is simple: **more force does not automatically make a better glue joint**. Accurate parts, good glue coverage, balanced pressure, and smart clamp placement matter more. This Parallel Clamp Guide explains how to choose and use these clamps without crushing wood, bowing panels, or wasting money on sizes you rarely need.
Parallel clamps are especially useful when building tables, cabinets, cutting boards, doors, face frames, workbenches, and wide panels. They cost more than many basic bar clamps, but their large jaws and stable design can make difficult assemblies easier to control.
What Is a Parallel Clamp?
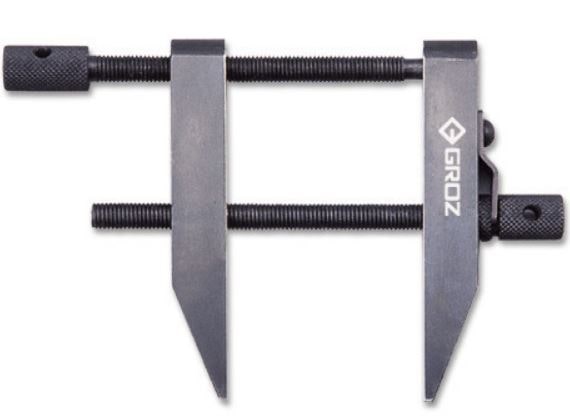
A parallel clamp is a heavy-duty woodworking clamp with two large jaws mounted on a rigid bar. The jaws are designed to stay close to parallel as pressure rises. This design helps spread force across a larger area than many narrow clamp styles.
Most models have a fixed jaw at one end and a sliding jaw that locks along the bar. A screw handle then applies final pressure. The wide jaw faces can also help support an assembly above the workbench during a glue-up.
The main idea behind this Parallel Clamp Guide is control. A parallel clamp does not simply squeeze two parts together. It also helps keep cabinet sides, panels, doors, and frames aligned while the adhesive cures.

- ✦ Large jaw faces
Wide pads spread force across more wood and reduce the need for separate protective blocks in many jobs.
- ✦ Deep reach
The tall jaw design can hold wide boards and thick assemblies more securely than many light-duty clamps.
- ✦ Rigid bar
A strong steel bar helps resist flex as pressure increases.
- ✦ Parallel jaw action
The jaws remain more evenly aligned under load, which can reduce twisting during a glue-up.
How Parallel Clamps Differ From Regular Bar Clamps
Traditional bar clamps often use smaller jaw pads and a lighter frame. They work well for general shop tasks, but they may not support large furniture assemblies as well. Parallel clamps are heavier and usually cost more, yet they give better support for wide or square glue-ups.
- ✦ Parallel clamp
Best for panels, cabinets, furniture parts, doors, and assemblies where alignment matters.
- ✦ Standard bar clamp
Useful for lighter work, temporary holding, repairs, and jobs where deep jaws are not needed.
When Should You Use Parallel Clamps?
Parallel clamps shine when several parts must stay flat, straight, or square while glue dries. A basic Parallel Clamp Guide would mention panel glue-ups, but these clamps handle much more. Their large jaws can also stabilize casework, shelves, frames, and doors.
They are most valuable when small alignment errors can ruin the project. For example, a cabinet box that dries out of square may cause trouble when you install doors, drawers, shelves, or a back panel. Strong clamps with broad contact points make those assemblies easier to manage.
You do not need a parallel clamp for every task. Small repairs, narrow trim, delicate craft work, and light holding jobs may be easier with F-style clamps, spring clamps, or quick clamps.

- ✦ Tabletop glue-ups
Parallel clamps can hold several edge-jointed boards together while helping keep the panel flat.
- ✦ Cabinet assembly
Large jaws provide useful support when bringing cabinet sides, tops, bottoms, and shelves together.
- ✦ Doors and frames
Even pressure can help keep rails and stiles aligned while joints cure.
- ✦ Cutting boards
The stable design works well for edge-grain and many face-grain cutting board glue-ups.
- ✦ Furniture construction
Tables, benches, bookcases, and case goods often benefit from the deeper jaws and rigid bars.
When Another Clamp May Be Better
Parallel clamps are heavy. That weight can make small or delicate work harder. For narrow pieces or quick positioning, a lighter clamp may save time and reduce the risk of moving the parts.
- ✦ Small craft projects
Use spring clamps or small F-style clamps for light holding force.
- ✦ Fast setup work
One-handed quick clamps are often easier when you need temporary positioning.
- ✦ Odd shapes
Band clamps, strap clamps, or specialty clamps may fit curved and multi-sided assemblies better.
Parallel Clamp Sizes and How to Choose Them
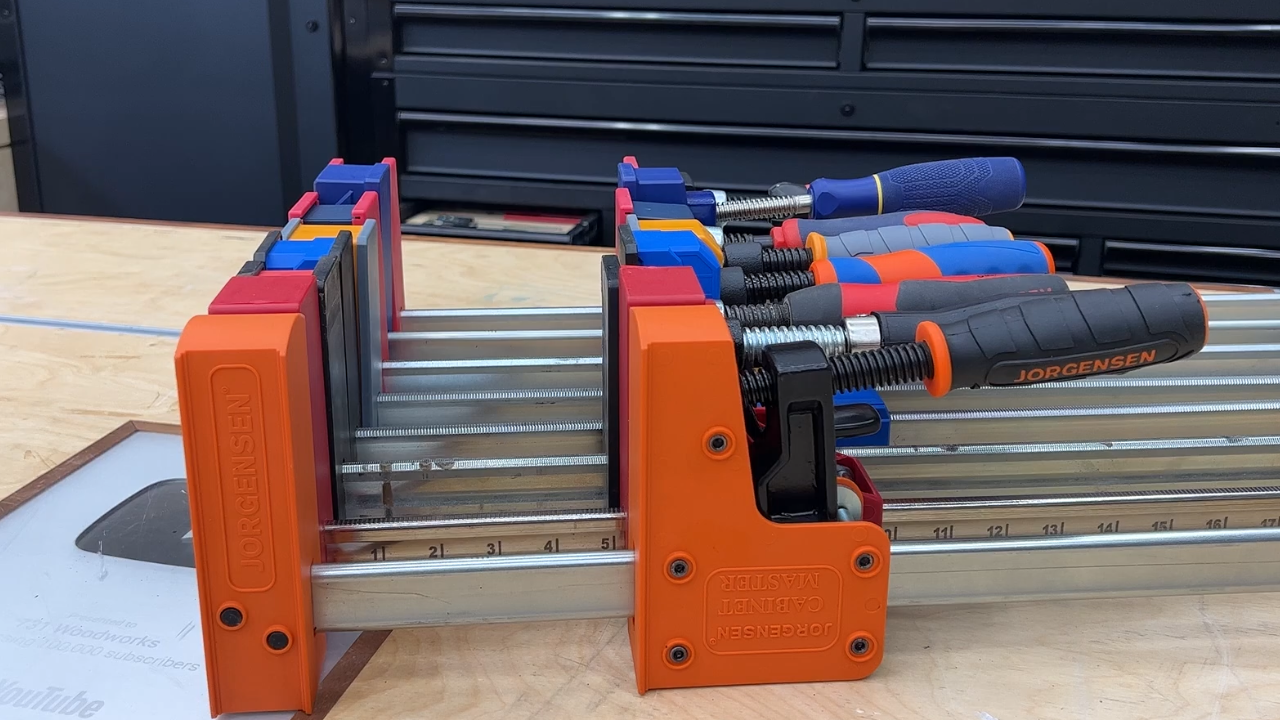
Parallel clamps come in many lengths. Common shop sizes range from short clamps for small furniture parts to long clamps for dining tables and cabinet work. The best choice depends on the width of the assemblies you build most often.
Do not buy every size at once. A better plan is to match clamp length to your regular work. If most of your projects stay under 30 inches wide, several medium clamps may help more than one very long clamp.
This Parallel Clamp Guide also recommends leaving some extra capacity. A clamp that barely reaches across a project gives you little room for pads, cauls, or small setup changes.
- ✦ 12 to 18 inches
Useful for small boxes, drawers, short frames, and compact furniture parts.
- ✦ 24 inches
A useful general size for shelves, small cabinets, cutting boards, and furniture components.
- ✦ 30 to 36 inches
A versatile range for cabinet work, medium panels, doors, and many tabletop projects.
- ✦ 40 to 50 inches
Helpful for wide cabinets, workbench parts, tables, and larger furniture assemblies.
- ✦ Longer than 50 inches
Best for large tables, wide panels, built-ins, and specialty projects where extra reach is essential.
Buy for Your Normal Work
A useful clamp collection should fit your common projects first. A woodworker who builds cabinets may value several 24-inch and 36-inch clamps. Someone who builds dining tables may need more 48-inch or longer clamps.
- ✦ Measure project width
Look at the widest dimension that you normally clamp during assembly.
- ✦ Add working room
Allow extra space for pads, cauls, and easier jaw placement.
- ✦ Buy pairs
Matching clamp lengths are useful because many assemblies need pressure from both sides.
How Many Parallel Clamps Do You Need?
There is no single correct number. The answer depends on project size, board thickness, joint quality, and the type of work you build. Still, most woodworkers get more value from several medium clamps than from one or two expensive long clamps.
For small furniture work, four clamps can cover many simple glue-ups. Six to eight clamps give far more flexibility for panels, cabinets, and larger assemblies. A busy furniture shop may keep many more because several projects can be in clamps at the same time.
A practical Parallel Clamp Guide should also point out that clamp spacing matters more than owning a huge collection. The goal is even pressure along the full joint, not simply using every clamp available.

- ✦ Beginner setup
Four parallel clamps can handle many small panels, cutting boards, and basic furniture projects.
- ✦ Growing home shop
Six to eight clamps offer better coverage for cabinets, wider panels, and more complex glue-ups.
- ✦ Furniture-focused shop
Eight or more clamps in mixed lengths provide greater flexibility for large casework and table projects.
Estimate Clamp Spacing
Start by placing clamps at both ends of the glue-up. Add more clamps between them as needed to create even pressure. Thick, stiff parts may need different spacing than thin boards, so watch the joint instead of following one fixed number.
- ✦ Check for open seams
A visible gap often means you need better joint preparation, different clamp placement, or more balanced pressure.
- ✦ Watch for bowing
Too much pressure in one area can bend a panel or pull an assembly out of line.
How to Use Parallel Clamps Correctly
Good results start before you add glue. Dry-fit the project first. Check that the joints close with light hand pressure and confirm that all parts sit in the correct order.
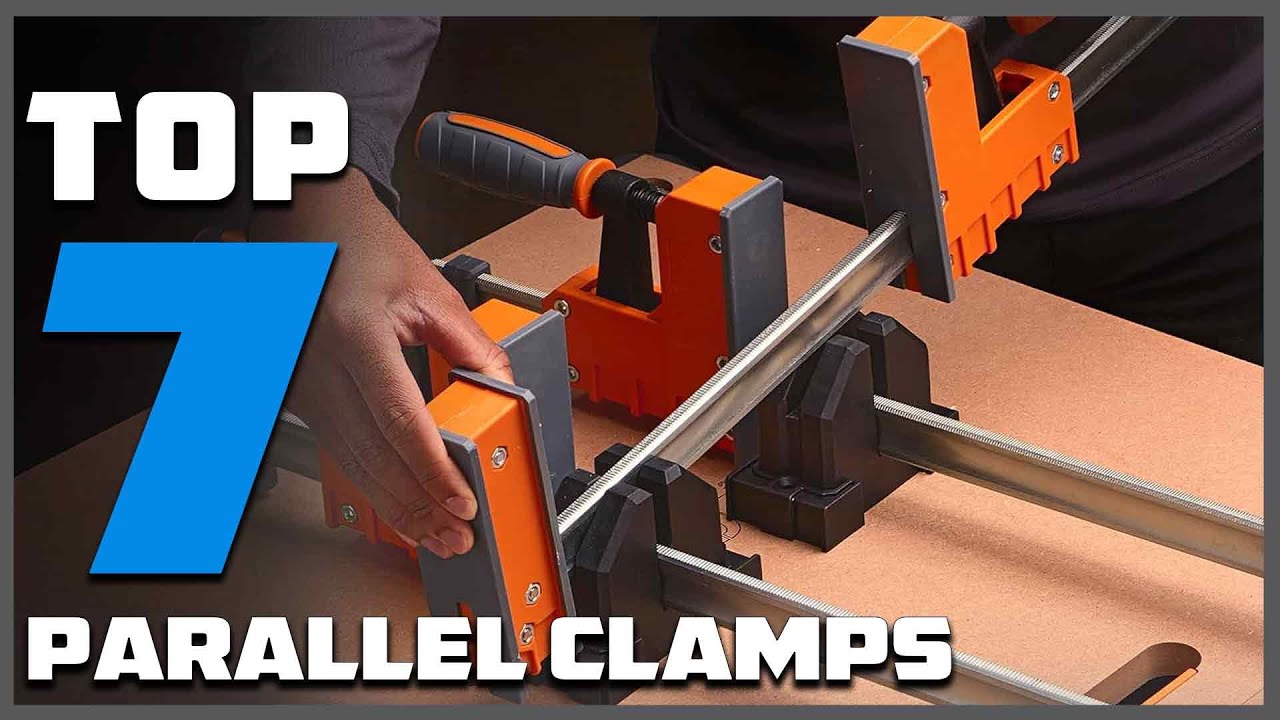
Set the clamps near the final positions before spreading glue. This saves time once the adhesive is on the wood. During assembly, tighten each clamp a little at a time rather than fully tightening one clamp before the others.
The most useful habit in this Parallel Clamp Guide is to **build pressure in stages**. Move from clamp to clamp and watch the seams, corners, and panel surface. Stop once the joints close and the assembly stays aligned.
- ✦ Step 1: Dry-fit
Assemble the parts without glue and correct any gaps or alignment problems first.
- ✦ Step 2: Prepare the clamps
Open each clamp slightly wider than the assembly and place them where they will be easy to reach.
- ✦ Step 3: Apply glue
Spread enough adhesive to cover the joint surfaces without flooding the entire project.
- ✦ Step 4: Add light pressure
Bring all joints together with gentle pressure before tightening any clamp firmly.
- ✦ Step 5: Check alignment
Look for flush edges, square corners, twisted frames, and boards that rise above neighboring boards.
- ✦ Step 6: Tighten evenly
Move between clamps and add pressure in small amounts until the seams close.
- ✦ Step 7: Recheck the assembly
Confirm square, flatness, and joint alignment before leaving the glue to cure.
Alternate Clamps Above and Below Wide Panels
For many panel glue-ups, placing some clamps below the panel and others above it can help balance forces. This does not replace straight boards or good joints. It simply gives you more control over a panel that wants to bow.
- ✦ Balance pressure
Alternating clamp positions can reduce the chance that all force pulls the panel in one direction.
- ✦ Use cauls when needed
Straight cauls across the panel can help keep board faces aligned during difficult glue-ups.
Check Square Before the Glue Sets
For cabinets and rectangular frames, measure both diagonals. When the two diagonal measurements match, the assembly is square if the opposing sides are also correct. Make small corrections while the glue is still workable.
- ✦ Measure diagonals
Compare corner-to-corner measurements before the adhesive begins to set.
- ✦ Correct gently
Shift clamp pressure or use a diagonal clamp to bring the assembly back into square.
How Much Clamping Pressure Should You Use?
Use enough pressure to close the joint and hold the parts firmly. You should not need extreme force when the mating surfaces fit well. A poor joint cannot be fixed by turning the handle harder.
Too much pressure can cause problems. Thin boards may bow, soft wood can dent, assemblies can move out of square, and excessive glue may squeeze from the joint. Heavy force can also make a difficult setup harder to control.
This Parallel Clamp Guide favors controlled pressure over maximum pressure. Tighten until the joint closes, inspect the work, and stop when more force no longer improves alignment.

- ✦ Use joint fit as your guide
Well-prepared surfaces should come together without extreme clamp force.
- ✦ Watch the wood
Bowing, crushing, deep pad marks, or sudden movement can signal excessive force.
- ✦ Look at the glue line
A small and fairly even amount of squeeze-out often shows that glue has reached the joint edges.
- ✦ Protect soft surfaces
Use clean pads or scrap blocks when the clamp faces could mark delicate wood.
Why More Pressure Is Not Always Better
A clamp should hold a correct joint together while the adhesive cures. It should not force badly cut parts into position. If a joint needs extreme pressure to close, correct the fit before gluing whenever possible.
- ✦ Fix gaps first
Plane, joint, sand, or recut mating surfaces when the dry-fit shows a clear gap.
- ✦ Keep pressure even
Several moderate pressure points usually give better control than one heavily tightened clamp.
Parallel Clamp Features That Matter When Buying
Parallel clamps can look similar on a store shelf, but small design details affect daily use. Check jaw movement, bar strength, handle comfort, pad size, balance, and how easily the sliding jaw locks. A clamp that is awkward to position becomes frustrating during a fast glue-up.
For U.S. buyers, replacement pads, parts support, and access to matching clamp lengths may also matter. A strong clamp can last for years, so it makes sense to choose a system that you can expand later.
Do not choose a clamp from advertised force alone. This Parallel Clamp Guide puts smooth operation, reliable locking, strong bars, good jaw geometry, and comfortable handles ahead of impressive numbers on a package.
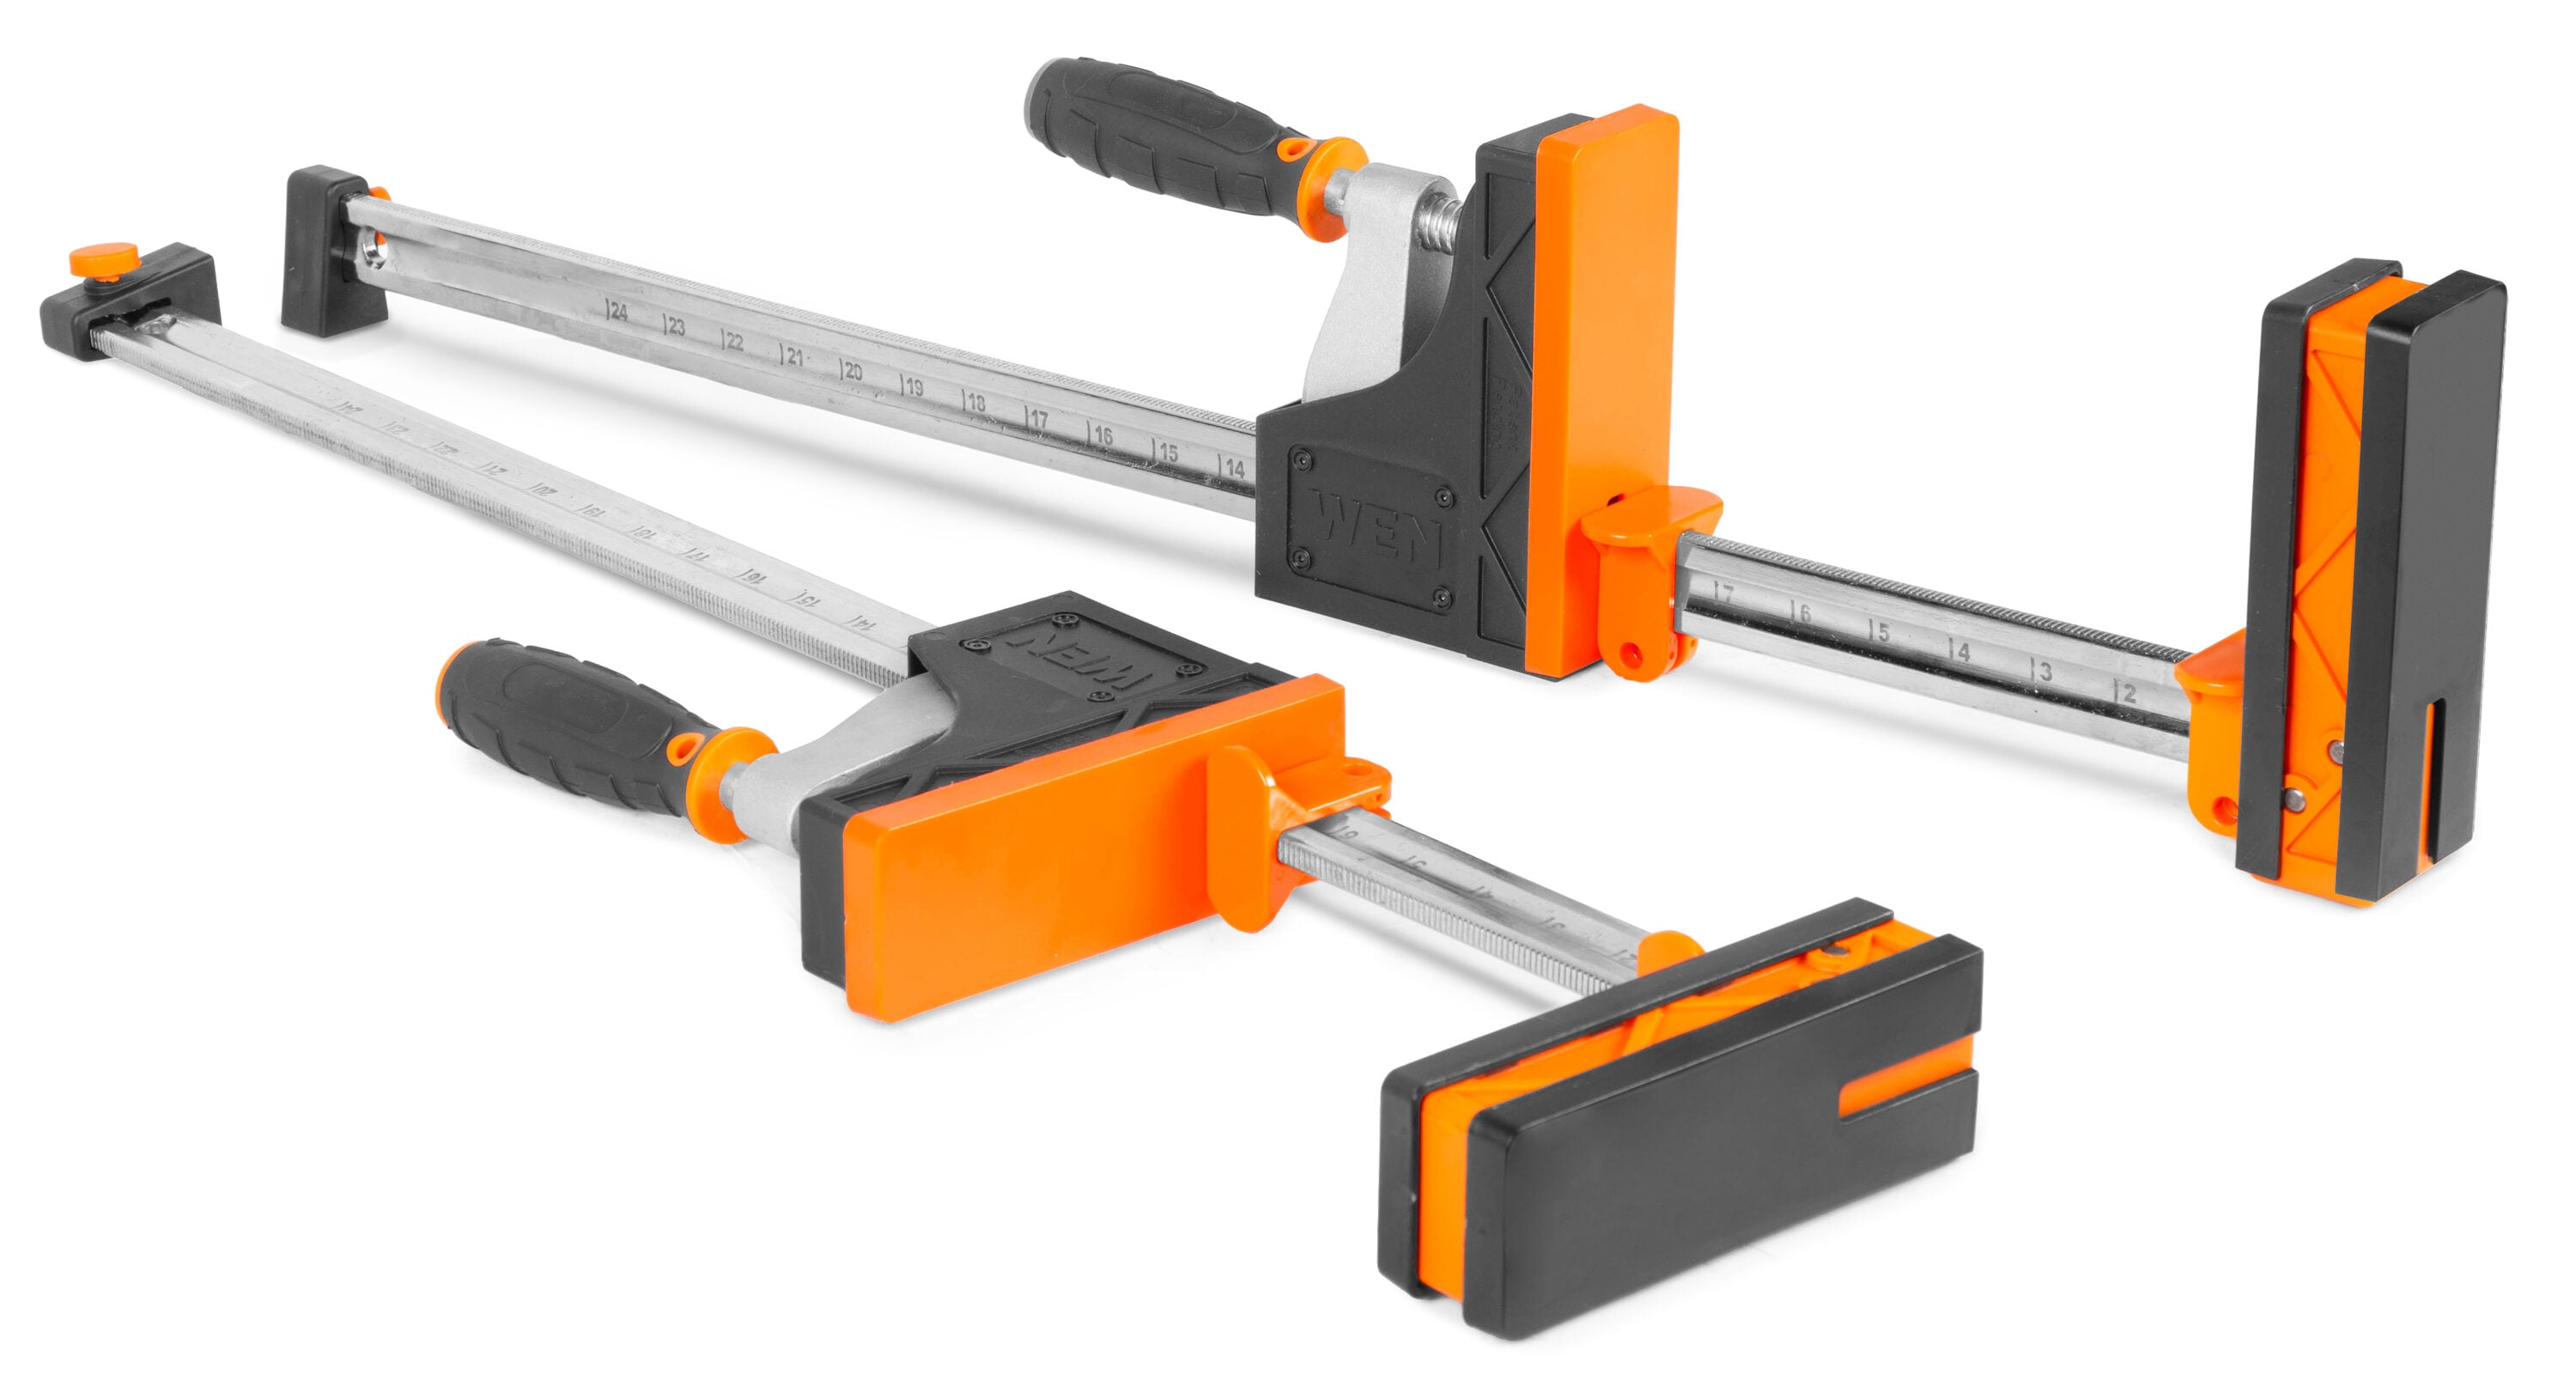
- ✦ Jaw depth
Deeper jaws provide better access and support on wide furniture parts and cabinet assemblies.
- ✦ Jaw pad size
Large pads spread pressure and help protect finished or delicate surfaces.
- ✦ Bar stiffness
A rigid bar helps reduce flex and makes heavy glue-ups easier to control.
- ✦ Sliding jaw action
The movable jaw should slide freely when released and lock securely when positioned.
- ✦ Handle comfort
A large, easy-to-grip handle can make repeated tightening less tiring.
- ✦ Stand-up stability
Some designs rest securely on a bench, which helps when loading a large assembly.
- ✦ Replaceable pads
Removable or replaceable pads make cleanup easier and can extend the useful life of the clamp.
Should You Buy Premium or Budget Parallel Clamps?
Both can work. A budget clamp may be enough for occasional woodworking if it locks well and keeps its jaws aligned. Frequent furniture makers may value smoother action, better handles, stronger bars, and easier access to parts.
- ✦ Budget buyer
Focus on reliable locking, straight bars, usable jaw pads, and the sizes you need most.
- ✦ Frequent user
Pay more attention to durability, smooth adjustment, handle comfort, and long-term parts support.
Common Parallel Clamp Mistakes
Most clamp problems come from setup errors rather than the clamp itself. A rushed glue-up can turn even good tools into a source of frustration. Dry-fitting and arranging your workspace before opening the glue bottle prevents many mistakes.
Another common problem is using clamp force to correct poor woodworking. Clamps can pull parts together, but they cannot create straight edges, flat boards, or accurate joinery. The better the preparation, the less force you need.
A useful Parallel Clamp Guide should help you avoid problems before glue begins to set. Keep the following mistakes in mind during every assembly.
- ✦ Skipping the dry-fit
This can reveal missing parts, poor joints, wrong orientation, or clamp access problems only after glue is applied.
- ✦ Overtightening one clamp
Heavy force at one point can twist the assembly before the other clamps are engaged.
- ✦ Using too few clamps
Large gaps between pressure points may leave parts of a long joint poorly closed.
- ✦ Using too many clamps
Crowding the work can slow adjustments and make it harder to see whether the assembly is straight.
- ✦ Ignoring square
A cabinet or frame can have tight joints and still cure in the wrong shape.
- ✦ Letting glue build up on bars
Dried adhesive can interfere with sliding parts and makes future setup harder.
- ✦ Clamping warped boards flat
Heavy pressure may hide a problem during assembly, but stress can return after the clamps come off.
A Better Glue-Up Routine
Lay out every part, clamp, caul, square, rag, and tool before applying glue. Rehearse the sequence once without adhesive. This simple habit makes complex glue-ups calmer and gives you more time for alignment.
- ✦ Prepare first
Set clamp openings and positions before spreading adhesive.
- ✦ Work in order
Use the same assembly sequence that worked during the dry-fit.
- ✦ Inspect before curing
Check seams, flatness, square, and clamp pressure one final time.
Parallel Clamp Care and Maintenance
Parallel clamps need little maintenance, but glue buildup can make them harder to use. Keep the bars, jaw faces, and moving parts clean. Remove dried adhesive carefully without damaging coatings or plastic pads.
Store heavy clamps where the rack can support their weight. Wall racks are common in U.S. home shops because they keep long clamps visible and easy to reach. Avoid a storage setup where clamps can fall or where long bars block a walking path.
Regular care helps preserve smooth adjustment and reliable locking. This final maintenance part of the Parallel Clamp Guide is simple: keep clamps clean, dry, straight, and easy to access.
- ✦ Remove glue
Clean squeeze-out before it becomes a thick layer that blocks jaw movement.
- ✦ Inspect pads
Replace damaged protective pads when they no longer sit flat against the work.
- ✦ Check the bar
Look for rust, dents, bends, or hardened glue that may affect sliding action.
- ✦ Check the screw
Make sure the screw turns smoothly and does not bind under normal use.
- ✦ Store securely
Use a rack strong enough for the combined weight of several heavy clamps.
Protecting Clamps During Glue-Ups
You can reduce cleanup by keeping wet glue away from metal bars and moving parts. Protective tape, scrap strips, or other removable barriers can help during messy glue-ups. Make sure any barrier does not interfere with the jaw lock.
- ✦ Clean early
Fresh adhesive is often easier to manage than a thick cured deposit.
- ✦ Keep mechanisms clear
Do not allow glue to collect where the sliding jaw locks to the bar.