
Absolutely — here’s a rewritten, SEO-improved version of your blog post with stronger structure, clearer wording, better keyword targeting, and a more natural flow. I kept the core topic intact while improving readability, search intent alignment, and on-page SEO elements like headings, transitions, and keyword usage.
Woodworking clamps hold parts steady so glue dries straight, strong, and safe.
If you want tight joints, square panels, and stress-free glue-ups, you need the right clamps and the right technique. This ultimate woodworking clamp guide explains how different clamps work, when to use them, and how to avoid common mistakes like slipping, bowing, and glue squeeze-out. Whether you’re building cabinets, frames, panels, or jigs, this guide will help you choose the best woodworking clamps for the job.
In this article, you’ll learn the most common types of woodworking clamps, how to use them correctly, how many clamps you need, and what to look for when buying clamp tools for your shop.
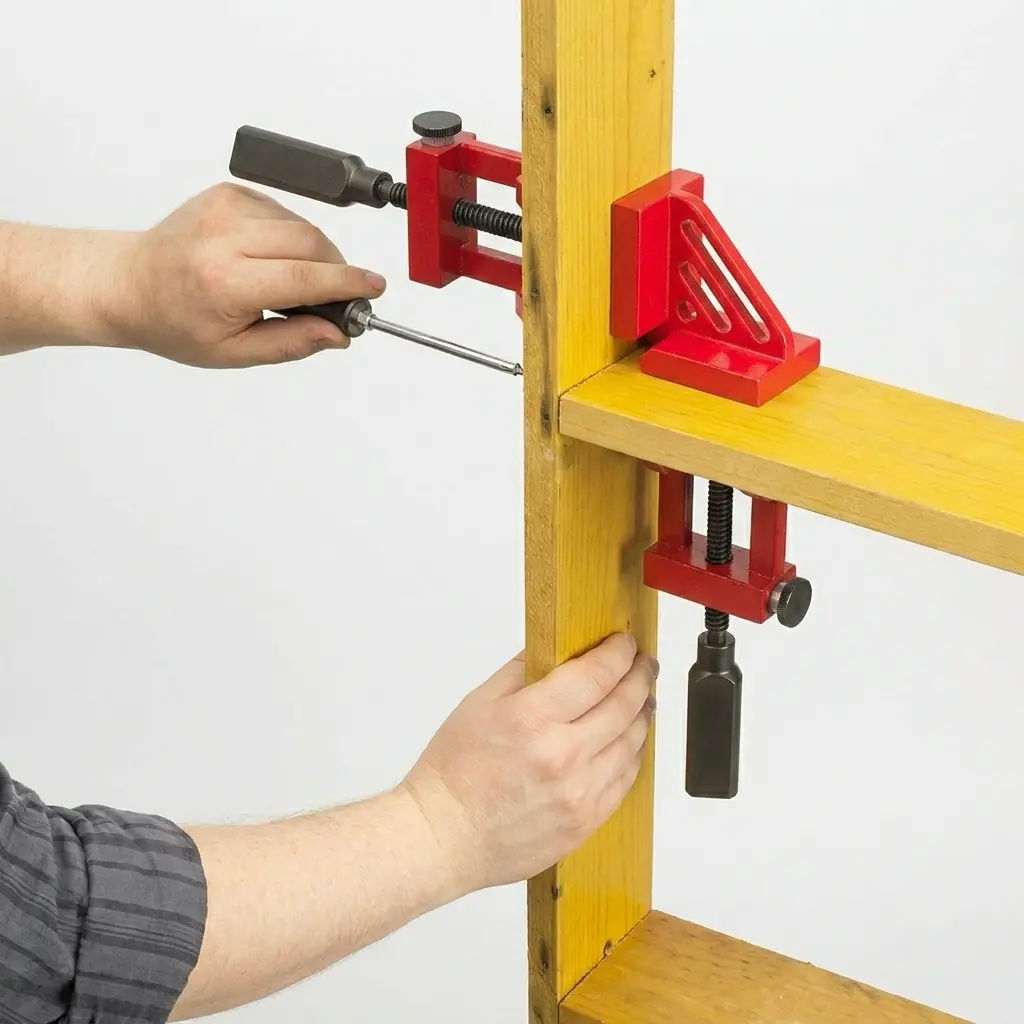
What Is a Woodworking Clamp and Why It Matters
A woodworking clamp is a tool that holds wood parts in place while you cut, drill, assemble, or glue them. It creates pressure so surfaces stay aligned and glue can cure into a strong, gap-free bond. Clamps also help prevent movement during assembly, which is especially important when working with panels, frames, and joinery.
Good clamping improves accuracy, saves time, and protects your workpiece. Poor clamping can lead to twisted panels, weak joints, and visible damage to the wood surface. That’s why choosing the right clamp for woodworking is just as important as choosing the right glue.
How clamping pressure works
- Glue needs even pressure to bond properly.
- Too much force can starve the joint and weaken it.
- Pressure should be placed close to the joint line to reduce twisting.
- Cauls help distribute pressure and keep panels flat.
Common materials and sizes
- Steel bars are stiff and strong.
- Aluminum bars are lighter and easier to move around.
- Jaw pads made from nylon, wood, or soft material protect the wood surface.
- Clamp length and throat depth determine how large and deep a workpiece the clamp can reach.
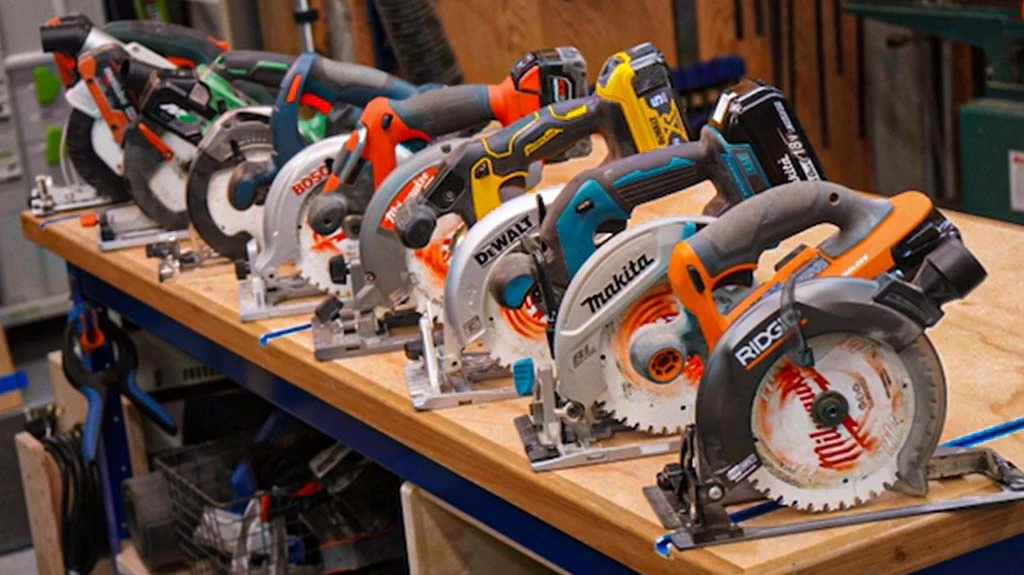
Types of Woodworking Clamps Explained
You do not need every clamp on the market. Most woodworkers should start with a few versatile options and expand their collection as their projects become more advanced. Below are the most useful woodworking clamp types and what each one is best for.
Bar clamps and F-style clamps
- Excellent all-purpose clamps for many shop tasks.
- Provide good reach and solid clamping force.
- Long bars can twist under heavy pressure if not supported.
Pipe clamps
- Use standard pipe, making them affordable and customizable in length.
- Very strong for large glue-ups and cabinet work.
- Heavier than other clamp types, so support your workpiece well.
Parallel-jaw clamps
- Keep jaws square during clamping, which is ideal for boxes and panels.
- Wide pads spread pressure evenly across the surface.
- More expensive, but they reduce cleanup and rework.
Spring clamps
- Fast, one-hand clamps for light-duty holding.
- Great for templates, cords, and temporary positioning.
- Not strong enough for serious glue joints.
C-clamps
- Very compact and powerful.
- Useful for metal fixtures, jigs, and tight spaces.
- Can dent wood, so use pads or scrap blocks when needed.
Quick-grip one-hand clamps
- Easy to set with one hand.
- Perfect for test fits, stops, and light holding work.
- Often not strong enough alone for full glue-ups.
Corner and miter clamps
- Designed to hold right angles and miters during assembly.
- Especially useful for picture frames and box corners.
- Check squareness before the glue sets.
Band and strap clamps
- Best for wrapping around odd shapes, frames, and curved parts.
- Provide even pressure around the entire perimeter.
- Corner blocks help prevent damage to miters.
Toggle clamps
- Great for jigs, fixtures, repetitive cuts, and shop setups.
- Fast and efficient for production-style woodworking.
- Fixed reach means your setup must match the clamp position.
Holdfasts, bench dogs, and cam clamps
- Useful for bench work, hand tool tasks, and drill press setups.
- Best for moderate holding pressure rather than heavy force.
- Excellent for fast, flexible workholding.
Choosing the Right Clamp for the Job
Choosing the right woodworking clamp depends on the size of your project, the amount of force needed, and how much room you have to work. A small assembly may only need a few quick clamps, while a cabinet glue-up may require several heavy-duty clamps and cauls.
Key factors to consider
- Pressure needed: Edge joints usually need less force than bent laminations or end-grain work.
- Opening capacity: Make sure the jaws can open wide enough for your workpiece.
- Throat depth: The clamp must reach far enough into the project.
- Bar stiffness: Rigid bars help prevent flex and bowing.
- Jaw protection: Pads reduce dents and surface damage.
- Speed: One-hand clamps are helpful when working alone.
Best clamp types for common projects
- Panel glue-ups: Parallel-jaw or heavy bar clamps with cauls.
- Face frames: F-style or parallel-jaw clamps with corner blocks.
- Edge banding: F-style clamps and cauls, or band clamps for curved work.
- Picture frames and miters: Strap clamps with corner blocks.
- Curved laminations: Many clamps spaced closely with stiff cauls.
Smart starter clamp kit
- Four 24-inch F-style or bar clamps
- Two 36-inch bar clamps or pipe clamps
- Two parallel-jaw clamps, 24 to 31 inches
- A few spring clamps and one-hand clamps
- Two C-clamps for fixtures and tight spots

How Many Clamps Do You Need?
There is a saying among woodworkers: you can never have too many clamps. While that’s partly a joke, the truth is that clamp quantity depends on your project size, glue open time, and how evenly you need to distribute pressure. A 24-inch panel may need four to six clamps, while a cabinet glue-up may require ten or more.
Clamp spacing and pressure
- Place clamps every 6 to 8 inches for many edge joints.
- Stagger clamps above and below the workpiece to balance pressure.
- Use cauls to spread force and reduce panel cupping.
How to control glue squeeze-out
- Light, even squeeze-out is ideal.
- Too much glue coming out usually means too much pressure.
- Wipe excess glue early or let it gel and scrape it later.
Setup and Use: Techniques for Perfect Glue-Ups
Good results start with a dry fit. Before applying glue, mark your parts, lay out your clamps, and have cauls ready. A simple, repeatable clamping process helps reduce stress and gives you cleaner, stronger glue joints.
Prep steps that improve results
- Check for bow and cup before assembly.
- Match board crowns to help cancel movement.
- Mark orientation with pencil so parts go back in the right place.
- Use wax paper or a protective layer under the workpiece.
Apply pressure in the right sequence
- Start by snugging the center clamps first.
- Work outward toward both ends.
- Add top and bottom clamps to keep panels flat.
- Tap parts into alignment before fully tightening.
Avoid bowing and racking
- Flip alternate clamps to balance bar pull.
- Use straight cauls with light pressure to guide alignment.
- Check diagonals on boxes and frames to confirm squareness.
Glue timing basics
- PVA glue has a short open time, so work efficiently.
- Epoxy gives more working time but needs clean surfaces.
- Polyurethane glue expands as it cures, so clamp firmly and protect surfaces.
Safety, Care, and Maintenance
Clamps may look simple, but they can pinch hard and cause damage if used carelessly. Keep your hands clear of moving jaws, avoid over-tightening, and store clamps in a safe place so they don’t create tripping hazards. Proper care also extends the life of your tools.
How to keep clamps working smoothly
- Wipe bars clean after each project.
- Remove dried glue that can cause slipping.
- Apply wax to screw threads for smoother action.
- Use leather, cork, or scrap wood pads to protect the jaws.
Rust prevention and alignment checks
- Use light oil on steel parts to prevent rust.
- Check parallel-jaw clamps for proper alignment.
- If a clamp bar is bent, reserve it for rough tasks or replace it.
Advanced Jigging With Clamps
Clamps are not just for glue-ups. They can also act as temporary fences, stops, hold-downs, and even quick shop fixtures. With the right setup, you can create a fast, reusable clamping system for cutting, drilling, and assembly.
Useful clamp tricks for the shop
- Use two bar clamps and a board to make a temporary edge vise.
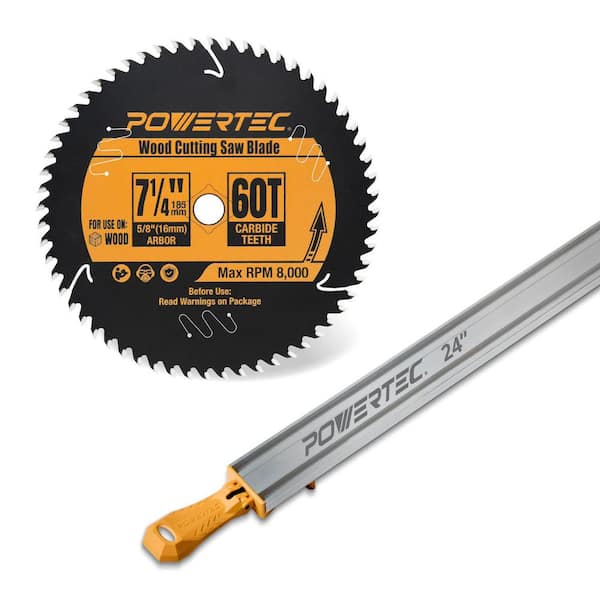
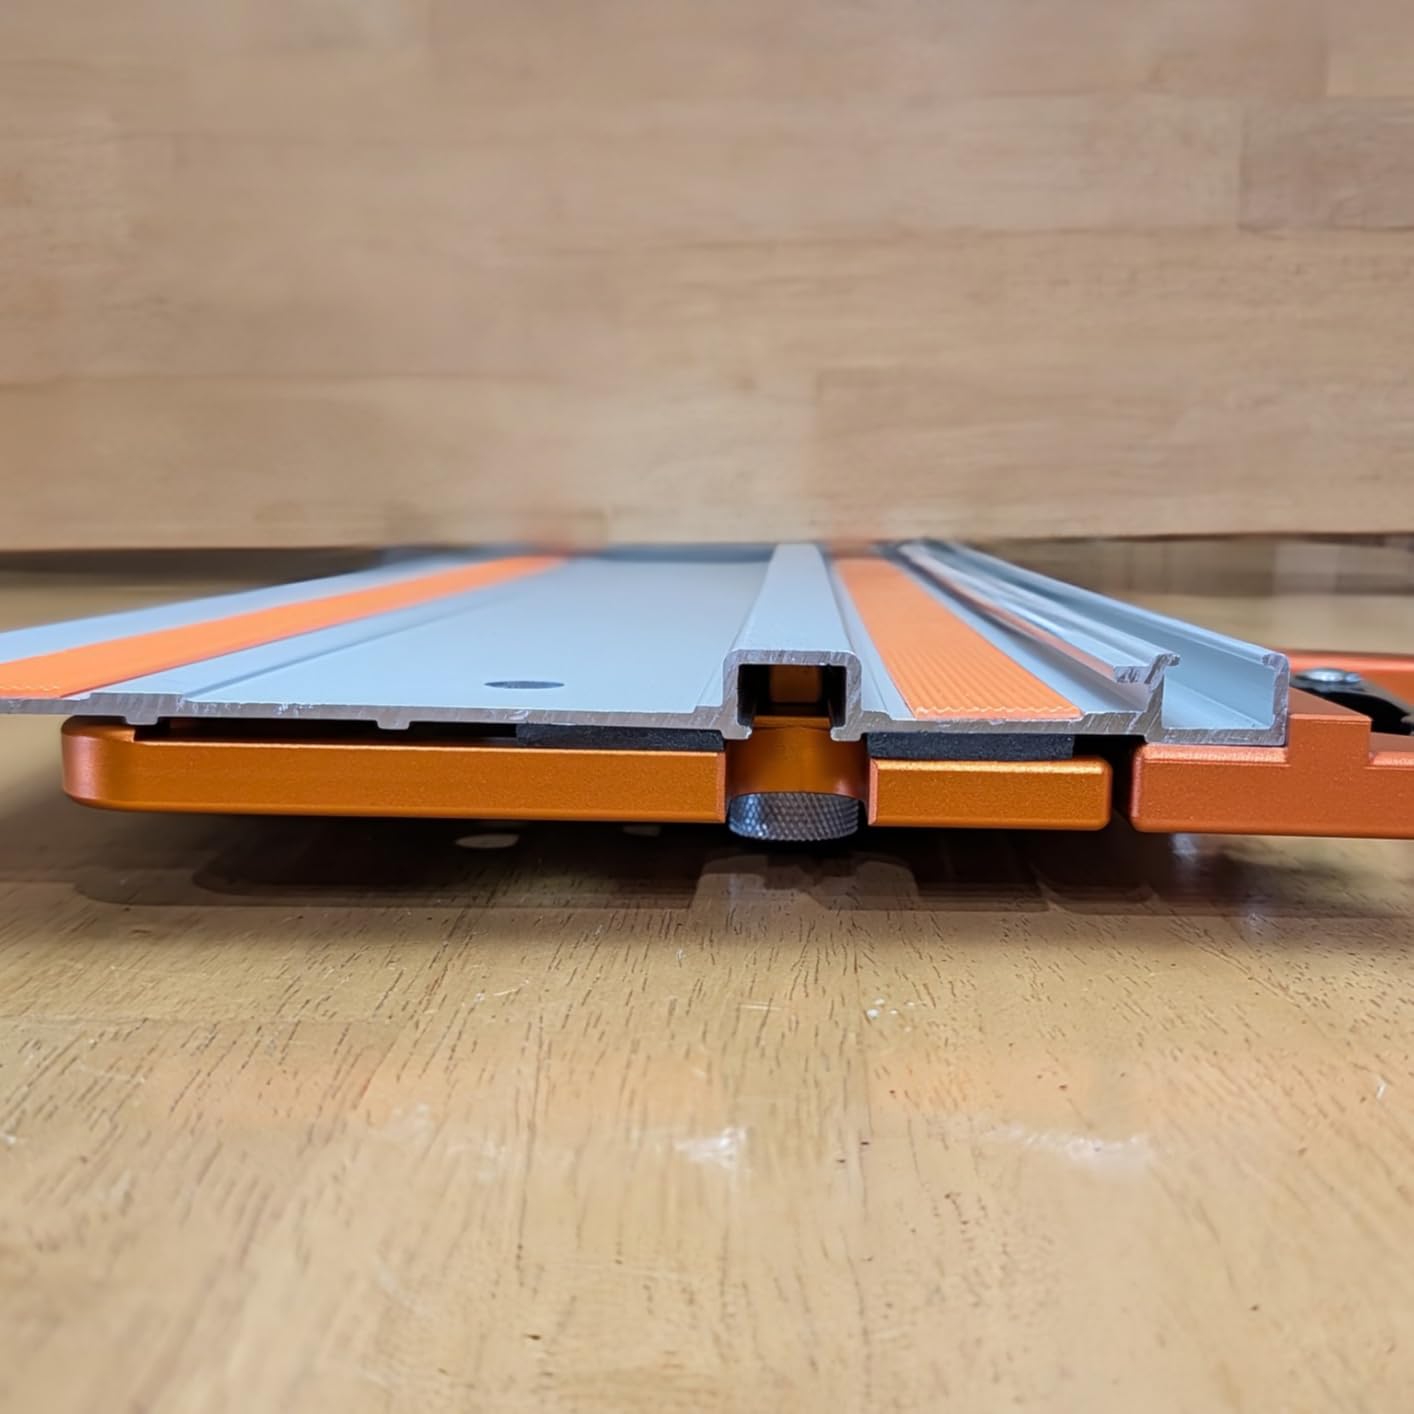
- Clamp a straightedge to guide a circular saw.
- Use one-hand clamps as drill press hold-downs.
- Use toggle clamps for repeatable jig setups.
- Combine blue tape, hot glue, and a clamp for temporary holds.
Real-World Mistakes and Lessons Learned
One of the most common mistakes in woodworking is over-clamping. I once crushed a thin panel by tightening too hard, which starved the glue joint and caused the panel to cup. That mistake taught me to rely on cauls, balanced pressure, and restraint.
- Do not over-tighten in search of more strength.
- Support long clamp bars to prevent sag.
- Dry fit everything before glue-up.
- Protect delicate edges with pads.
- Snug the clamp, then stop once the joint is properly closed.

Budget, Brands, and Where to Buy Smart
You do not need the most expensive clamps to build quality projects. A smart woodworking clamp setup often includes a few premium tools for critical glue-ups and lower-cost options for general use. Test clamps in hand when possible, especially if you plan to use them often.
Money-saving tips
- Buy more short clamps than long clamps.
- Consider used clamps if the bars are straight and the screws work smoothly.
- Watch for bundle deals on clamp sets.
- Upgrade cheaper clamps with better pads and cauls.
Glossary and Key Specs Demystified
Clamp specifications can be confusing, especially if you’re new to woodworking tools. Focus on the numbers and features that actually affect your project.
Important clamp terms
- Clamping force: The amount of pressure a clamp can apply.
- Opening capacity: The maximum distance between the jaws.
- Throat depth: How far the clamp reaches in from the edge.
- Bar deflection: How much the bar bends under load.
- Jaw parallelism: How square the jaws stay while clamping.
Frequently Asked Questions About Woodworking Clamps
How tight should I clamp a glue joint?
Clamp until you see a thin, even line of squeeze-out, then stop. Too much force can weaken the joint and distort the workpiece.
What is the best clamp for panel glue-ups?
Parallel-jaw clamps and heavy bar clamps are the best choices for panel glue-ups. Use cauls to keep the panel flat.
How many clamps do I need for a small cabinet?
Most small cabinet glue-ups need about eight to twelve clamps, depending on the size and joint layout.
Can I use pipe clamps for everything?
Pipe clamps are strong and versatile, but they are heavy. They work well for many glue-ups, though support is important for longer spans.
How do I stop parts from sliding during glue-up?
Dry fit first, apply initial pressure lightly, and use cauls or stop blocks to reduce movement.
Do I need pads under clamp jaws?
Yes. Pads help prevent dents, spread pressure, and protect the wood surface.
How do I clean dried glue off clamps?
Scrape dried glue carefully and use warm water for PVA residue. A light coat of paste wax can help prevent buildup.
Conclusion
Woodworking clamps are essential tools for building strong, square, and professional-looking projects. When you choose the right type, place them correctly, and use just enough pressure, your glue-ups will be cleaner and more reliable.
Use the tips in this ultimate woodworking clamp guide to improve your next project. Start with a dry fit, lay out your clamps in advance, and work with confidence. If this guide helped, consider sharing it, saving it for later, or reading more woodworking tool guides to sharpen your shop skills.
If you want, I can also do one of these next:
- SEO-optimize this further for a specific keyword
- Rewrite it in a more conversational tone
- Convert it into WordPress-ready HTML
- Add a meta title, meta description, and slug
- Make it more human-written and less AI-sounding
If you'd like, I can produce the final polished SEO blog version in clean HTML next.