
Accurate measuring turns rough lumber into tight joints and clean lines.
If you have a love for crisp joinery and parts that fit first try, this is for you. In The Complete Woodworking Measuring Guide, I share proven steps, real shop tips, and clear rules that cut errors fast. I teach what to use, how to read it, and how to trust your marks. You will learn to measure with skill, not luck. Welcome to The Complete Woodworking Measuring Guide.
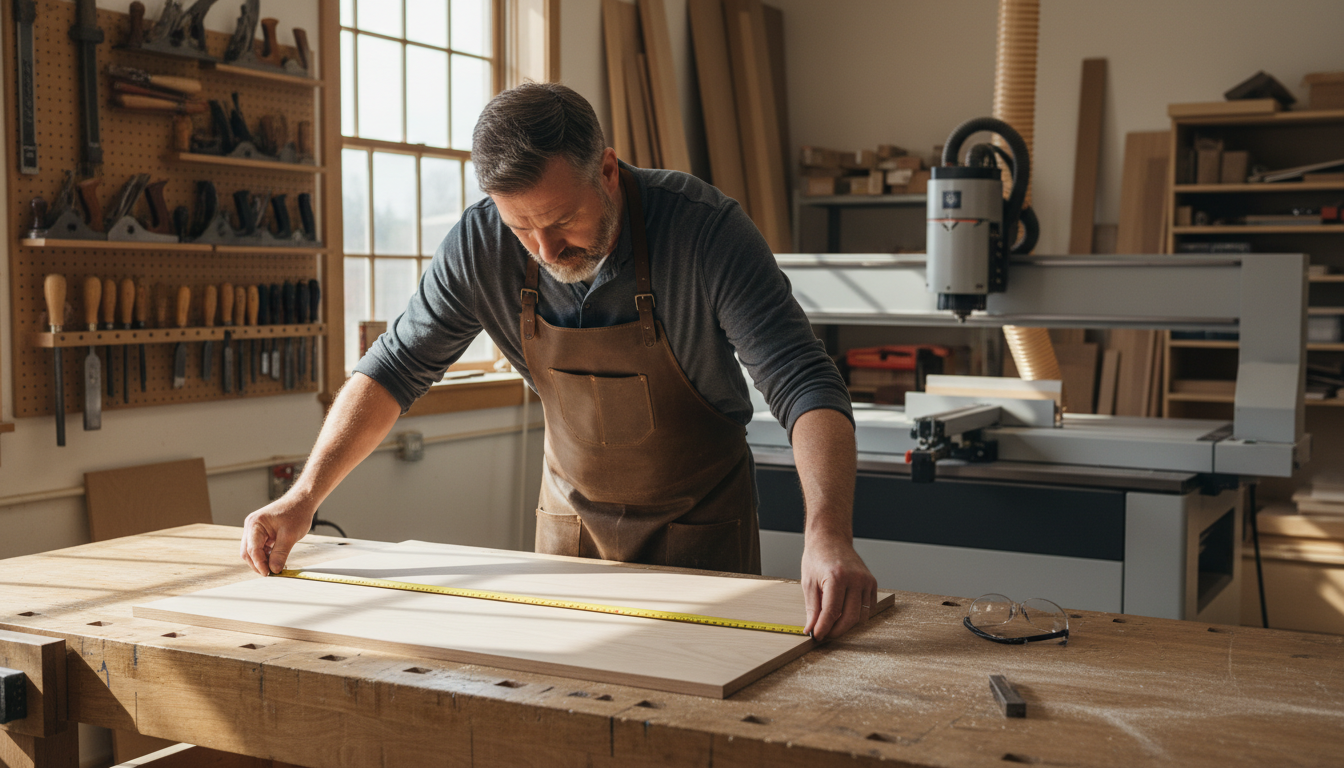
The Foundation: How Woodworkers Think About Measurement
Great work starts with clear intent. In wood, size is only half the story. The other half is how parts relate to each other.
- Always pick a reference face and a reference edge. Mark them with a pencil triangle. Work from those sides for all marks.
- Use relative measuring when you can. Match to the mating part, not the tape. This cuts stack-up errors.
- Mark with a knife for joinery. A fine knife line is thinner than a pencil. Your chisel or saw can register in the line.
Here is a rule I teach. Measure once, mark once, verify twice. Then cut. This simple loop saves time and wood. It is the core of The Complete Woodworking Measuring Guide.
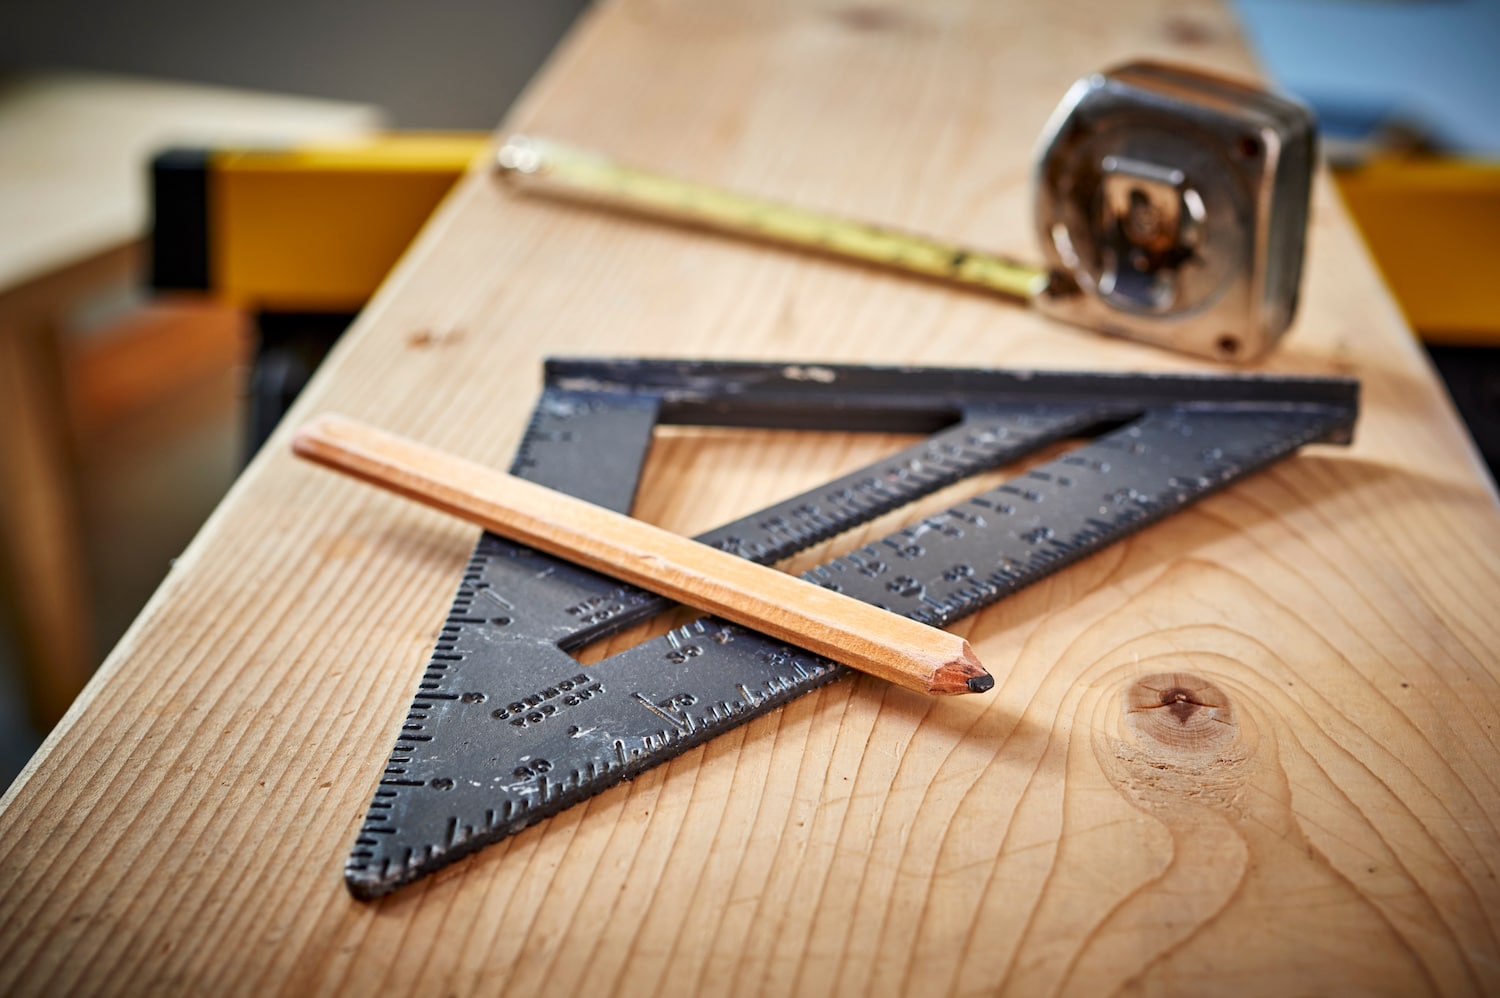
Essential Measuring Tools You Actually Need
There are many tools. You do not need them all. Start with a small, tight kit that does 95% of jobs.
- Tape measure, 16 or 25 feet, with a rigid standout and clear marks.
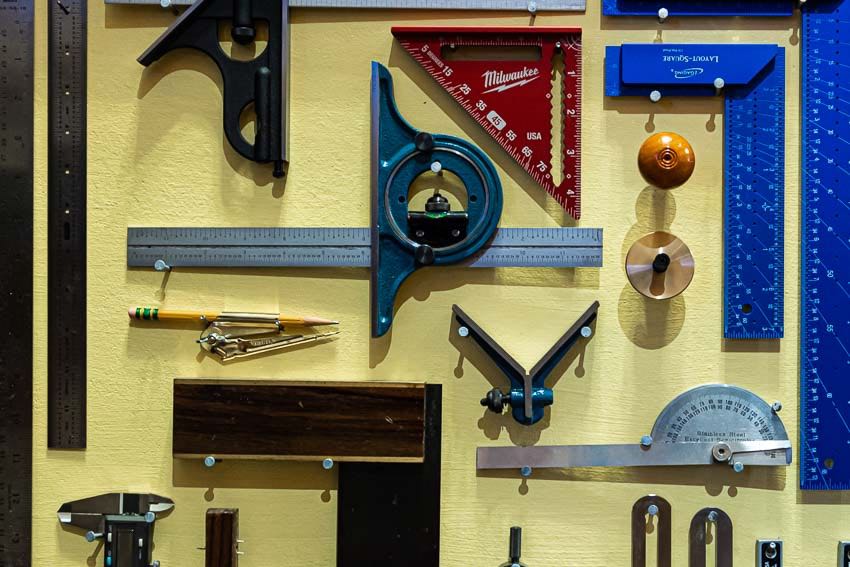
- Combination square, 12 inch, with a fine scribe and tight head.
- Marking knife and a sharp 0.5 mm pencil.
- Steel rule, 6 inch, with etched marks down to 1/64.
- Folding rule for inside reads and quick layouts.
- Calipers, 6 inch, digital or dial, for hardware and bits.
- Sliding bevel gauge for angles.
- Story stick (a scrap with layout marks) to copy sizes.
- Marking gauge and wheel gauge for repeat lines from an edge.
- Framing square for big checks and layout.
Over time you can add a machinist square, center punch, feeler gauges, and a laser for rooms. The Complete Woodworking Measuring Guide builds from this core set.

Read It Right: Scales, Fractions, And Parallax
Bad reads cause most errors. Fix them with a few habits.
- Keep your eye straight over the mark. This avoids parallax.
- Hook the tape with the same force each time. Cheap hooks can shift.
- For inside reads, burn an inch. Start at the 1 inch line. Subtract one.
- Learn common fractions: 1/2, 1/4, 1/8, 1/16. Say them out loud. This trains speed.
- Use the steel rule for small parts. It is easier to read than a tape.
- For metric work, use whole millimeters. It is clear and fast.
When in doubt, use a story stick. It never lies if you mark it right. This is a key move in The Complete Woodworking Measuring Guide.

Marking That Guides The Cut
A good mark is a track for the tool.
- Knife lines for joinery and finish cuts. They split a hair.
- Pencil lines for rough cuts and layout. Use a sharp lead.
- Darken a knife line with a light pencil swipe. It is easy to see.
- Use the combo square as a fence. Hold it firm. Draw the line once.
- For crosscuts by hand, cut a shallow knife wall. It stops tear-out.
I keep blue tape in the shop. I place it near the line, then cut to the edge. The waste side is clear at a glance.
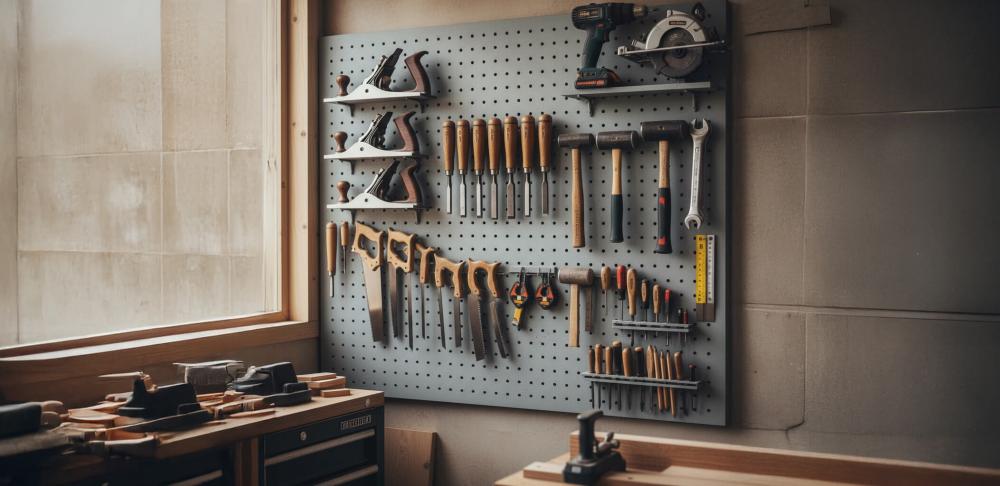
Calibrate, Check, And Care For Accuracy
Trust comes from checks. Take five minutes each month.
- Compare your tape, rule, and square to each other. They should match at 6 and 12 inches.
- Check the combo square with the 5-cut method on a panel. The error tells the truth.
- Verify the tape hook. Pull and push. If the zero shifts, fix or replace.
- Clean pitch and dust from tools. Wipe with a light oil. Rust grows fast.
In my shop, I log tool checks on a sticky note on the cabinet door. Simple, but it keeps The Complete Woodworking Measuring Guide alive in daily work.
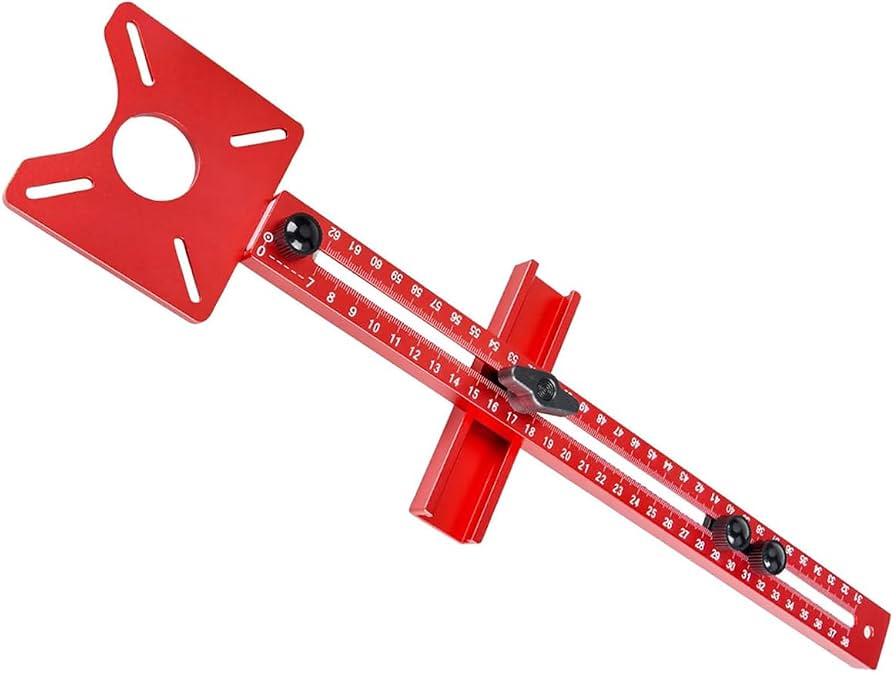
Layout Techniques That Save Time
Speed comes from repeat steps and clear guides.
- Story sticks for doors, rails, and drawer runs. Mark centers, hinges, and reveals.
- Center finding with a rule. Angle it so both edges read the same whole number. The mid point is at the same number on each side.
- Dividers to step off even spaces. No math. Just walk the legs.
- Reference triangles on parts that match. Keep parts aligned through the build.
For angle transfer, use a bevel gauge. Lock it, then move it to the saw. Do not chase degrees if you can transfer the real angle.
Measuring For Common Wood Joints
Joints live or die by layout. Here are simple keys.
- Mortise and tenon. Gauge both from the same face. Set tenon cheeks to match the mortise chisel. Aim for a light press fit.
- Dovetails. Mark baselines with a wheel gauge. Saw to the line, not over. Transfer pins to tails with a knife.
- Dados and grooves. Use the workpiece as a spacer. Set the fence so the slot fits the real shelf.
- Biscuit and domino joints. Mark a bold centerline across both parts. Align the tool to the line.
I keep test blocks that match my bits and blades. One glance tells me which setup to use. This is a favorite tip in The Complete Woodworking Measuring Guide.

Panels, Casework, And Cabinet Math
Large builds add risk. Use a flow that controls error.
- Break down sheets with a track saw and a long rail. Mark with a knife and square for straight starts.
- Use parallel guides for repeat rips. Write cut sizes on blue tape on the edge of the sheet.
- For carcass parts, pick a master width. Fit all shelves to that master, not the plan number.
- Face frames and doors need reveals. Use coins or shims to set gaps. Mark those sizes on a story stick.
When I build a kitchen run, I write a cut list, then I make a layout stick per room wall. The stick wins if the plan and wall fight. That trust saves hours.
Tolerances: How Precise Is Precise Enough
Not all cuts need the same care. Here is a quick guide.
- Rough dimension. ±1/16 is fine.
- Case parts. ±1/32 is better.
- Joinery. ±0.005 to ±0.01 inch. Aim for a press fit you can adjust.
- Face frames and doors. Match parts to each other first. Then fit to the case.
Wood moves with seasons. Plan for this. Leave room for panels to float. Slot screw holes for tops. The Complete Woodworking Measuring Guide treats tolerances as a range, not a point.
Metric Or Imperial: Pick And Stick
Both work. The best choice is the one you keep.
- Metric is base 10. Fast math and clear decimals.
- Imperial is common in the US. Many tools use it. Fractions can slow new users.
- Do not mix systems on one job. You will slip.
My rule is simple. If the project has hardware in metric, I switch the shop to metric for that build. One language per job.
The Four-Step Workflow: Measure, Mark, Verify, Cut
A steady rhythm keeps errors low.
- Measure from the reference face. Write the size on the board.
- Mark a fine line. Confirm the waste side.
- Verify with a second tool or with the mating part.
- Cut to the line. Sneak up if it is a fit part.
Add a fifth step for joinery. Test fit on scrap. The Complete Woodworking Measuring Guide is a habit as much as a set of tools.
Avoid These Common Mistakes
Small slips lead to big gaps. Watch for these.
- Reading the wrong scale on the tape or rule.
- Measuring from the wrong end of the part.
- Forgetting kerf width. A saw eats wood. Plan for it.
- Marking from both ends. Errors meet in the middle and grow.
- Rushing the second check. Breathe. Look once more.
Pro tip. Place a mark on the waste side that spans the line. The saw is a fence to that mark. Your cut will stay honest.
Buying Guide: Build Your Measuring Kit In Stages
Start smart. Upgrade as you grow.
- First buys. 16 ft tape, 12 in combination square, 6 in rule, marking knife, pencil.
- Next buys. Bevel gauge, wheel gauge, calipers, story stick.
- Pro adds. Machinist square, long straightedge, panel gauge, laser measure.
Spend more on the square and knife. They pay you back fast. Use The Complete Woodworking Measuring Guide to decide what to add next, based on your projects.
Safety And Ergonomics While Measuring
Accuracy fades when you strain. Set up for ease.
- Good light. Use a task lamp at the bench.
- Stable stance. Support long boards at both ends.
- Keep blades sharp. A dull knife skates and slips.
- Clear the bench. Clutter hides lines and adds stress.
I keep a small brush by the vise. One sweep clears dust from knife lines. Simple, safe, and fast.
Field Measuring For Built-Ins And Trim
Houses are not perfect. Measure the truth on site.
- Use a laser for long spans. Confirm with a tape at a few points.
- Check plumb and level with a spirit level. Note out-of-square corners.
- Record high and low spots on floors and walls. Scribe to fit, not to hope.
- Take photos of your notes next to the space. Backups save trips.
For alcove shelves, I make a cardboard template for the back. Transfer that to the wood. This small move cuts install time in half and echoes The Complete Woodworking Measuring Guide beyond the bench.
Troubleshooting: When Parts Still Don’t Fit
It happens. Fix it with a plan.
- Find the root. Check the reference edge first.
- Compare the part to the story stick. Where did it drift?
- Use a shooting board to true the edge to the line.
- Shim jigs, tune fences, and make a final pass.
Keep offcuts from each batch. They help you reset a tool to the same size later.
Real-World Lessons From The Shop
A few hard-won tips from years at the bench.
- I missed a kitchen rail by 1/8 once. I forgot to note kerf. Now I write K on the tape at each step.
- A student fought loose tenons. We found two marking gauges set different. Now we lock one gauge for the job and hang a tag on it.
- In humid July, drawers stuck. We eased the sides by 1/64 and waxed runners. Since then, I plane drawer sides to a summer fit and add a winter shim if needed.
These stories shape The Complete Woodworking Measuring Guide into daily habits you can trust.
Frequently Asked Questions of The Complete Woodworking Measuring Guide
What is the best first measuring tool to buy?
Get a 12 inch combination square from a trusted brand. It sets 90 and 45, checks depth, and marks clean lines.
How do I avoid measurement stack-up errors?
Use a story stick and reference from one face. Transfer sizes from part to part, not from a long tape each time.
Should I switch to metric for woodworking?
You can, but pick one system per project. Metric makes math fast, while imperial tools are easy to find in the US.
How precise do my cuts need to be for joinery?
Aim for a light press fit, about a few thousandths of an inch. Use test pieces to dial in before you cut the real parts.
Knife or pencil for layout lines?
Use a knife for joinery and fine work, and a sharp pencil for rough cuts. A knife line guides tools and reduces tear-out.
How often should I calibrate my measuring tools?
Do a quick check monthly and before large builds. Compare your tools against each other at known marks like 6 and 12 inches.
What’s the fastest way to mark equal spacing?
Use dividers to step off spaces without math. Adjust and walk the legs until they land even.
Conclusion
Wood rewards care and clear steps. When you work from a reference face, mark with purpose, and verify before cuts, your joinery gets tight and your builds flow. Use The Complete Woodworking Measuring Guide to set a calm, steady rhythm in the shop.
Start with one habit today. Set a reference face and mark it on every part. Then build your kit, add a story stick, and log your checks. If this guide helped, share it with a friend, subscribe for more tips, or leave a question so we can grow together.