
A miter saw gives fast, accurate angle cuts with safe, clean results.
If you want crisp trim, perfect frames, and smooth joints, this is for you. I wrote The Ultimate Miter Saw Guide to help you choose, set up, and master your saw with confidence. You will learn what matters, what to skip, and how to work like a pro, even on your first project. I have cut thousands of boards on job sites and in small shops. I will share what works, what breaks, and how to get clean, repeatable cuts without stress.

How a miter saw works
A miter saw is a bench tool. It makes crosscuts across the grain. It also makes angled cuts called miters and tilted cuts called bevels. Some models do both at the same time. That is a compound cut.
You lower the blade into the wood. The fence keeps the board square. The table turns for a miter. The head tilts for a bevel. Sliding models add rails. This gives more cut depth for wide boards.
Expect a 10-inch saw to crosscut about 2×6 at 90 degrees. A 12-inch saw often reaches a 2×8 or more. Capacity varies by brand and blade height. The Ultimate Miter Saw Guide will show you how to read real capacity, not just the box.
Pro tip from the field: let the blade stop before lifting. It avoids tear-out and kick.

Types of miter saws
There are four core types. Each has a job.
- Basic miter saw. Swivels for miters. No bevel tilt. Good for simple frames.
- Single-bevel compound miter saw. Miters and tilts one way. Good for base and casing.
- Dual-bevel compound miter saw. Tilts both ways. Saves time on crown and bevel-heavy work.
- Sliding compound miter saw. Adds rails for wide boards. Great for cabinets, decks, and flooring.
Corded saws give steady power all day. Cordless saws shine on punch lists and in tight spots. Blade sizes include 7-1/4, 8-1/2, 10, and 12 inch. Smaller blades give cleaner cuts on tiny parts. Larger blades give more reach.
Lasers mark a line, but can drift. LED shadow lines show the exact kerf. I trust the shadow line when accuracy matters. The Ultimate Miter Saw Guide breaks down these options so you can buy once and be set.

Key features and specs that matter
Look past paint and marketing. Check these specs.
- Blade size and kerf. Affects capacity and cut feel.
- Motor power and RPM. More torque helps in hardwood.
- Miter range. Common is 0–50 degrees. Look for solid detents.
- Bevel range. True 0 and true 45 matter. Dual-bevel saves flips.
- Fence height and rigidity. Tall fences support crown and base.
- Slide design. Smooth rails or forward arms reduce rear clearance.
- Table flatness and runout. Flatter equals cleaner joints.
- Dust collection. A good shroud plus a vac catches more chips.
- Weight and footprint. Matters for small shops and job sites.
- Safety features. Electric brake, blade guard, and solid clamps.
If one spec is weak, you feel it on every cut. The Ultimate Miter Saw Guide teaches you to test a floor model with a square and a scrap.
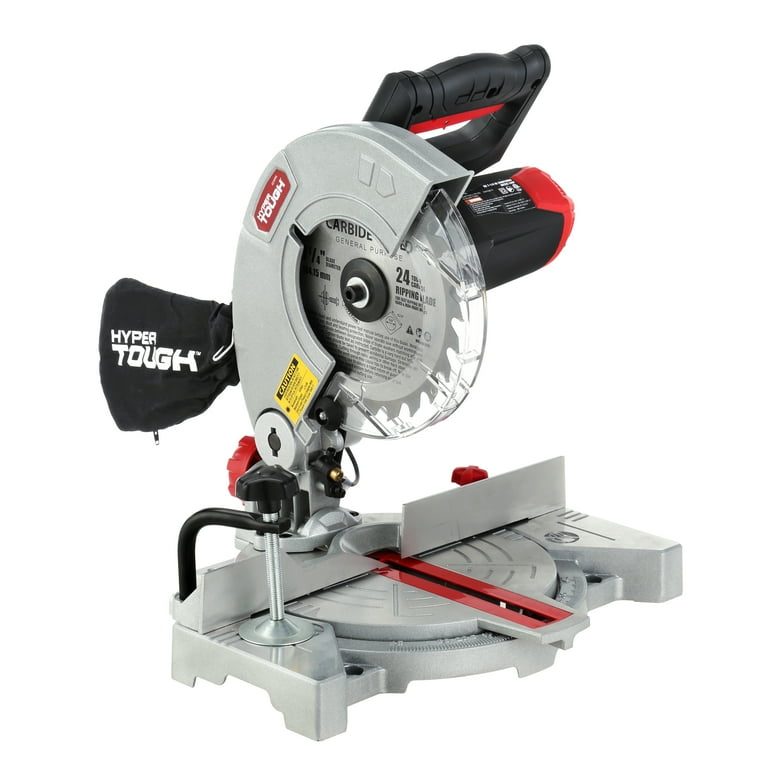
Choosing the right miter saw for your work
Start with your main tasks. Then choose the least tool that does them well.
- Trim and finish work. Dual-bevel 10-inch with shadow line is ideal.
- DIY home projects. A compact 10-inch compound is a strong start.
- Decks and framing. A 12-inch sliding saw chews through wide boards.
- Furniture and frames. Smaller blade, fine-tooth blade, and tight accuracy.
- On-the-go repairs. A light cordless saw with a stand wins the day.
Match the blade to the job. Match capacity to your board width. The Ultimate Miter Saw Guide maps jobs to tools so you avoid overspending.

Blades 101: clean cuts start here
The blade choice changes everything. I keep three on hand.
- 24–32 tooth construction blade. Fast, rough crosscuts in studs.
- 40–60 tooth general-purpose blade. Good for many woods and MDF.
- 80+ tooth fine-finish blade. Best for paint-grade trim and plywood.
ATB teeth crosscut cleanly. TCG teeth work for plastics and non-ferrous metals. Use a negative hook angle for aluminum. Thin kerf helps small saws. Full kerf runs truer on big saws. Keep a blade clean to cut cooler and straighter.
For most trim, a sharp 60–80 tooth blade beats any feature on the saw. The Ultimate Miter Saw Guide shows tooth shapes and when to use each.
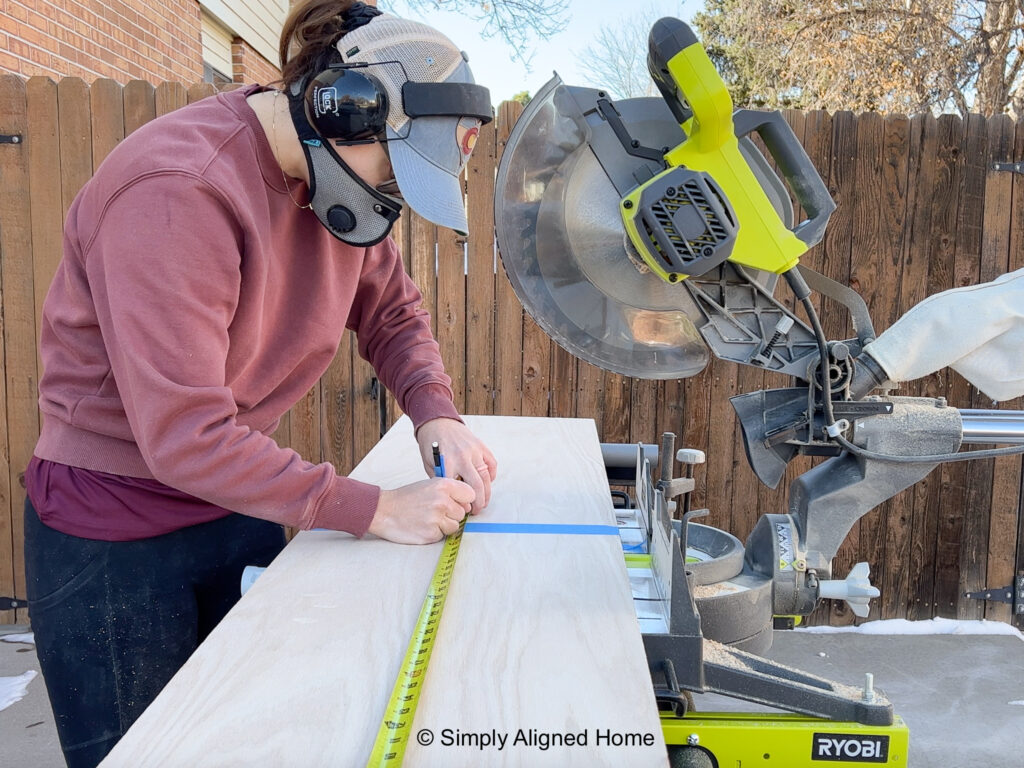
Setup, calibration, and accuracy
A fresh saw is not always square. Take 20 minutes. You will earn it back fast.
- Square the fence to the blade with a good combo square.
- Set the bevel zero and lock it. Confirm with a digital angle gauge.
- Check miter detents. Fine-tune the 0 and 45 stops.
- Make a test cut. Flip one piece. Mate the edges. No gap means square.
- Install a zero-clearance throat plate to reduce tear-out.
- Add a long fence and stop block for repeat cuts.
I do this before any big job. It saves hours of sanding and filling. The Ultimate Miter Saw Guide includes a simple, repeatable checklist.

Safety and dust control
Miter saws feel friendly. Respect them anyway.
- Wear eye and ear protection. Dust hurts lungs and hearing.
- Keep hands at least six inches from the blade.
- Clamp small parts. Never pinch a tiny piece with fingers.
- Let the blade reach full speed. Then lower with a firm, slow feed.
- Hold the board tight to the fence and table. No gaps.
- Wait for the blade to stop before lifting. This prevents launch.
Dust bags catch little. Use a shop vac with a good filter. Add a hood or shroud to grab the plume at the source. For indoor work, I also use a fan to push air toward a filter. The Ultimate Miter Saw Guide tests easy dust fixes that work in small shops.
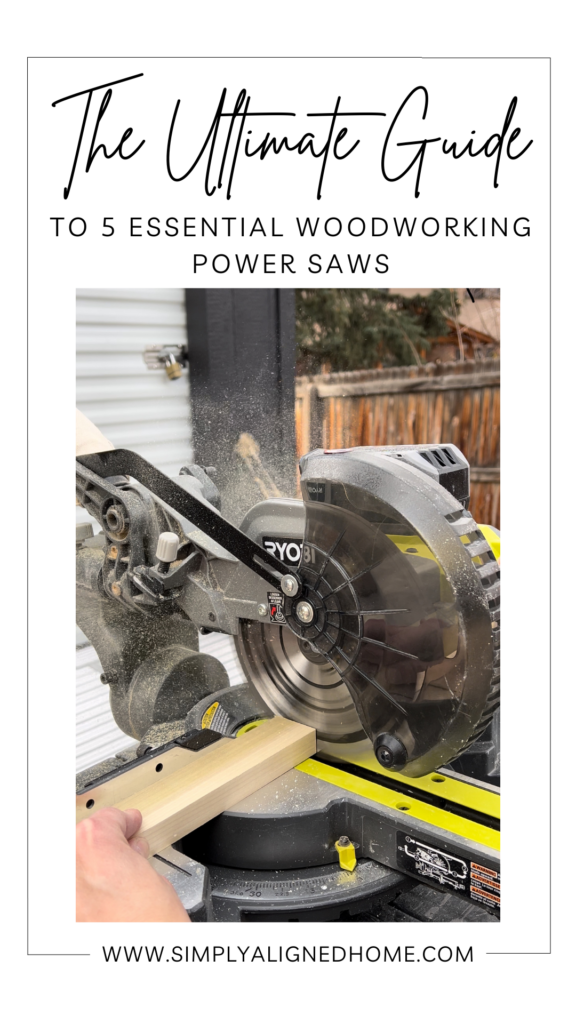
Must-have accessories and jigs
You can do more with a few smart add-ons.
- Mobile stand with support wings. Level with your saw table.
- Flip stop block. Repeat cuts are dead simple and fast.
- Crown molding jig. Holds the spring angle for nested cuts.
- Hold-down clamp. Keeps hands safe on tiny stock.
- Zero-clearance fences. Cleaner edges and less blowout.
- Digital angle finder. Reads perfect inside and outside angles.
I built a plywood stop wing that folds. It changed my trim days. The Ultimate Miter Saw Guide shows simple shop-made jigs that save money.

Pro techniques and use cases
Want tight joints that pass the tape test? Use these moves.
- Sneak up on length. Cut long, test fit, then trim a hair.
- Cope inside corners. Miter one piece to mark. Cope with a jigsaw. It hides gaps.
- Cut crown flat. Use the bevel chart with your spring angle. Mark the wall and ceiling edges on the board.
- Support long stock. Keep the board flat and level with the table.
- Make picture frames. Use a stop block and cut pairs back to back.
My first crown job humbled me. I flipped the bevel wrong and wasted trim. A dual-bevel saw and a bold pencil mark fixed it for good. The Ultimate Miter Saw Guide breaks down crown both nested and flat so you do not guess.
Maintenance, troubleshooting, and longevity
A little care keeps cuts true.
- Clean pitch from blades. Use a safe cleaner and soft brush.
- Check rail slides. Wipe dust. Lightly lube with a dry spray.
- Tighten fence screws and bevel locks. Wiggle shows up in joints.
- Inspect the cord or battery contacts. Keep them clean.
- Replace brushes on brushed motors when sparking grows.
- Watch for vibration. It can mean a bent blade or arbor runout.
If accuracy drifts, recheck the fence and bevel zero. Most issues come from dust under the throat plate or a loose stop. The Ultimate Miter Saw Guide lists quick fixes before you call for service.
Budget, brands, and value picks
Price follows capacity, accuracy, and features.
- Entry level. Good for DIY and light trim. Expect simple fences and basic dust control.
- Mid tier. Better rails, detents, and shadow lines. Strong value for most users.
- Pro tier. Dead-on stops, smooth slides, and stout fences. Costs more but saves time.
Buying used? Check for slide slop, table flatness, and brake action. Bring a square and a scrap board. If it cuts straight and stops fast, it may be a deal. The Ultimate Miter Saw Guide explains what to test so you skip lemons.
Frequently Asked Questions
What size miter saw should I buy first?
A 10-inch compound saw fits most home projects and trim. It balances capacity, blade cost, and accuracy.
Do I need a sliding miter saw?
Get one if you cut wide boards often, like shelves or deck boards. If not, a non-slider is lighter and cheaper.
How often should I change the blade?
Change or sharpen when you see burn marks, slow feed, or fuzzed edges. A clean blade also lasts longer and cuts smoother.
Can a miter saw cut metal or plastic?
With the right blade and speed, you can cut non-ferrous metals and many plastics. Follow the blade maker’s rules and clamp the work.
Why are my cuts not square?
Check fence alignment, miter detent zero, and the bevel stop. Make a flip test cut to confirm, then dial in the stops.
Conclusion
You now know how a miter saw works, what type fits your jobs, and how to set it up for clean, repeatable cuts. You have blade tips, safety habits, and pro moves you can use today. With these skills from The Ultimate Miter Saw Guide, your next joint will look sharp and fit right.
Pick one upgrade to try on your next cut, like a zero-clearance fence or a flip stop. Then build on that win. Want more? Explore more deep dives, subscribe for new guides, or ask a question in the comments so we can solve it together.