A wood router should be maintained by disconnecting its power source, removing accumulated dust, inspecting the cord or battery system, cleaning the collet and base, checking moving parts and brushes when applicable, caring for router bits, and storing the tool in a clean, dry location. Follow the maintenance instructions for your specific router because lubrication points, brush replacement, cleaning methods, and service requirements vary by model.
For woodworkers in the United States, router maintenance is especially useful in home shops, garages, professional cabinet shops, and job sites where sawdust can quickly collect around the motor, vents, base, collet, and adjustment mechanisms. A router does not need complicated maintenance after every project, but it does need regular cleaning and inspection to keep dust and wear from becoming larger problems.
The most useful routine is simple: disconnect the router before maintenance, remove loose dust, inspect the tool, clean the bit and collet area, check the base and adjustment mechanisms, and address any damaged electrical or mechanical parts before the next cut. Fine dust can contribute to overheating, switch problems, brush wear, and restricted cooling airflow, while dirty adjustment mechanisms can make depth changes less predictable.
This guide focuses on maintenance for handheld woodworking routers, including fixed-base, plunge, compact, and cordless models commonly used in U.S. woodworking shops. It does not replace the owner’s manual. When the manufacturer’s instructions conflict with a general maintenance practice, use the instructions for the exact router model.
Source: images.pexels.com
Why Regular Router Maintenance Matters
Router maintenance is mainly about controlling dust, heat, wear, and mechanical movement. A router’s motor depends on airflow for cooling, while its collet must hold the bit securely and its base must move or lock predictably. Sawdust and resin can interfere with each of these functions.
Dust is particularly troublesome because fine particles can reach ventilation openings, switches, electronic controls, bearings, adjustment mechanisms, and the area around the collet. Accumulation does not automatically mean a router is unsafe, but heavy buildup can restrict airflow and contribute to heat and mechanical problems.
Maintenance also gives you a chance to find problems before they become failures. A damaged power cord, loose base screw, worn brush, cracked plastic component, contaminated collet, or router bit with damaged cutting edges is easier to address before the tool is returned to a high-speed cutting operation.
Source: images.finewoodworking.com
Dust control
Remove accumulated sawdust from vents, the base, adjustment mechanisms, and other accessible areas so debris does not interfere with cooling or movement.
Mechanical inspection
Check the base, locks, depth controls, collet, nut, bearings, screws, and accessories for looseness, damage, or unusual movement.
Electrical inspection
On corded models, inspect the plug, cord, strain relief, and switch. On cordless models, inspect the battery, contacts, and tool housing according to the manufacturer’s instructions.
Cutting-tool care
Keep router bits clean, sharp, and free from resin or pitch buildup, and replace bits that are cracked, damaged, excessively worn, or otherwise unsuitable for use.
How Often Should You Maintain a Router?
The right interval depends on how often the router is used, the material being cut, the amount of dust produced, and whether the router is connected to effective dust collection. A light-use hobby router may need a deeper cleaning less often than a router used every day in a cabinet shop.
A quick inspection before use is appropriate regardless of workload. Perform additional cleaning whenever visible dust accumulates around the vents, base, collet, or adjustment mechanisms. Follow the owner’s manual for scheduled inspections, lubrication, carbon-brush checks, and service intervals because these requirements differ between models.
Before each use
Check the router body, cord or battery system, bit, collet, base, switches, and visible fasteners.
After dusty work
Remove loose sawdust from the tool and clear dust-collection passages and the base before storing the router.
Periodic deeper maintenance
Inspect adjustment mechanisms, brushes where applicable, bearings, collet components, and other serviceable parts according to the manufacturer’s instructions.
How to Clean a Wood Router Step by Step
The safest cleaning routine starts with removing the router from its power source and allowing it to stop completely. Unplug a corded router. For a cordless router, remove the battery. Do not rely only on the power switch being in the off position.
Place the tool on a stable work surface and inspect it before blowing or brushing away debris. This makes it easier to notice cracked parts, loose screws, damaged insulation, or other problems that could otherwise be hidden beneath dust.
Source: media.popularwoodworking.com
1. Disconnect the power source
Unplug the cord or remove the battery before maintenance. Keep the power source separated from the tool while working.
2. Remove loose dust
Use a soft brush, vacuum, or manufacturer-approved low-pressure air method to remove sawdust from accessible areas. Avoid forcing debris deeper into the motor or electronics.
3. Clean the ventilation openings
Clear dust from the motor’s air inlets and outlets. Restricted airflow can reduce cooling efficiency and contribute to heat buildup.
4. Clean the base
Wipe the base and remove resin or debris that could interfere with smooth movement across the workpiece.
5. Clean adjustment mechanisms
Remove dust from fixed-base height adjustments, plunge guide rods, depth stops, locks, and threaded mechanisms. Use the lubricant specified by the manufacturer where lubrication is required.
6. Clean the collet area
Remove the bit and clean accessible surfaces around the collet, collet nut, spindle, and bit shank. Keep the gripping surfaces clean and free of residue.
7. Wipe the exterior
Use a clean cloth to remove remaining dust and grime. Follow the manual’s restrictions on solvents because some plastics and finishes can be damaged by aggressive cleaners.
Should You Use Compressed Air on a Router?
Compressed air can be useful for removing fine dust, but pressure and technique matter. High-pressure air can push debris farther into switches, bearings, electronics, or other areas instead of removing it. If compressed air is permitted by the manufacturer, use it carefully and wear appropriate eye protection and respiratory protection for the dust involved.
A vacuum and soft brush are often useful for first removing larger debris. When using air, direct dust away from yourself and from sensitive openings where possible. Never clean a connected electrical tool with a method that could create an electrical hazard.
What Should You Avoid When Cleaning a Router?
Avoid flooding the motor or electrical controls with liquid cleaner. Do not use gasoline, solvents, or other chemicals on plastic components unless the manufacturer specifically permits them. Do not scrape precision collet surfaces with abrasive materials that could alter their fit.
Do not use maintenance as an excuse to disassemble a router farther than the owner’s manual allows. Internal electrical, bearing, electronic-control, and motor repairs can require specialized procedures and replacement parts.
Inspect the Collet, Router Bit, and Base
The collet is one of the most important maintenance points because it transfers clamping force to the router bit shank. Dust, resin, corrosion, or damaged mating surfaces can interfere with proper bit retention. Before reinstalling a bit, inspect the shank and collet and remove contamination using a method appropriate for the specific router.
Do not assume that tightening the collet harder fixes every bit-retention problem. An incorrect shank diameter, contaminated or worn collet, damaged bit shank, incorrect assembly, or a damaged collet nut can all contribute to poor retention. If the bit still slips after correct cleaning and installation, stop using the router until the cause is identified.
Source: woodcraft.com
Router bit shank
Look for scoring, rust, contamination, deformation, or other damage. Do not use a damaged bit.
Collet
Check for dust, resin, corrosion, cracks, deformation, or other damage. Clean it according to the router manufacturer’s instructions.
Collet nut
Inspect the nut and its threads for damage or contamination. Make sure the collet is seated correctly before tightening.
Base and subbase
Check for cracks, looseness, damaged mounting holes, or anything that could affect the router’s stability or alignment.
Guide bearings
On bearing-guided bits, check that the bearing turns smoothly and is not packed with resin or debris.
How to Clean a Router Bit
Remove loose dust first, then use a cleaner intended for router bits or cutting tools if resin and pitch remain. Follow the cleaner’s instructions and use suitable ventilation and protective equipment. A soft or brass brush may help remove stubborn residue, but avoid damaging carbide cutting edges.
Bearing-guided bits require additional care. Do not assume that soaking the entire assembly in solvent is safe for the bearing. Follow the bit manufacturer’s cleaning instructions, particularly when the bit contains a sealed or lubricated bearing.
How to Check the Router Base
The router base should sit securely against the workpiece and should not have cracks or excessive movement. Check the base-locking mechanism, depth adjustment, subbase screws, guide-bushing components, and any attached edge guide.
A damaged base or mounting component can change cutting depth or stability. Do not operate a router with a broken or missing structural component simply because the motor still runs.
Maintain the Motor, Brushes, Bearings, and Moving Parts
Motor maintenance depends heavily on the router design. Some corded routers use replaceable carbon brushes, while many modern cordless routers use brushless motors. Never assume that a brush replacement procedure applies to every router.
If your router has accessible carbon brushes, follow the owner’s manual for inspection and replacement. Manufacturer instructions commonly specify a wear limit and require both brushes to be replaced together. A router that suddenly loses power, develops excessive sparking, or behaves differently under load may need brush inspection or professional service, but those symptoms can also have other causes.
Bearings are another reason to pay attention to dust and abnormal sound. A router that develops unusual vibration, grinding, rattling, excessive heat, or a noticeable change in motor sound should not simply be kept in service until it fails. Disconnect it and determine whether the issue can be addressed through the manufacturer’s maintenance procedure or requires service.
Source: upload.wikimedia.org
Carbon brushes
Check only when the router design includes serviceable brushes and the manual permits user inspection. Replace them according to the specified wear limit and procedure.
Brushless motors
Do not look for carbon-brush replacement on a brushless design. Focus on external cleaning, ventilation, battery care, and manufacturer-specified service.
Bearings
Watch for abnormal noise, vibration, heat, or rough operation. Bearing replacement is often a service task rather than routine user maintenance.
Plunge guide rods
Keep guide rods clean and use only the lubricant recommended for the particular router. Excess wet lubricant can attract dust.
Depth adjustment
Remove debris from threads, gears, depth stops, and locking surfaces so adjustments remain predictable and secure.
When Should Router Brushes Be Replaced?
There is no single brush-replacement interval that applies to every router. Some manuals specify an inspection or replacement point based on remaining brush length, while others provide different service instructions. Use the exact limit in your router’s manual.
Replace brushes as a matched set when the manufacturer’s instructions require it. If the spring, wire, holder, or brush is damaged or burned, do not continue operating the router until the problem is addressed.
How Much Lubrication Does a Router Need?
Most routine router maintenance does not involve adding large amounts of lubricant. Lubrication requirements are model-specific. Some plunge and height-adjustment mechanisms may require a specified lubricant, while other areas should remain dry or be serviced only by an authorized technician.
Use the smallest amount needed on approved surfaces. A wet, oily coating can collect sawdust and create a paste that interferes with moving parts. Never lubricate the inside of a collet where the bit must grip unless the manufacturer’s instructions specifically say to do so.
Dust Collection, Storage, and a Practical Maintenance Schedule
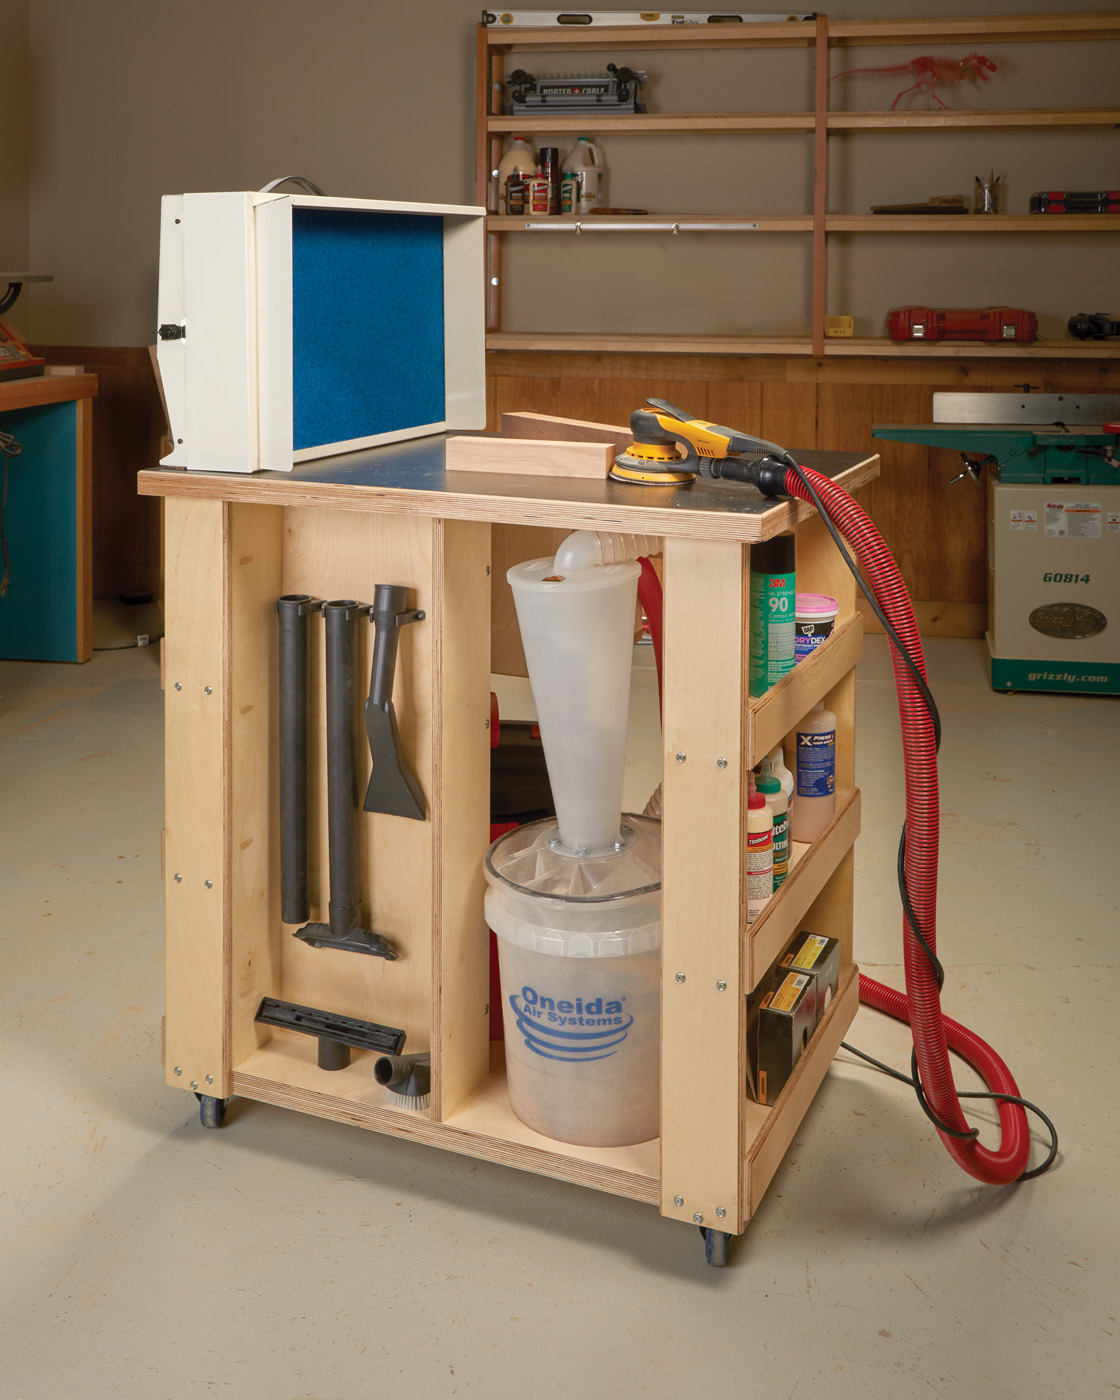
Good dust collection is part of router maintenance, not just workshop cleanup. Capturing chips and fine dust near the cutting area reduces the amount of material that can reach the router and surrounding mechanisms. This is especially useful for routers mounted in tables or used frequently in enclosed shop setups.
For U.S. woodworkers, dust control also matters for personal exposure. Use appropriate dust collection and respiratory protection based on the material, equipment, and conditions in your shop. Wood dust can present health hazards, so maintenance should not be performed by simply blowing large amounts of dust around an enclosed workspace.
Source: onpoint-services.co.uk
Use dust extraction
Connect a suitable dust extractor or shop vacuum when the router and accessory support it, and keep hoses and collection passages clear.
Clean the extractor
A clogged filter or full collection container can reduce extraction performance, allowing more dust to remain around the router.
Store the router dry
Keep the tool away from excessive humidity and protect exposed metal parts from conditions that encourage corrosion.
Protect the bit
Remove bits when appropriate for your storage setup and keep cutting edges protected from impact.
Keep accessories together
Store collet components, wrenches, guide bushings, edge guides, and manufacturer-supplied accessories where they will not be lost or damaged.
A Simple Router Maintenance Schedule
A practical schedule should respond to use rather than an arbitrary calendar. The more dust and operating time a router sees, the more frequently it should be cleaned and inspected.
The schedule below is a general workflow rather than a replacement for a manufacturer’s maintenance timetable.
Before every use
Inspect the bit, collet, base, power source, switch, and visible hardware. Confirm that the bit is properly installed.
After each dusty session
Remove sawdust from accessible vents, the base, adjustment areas, and dust-extraction passages.
Periodically
Perform a deeper inspection of the collet, adjustment mechanisms, guide rods, brushes where applicable, cord, plug, battery interface, and structural components.
When symptoms appear
Stop and investigate abnormal vibration, unusual noise, excessive heat, strong sparking, burning odor, loss of power, bit movement, or difficulty locking the base.
Signs That a Router Needs Service
Routine cleaning is not a substitute for repair. Stop using the router if a maintenance inspection reveals a damaged cord or plug, cracked housing, broken base, damaged safety switch, severe or unusual electrical sparking, persistent burning odor, significant vibration, abnormal bearing noise, or a bit-retention problem that remains after correct cleaning and installation.
For complex electrical, electronic, motor, bearing, or structural repairs, use the manufacturer’s authorized service process when appropriate. If a component is required for safe operation and it is damaged or missing, do not improvise a repair that has not been approved by the manufacturer.
Router Maintenance Troubleshooting: Symptoms and Likely Causes
When a router behaves differently from normal, start with the simplest and safest checks. Disconnect the power source before inspecting or cleaning anything near the bit, collet, motor, or moving mechanisms. The symptom can point toward several possible causes, so avoid replacing parts based on one symptom alone.
Source: images.unsplash.com
Router overheats
Check for blocked ventilation, heavy dust buildup, overloaded cutting, a dull or dirty bit, excessive cutting depth, or a mechanical problem. If overheating continues after the basic checks, stop using the tool and have it evaluated.
Router loses power
Possible causes include worn brushes on applicable models, electrical problems, battery issues on cordless models, overloaded cutting, or internal faults. Check the manual and service requirements rather than assuming the brushes are responsible.
Bit slips in the collet
Check the bit shank diameter, collet cleanliness, collet seating, collet condition, nut condition, and installation procedure. Replace damaged components as specified by the manufacturer.
Plunge action feels rough
Inspect guide rods and plunge mechanisms for dust, resin, corrosion, or contamination. Clean and lubricate only according to the model’s maintenance instructions.
Depth adjustment moves unexpectedly
Inspect the locking mechanism, threads, clamp tension, depth stop, and adjustment components. Do not operate the router if the cutting depth cannot be reliably secured.
Router vibrates unusually
Check whether the bit is damaged, incorrectly installed, contaminated, or unsuitable for the router. Persistent vibration can also indicate a mechanical or bearing problem and should be investigated before continued use.
Router makes a new grinding or rattling sound
Stop the tool and investigate. A new mechanical noise can indicate bearing, fan, housing, accessory, or other mechanical problems that cleaning alone may not resolve.
When Cleaning Does Not Fix the Problem
If cleaning and correct setup do not restore normal operation, do not keep running the router to see whether it improves. Persistent symptoms can indicate worn components or an electrical or mechanical fault. Consult the owner’s manual, check whether the model is covered by a manufacturer service program, and use qualified repair support when the repair exceeds routine maintenance.
Frequently Asked Questions
Q
How often should I clean my wood router?
Clean visible dust after dusty work and perform a quick inspection before each use. A deeper maintenance inspection should be based on how frequently the router is used, the amount of dust produced, and the requirements in the owner’s manual.
Q
Can I use WD-40 to lubricate my router?
Do not assume that WD-40 or another general-purpose lubricant is suitable for every router component. Lubrication requirements vary by model, and wet lubricants can attract sawdust. Use only the lubricant and locations specified by the router manufacturer.
Q
How do I know if my router carbon brushes are worn out?
If your router uses replaceable carbon brushes, check them according to the manufacturer’s procedure and wear limit. Loss of power, unusual sparking, or intermittent operation can be signs of brush wear, but they can also indicate other faults. Brushless routers do not use conventional carbon brushes.
Q
Should I remove the router bit after every use?
Removing the bit after use can make inspection, cleaning, and storage easier, but the correct practice depends on your workflow and storage method. Regardless of whether the bit remains installed, inspect the shank, cutting edges, and collet before the next operation.
Q
Why does my router get hot during use?
Some heat is normal during motor operation, but excessive or rapidly increasing heat can indicate restricted airflow, heavy dust buildup, a dull or dirty bit, an aggressive cut, excessive feed or load, or a mechanical or electrical problem. Clean the tool and check the cutting setup. If abnormal heat continues, stop using the router and investigate the cause.
✦ Wrapping Up
Conclusion
A good router maintenance routine does not need to be complicated. Disconnect the tool before servicing it, remove dust regularly, keep the collet and bit clean, inspect the base and adjustment mechanisms, monitor the motor and ventilation openings, and follow the exact service instructions for your model.
The most valuable maintenance habit is catching small changes early. A dirty collet, clogged vent, loose base component, damaged bit, worn brush, or unusual vibration can provide a warning before a larger failure develops. When a problem involves electrical components, internal motor parts, damaged structural components, or a safety-critical mechanism, use the manufacturer’s service instructions or qualified repair support instead of improvising.
💡 Key Takeaway
Before your next routing session, unplug or remove the battery, inspect the bit and collet, clear visible dust from the router and vents, check the base and adjustment locks, and confirm that the tool operates normally before making a cut.