
The right woodworking sander saves time, boosts quality, and keeps dust down.
You are here for The Complete Woodworking Sander Guide, and you will get it. I have built furniture in small shops and busy job sites. I have burned boards, chased swirl marks, and learned better ways. This guide explains each tool, shows real workflows, and helps you pick the best woodworking sander for your projects. Read on and work smarter, safer, and faster.
Types of sanders and when to use them
Choosing the right woodworking sander starts with the task. Each tool shines in a narrow lane. Use the one that fits the shape, size, and finish you want.
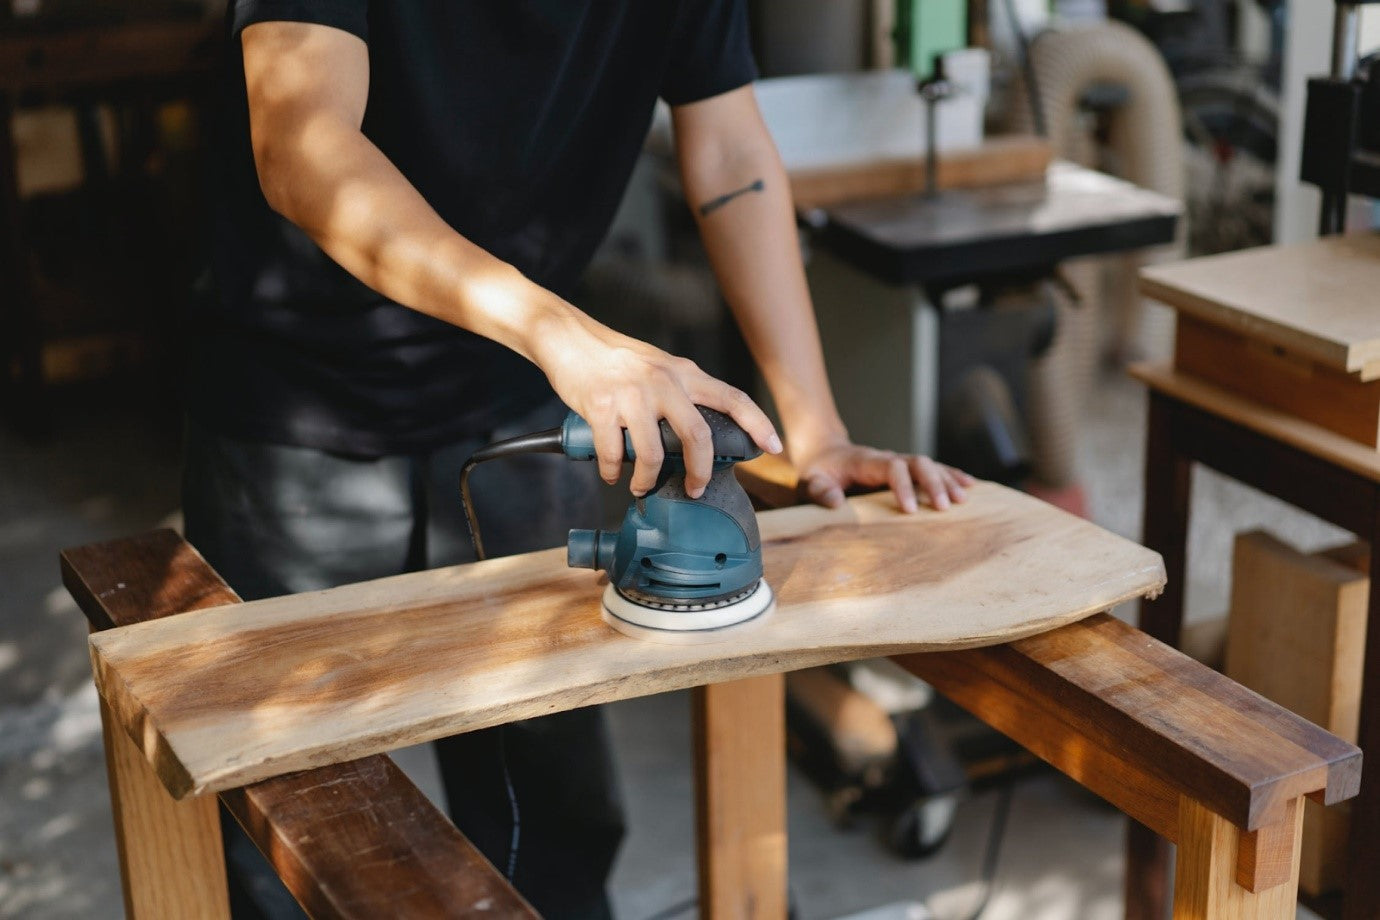
Random orbital sander (ROS)
- Best for most flat work. It blends speed and a fine finish.
- The pad moves in tiny orbits and spins. This cuts fast and hides patterns.
- Common sizes: 5-inch and 6-inch. A 6-inch ROS removes stock faster and runs cooler.
Finishing sander (quarter- or half-sheet)
- Great for final passes on veneer, trim, and between coats.
- It vibrates in a small pattern. This leaves a very even scratch.
- Works well along edges and into corners with a square pad.
Belt sander
- A power tool for fast stock removal, leveling, and flattening glue-ups.
- Use a steady hand and keep it moving. It can gouge in a blink.
- Common belt sizes are 3 by 21 inches and 4 by 24 inches.
Detail sander (aka “mouse” sander)
- Triangular pad reaches corners and tight spots.
- Best for small parts, carvings, and window muntins.
- Not a heavy remover, but handy for cleanup.
Oscillating spindle sander
- For inside curves. The drum spins and moves up and down.
- Leaves a smooth, even curve on arches and templates.
- Great on solid wood and plywood edges.
Disc sander and combination belt/disc
- Fixed table. Fast shape control on small parts and miters.
- Use light pressure and the correct side of the disc.
- Keep the work registered to the table for safety.
Drum sander
- Thicknesses wide panels and end grain boards with fine control.
- Not a planer. Take light passes to avoid burning.
- Leaves an even scratch ready for a ROS.
A smart shop often keeps a random orbital sander ready. Add a belt sander or drum sander for heavy work. Bring in detail and spindle sanders for shapes. That mix covers almost all woodworking sander needs.
How to choose the right woodworking sander
Match the tool to your workflow, wood, and space. A good fit makes the work easy and clean.
- Project scale. Table tops and slab work favor 6-inch ROS, belt, or drum sanders. Boxes and frames do fine with a 5-inch ROS and a finishing sander.
- Material. Oily hardwoods run cooler with larger pads and stearated paper. Softwoods load paper fast, so use open-coat grits.
- Dust control. Prefer a woodworking sander with a standard vacuum port and sealed switch. HEPA-ready ports are a plus.
- Ergonomics. Low vibration, good grip, and balanced weight reduce fatigue. Test the trigger reach and pad brake.
- Power and speed. Variable speed helps on veneer and finishes. For ROS, 2.5–3 mm orbit for fine work, 5 mm for fast removal.
- Corded vs cordless. Corded wins on long runs. Cordless shines for trim work and ladders.
- Pad size and style. 5-inch is nimble and cheap to feed with discs. 6-inch runs cool and covers ground. Hook-and-loop pads are fast and gentle on discs.
Tip from the field: If you buy one woodworking sander to start, get a 5-inch ROS with vacuum hookup and variable speed. It handles 80% of tasks.

Abrasives, grits, and sanding sequence
The right paper is as key as the tool. Let the grit do the work.
- Abrasive types.
- Aluminum oxide: general use, tough, cost effective.
- Ceramic: very fast cut, cool, long life on hardwoods.
- Zirconia: great for heavy removal and belt sanders.
- Silicon carbide: super fine work, finishes, and between coats.
- Coating.
- Open coat sheds dust on softwoods.
- Closed coat cuts fast on hard woods but clogs sooner.
- Stearate helps resist loading and heat.
- Backing.
- Film-backed discs resist tearing and keep a uniform scratch.
- Paper-backed is cheaper and fine for rough work.
Standard sanding sequence for bare wood:
- Rough leveling: 60 or 80.
- Shaping and cleanup: 100 or 120.
- Pre-finish: 150 or 180.
- Clear finish ready: 180 to 220. Go higher only if the finish needs it.
Rules that save time and boards:
- Do not skip more than one grit step.
- Replace discs when dull or loaded. Heat makes swirl marks and burns.
- Use interface pads on curves to avoid flat spots.
- Mark the surface with pencil squiggles. Sand until they vanish, then move up a grit.
A dialed-in sanding sequence on a good woodworking sander beats extra coats of finish every time.

Technique: pro tips for flawless surfaces
Good technique turns a basic woodworking sander into a precision tool.
- Start the sander on the work. Lift off only after it stops.
- Keep the pad flat. Tipping makes trenches and pigtails.
- Use light, even pressure. Let the abrasive cut.
- Move slow and overlap passes. Think lawn mowing, not skating.
- Follow the grain on the last pass to hide fine scratches.
- Use dust extraction. A clean cut equals a better finish.
- Break edges by hand with a soft block. It prevents chipped finish.
- Raise the grain with a damp rag before the final pass on water-based finishes. Then sand lightly at 220.
My shop trick: I draw light pencil lines across a panel. I sand until lines are gone with each grit. It proves I removed the old scratches before moving up.

Dust collection, safety, and health
Wood dust is small, sneaky, and not good for your lungs. MDF dust is extra fine. Take it seriously.
- Capture at the source with a HEPA vac or dust extractor. Use tight ports and anti-static hoses.
- Wear a respirator that seals well. P100 or N95 filters are common choices.
- Protect eyes and ears. Sanders make steady noise that adds up.
- Keep sparks and open flame away from sanding dust and solvent rags.
- Vent the shop. A fan and clean filters help.
- Empty dust bags often to keep suction high.
Industry guidance is clear: less dust in the air means safer work and a cleaner finish. A woodworking sander paired with good dust control makes a big difference.
Maintenance, storage, and longevity
A cared-for woodworking sander runs longer and sands flatter.
- Pads and platens. Keep the pad clean. Replace hook-and-loop pads when hook fibers flatten.
- Bearings and motors. Blow out dust. Listen for growl or wobble. Replace brushes on brushed motors before they fail.
- Belts and tracking. On belt sanders, set tracking so the belt stays centered under load.
- Cords and batteries. Check strain reliefs. Do not pull by the cord. Store batteries at mid-charge.
- Abrasive storage. Keep discs flat and dry. Heat and moisture curl paper and weaken hook bonds.
- Calibration. On drum sanders, set parallel and take light passes.
A 10-minute tune-up each month will keep your woodworking sander smooth and safe.
Real-world workflows and use cases
Here are proven steps you can copy. They come from jobs that had to ship on time.
Dining table top flattening
- Scrape glue lines. Make a few belt sander passes at 80, light and even.
- Switch to 6-inch ROS at 80, then 120, 150, and 180.
- Dampen to raise grain if using water-based finish, then 220.
- Vacuum between each grit. Inspect under raking light.
Cabinet doors and face frames
- 5-inch ROS at 120 and 150 on flats.
- Hand-sand edges with a soft block at 180.
- Light pass with a finishing sander at 220 before finish.
Curved templates and arches
- Cut close to the line.
- Refine on an oscillating spindle sander with 80 and 120 sleeves.
- Quick blend with a ROS at 150.
Refinish a dresser
- Strip finish or start at 80 with a ROS and good dust collection.
- Work up to 180 or 220.
- Between coats, scuff with 320 silicon carbide. Wipe clean and recoat.
These steps keep you moving and help you get the most from any woodworking sander.

Budget and buying guide
You do not need every tool on day one. Build a kit that fits your work.
- Start here. A 5-inch variable-speed ROS with vacuum port. A soft interface pad. Paper from 80 to 220.
- Upgrade path. Add a 6-inch ROS for tops and slabs. Add a finishing sander for between coats.
- Heavy hitters. Belt sander or drum sander for flattening.
- Detail tools. A detail sander and a spindle sander for inside corners and curves.
- Cordless vs corded. Corded is steady and cheaper long-term. Cordless is handy for trim and site work.
- Accessories that matter.
- Interface pads in soft and medium.
- Quality hook-and-loop backup pads.
- HEPA vac or dust extractor with variable suction.
- Raking light to spot scratches.
Buy once, cry once applies, but bargains exist. A used pro-grade woodworking sander often beats a new budget tool. Test for smooth spin and low vibration.
Troubleshooting common sanding problems
Even pros hit snags. Here is how to fix them fast.
- Swirl marks or pigtails. Replace worn discs. Use dust extraction. Take a final slow pass with a fresh 180 or 220.
- Clogging and burning. Switch to open-coat or stearated paper. Drop one grit. Clean resin with a rubber stick.
- Wavy surface. Do not tip the sander. Use a harder pad or remove a soft interface. Slow your passes.
- Cross-grain scratches. Keep final passes with the grain. Use a finishing sander or hand-sand at 180–220.
- Belt digs and gouges. Ease pressure. Keep the belt flat and moving. Start with finer grit than you think.
- Poor dust pickup. Empty the vac, check seals, and use a snug port. Lower the suction if the sander sticks.
A calm check of grit, pad, pressure, and dust control solves most woodworking sander issues.
Frequently Asked Questions of The Complete Woodworking Sander Guide
What is the best first sander for a beginner?
A 5-inch random orbital sander is the best starter choice. It is safe, flexible, and covers most tasks in a small shop.
Which grit should I start with on raw wood?
Begin with the lowest grit that removes marks in a few passes, often 80 or 100. Move up one step at a time to 150–220.
How do I stop swirl marks with a random orbital sander?
Use light pressure, fresh discs, and dust extraction. Make slow, even passes and finish with the grain.
Can I sand between coats of finish?
Yes, scuff sand with 320–400 grit to improve adhesion. Vacuum and wipe with a clean cloth before recoating.
Corded or cordless for shop work?
Corded wins for long, steady sanding and value. Cordless is great for quick jobs, ladders, and tight spots.
How long should a sanding disc last?
A quality disc lasts until it stops cutting cleanly or loads with dust. Heat, resin, and pressure shorten its life.
Do I need a dust extractor, or is a shop vac enough?
A good shop vac with a HEPA bag and fine filter works well. A dust extractor adds variable suction, anti-static hoses, and quieter use.
Conclusion
A smart sanding plan starts with the right tool, the right grit, and calm, steady moves. Pair your woodworking sander with clean dust control and simple checks, and your finish will pop with less work. Small upgrades, like a soft interface pad or a better disc, pay off fast.
Pick one tip from this guide and try it on your next board. Then add the next. If this helped, subscribe, share a project photo, or ask a question so we can solve the next sanding snag together.