
A solid, stable bench makes every cut safer, straighter, and faster.
If you work with wood, this is the one tool that changes everything. In The Complete Woodworking Workbench Guide, I will walk you through designs, sizes, joinery, vises, workholding, and setup. I have built, rebuilt, and tuned benches for years. This guide blends shop-tested tips with clear steps so you can build or buy the right bench the first time.

What A Workbench Does (And What It Does Not)
In The Complete Woodworking Workbench Guide, the bench is not a table. It is a workholding machine. It keeps your stock flat, still, and safe while you saw, plane, sand, or chisel. The top takes dings so your tools do not.
Key jobs a good bench should do:
- Resist racking so it stays still under force.
- Hold boards flat, on edge, and at ends.
- Offer repeatable clamping spots across the top and front.
- Stay flat enough to trust for layout and glue-ups.
What a bench is not:
- Not a shiny dining table. Dents are fine.
- Not a storage black hole. Keep only what helps your work at hand.
- Not a fixed height for all. Fit it to your body and tasks.

Source: woodworkersinstitute.com
Common Bench Types And When To Choose Each
The Complete Woodworking Workbench Guide covers classic patterns because they work. Each shines for certain tools and shops.
- Roubo bench. Thick top, stout legs flush with the edge. Great for hand tools. Accepts holdfasts and a leg vise well.
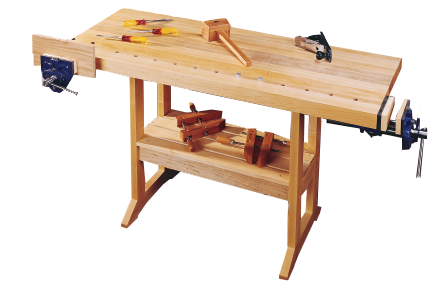
- English Nicholson bench. Wide front apron with slots for clamps. Light, strong, fast to build from construction lumber.
- Scandinavian bench. Shoulder vise and tail vise. Lovely for joinery and fine work, but complex to build.
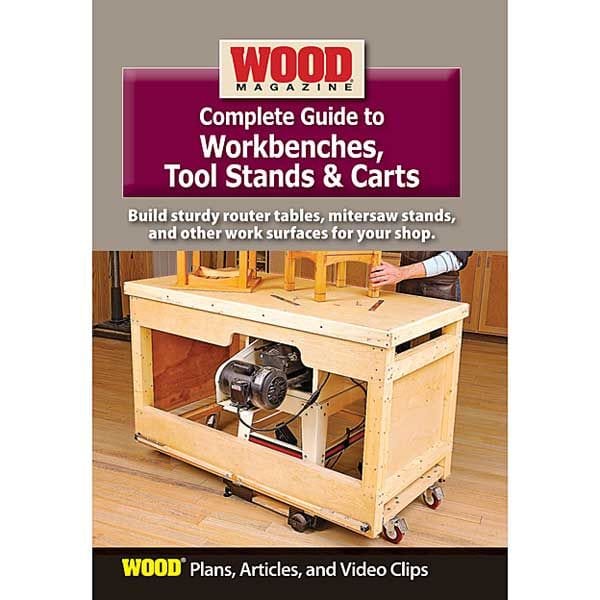
- Torsion box bench. Light and flat. Ideal for power tool and assembly work. Not for heavy holdfast use.
- Metal-framed or modular bench. Stable with adjustable height. Handy in mixed-use garages.
Pick based on:
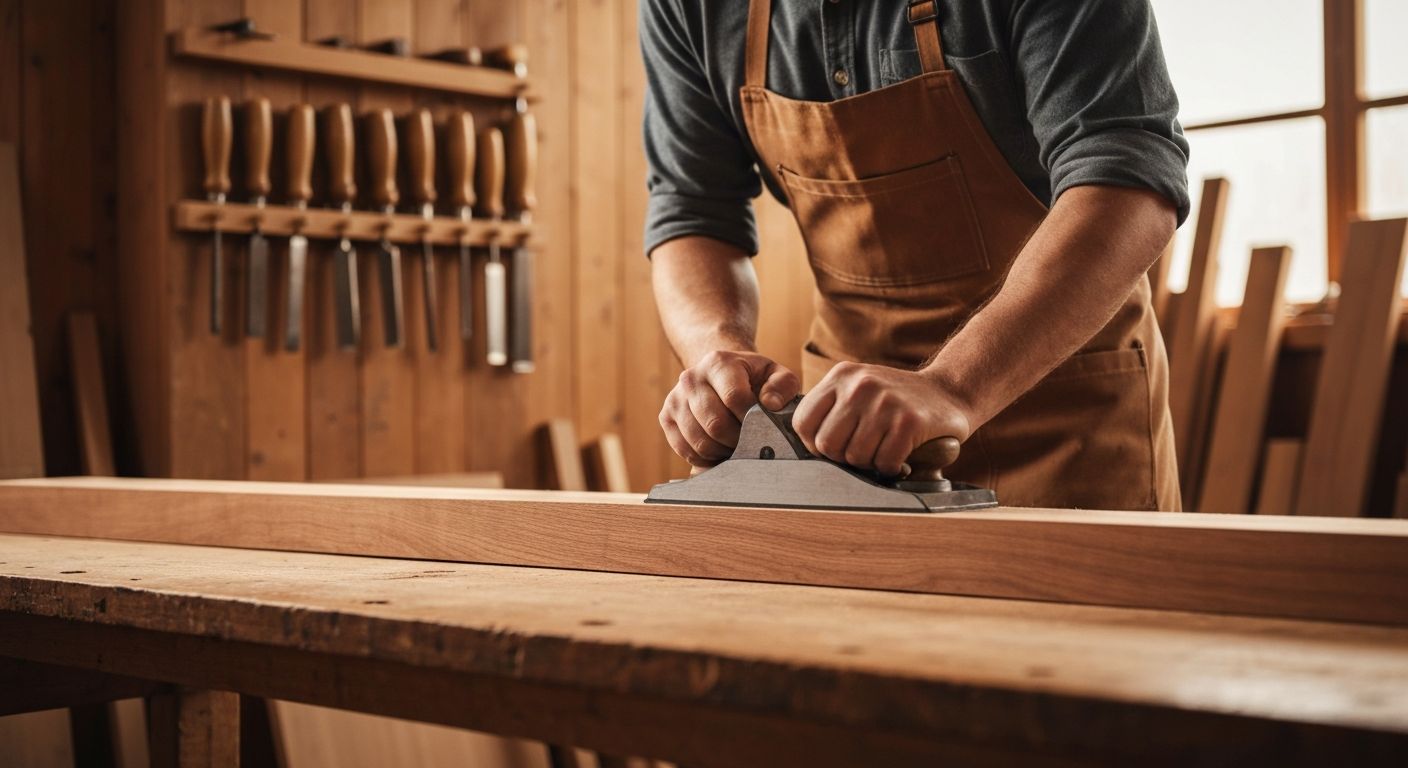
- Hand tool work. Choose mass and easy workholding. Roubo or Nicholson.
- Power tool focus. Choose flat, light, and big clamping faces. Torsion box or laminate top.
- Small shop. Choose compact, knockdown parts, or wheels.
Source: crestmontcapital.com
Anatomy, Ergonomics, And Fit
This part of The Complete Woodworking Workbench Guide explains how your body meets the bench. Fit drives comfort and accuracy.
Bench height rules of thumb:
- All-around height. About wrist crease when you stand upright. Often 34 to 36 inches.
- Hand planing and chiseling. A bit lower helps power. Often 30 to 34 inches.
- Assembly and detail work. A bit higher helps your back. Often 36 to 38 inches.
Other size cues:
- Length. 5 to 8 feet covers most work. Small shops can do 4 feet with smart workholding.
- Depth. 20 to 30 inches. Wider tops are hard to reach. Keep tools from rolling away.
- Mass. More weight means less bounce. Aim for 200 to 350 pounds for hand tools.
Comfort tips from my shop:
- Ease all edges with a small roundover. Your hips and hands will thank you.
- Add a foot rail. It shifts stance and saves your back in long sessions.

Source: amazon.com
Materials For The Base And Top
In The Complete Woodworking Workbench Guide, the best wood is the one you can get, mill, and afford.
Good options for the base:
- Southern yellow pine or Douglas-fir. Cheap, stout, easy to find.
- Hard maple, beech, or ash. Hard, stable, long lasting.
- Kiln-dried stock is best. Let it acclimate in the shop before build.
Good options for the top:
- Laminated hard maple or beech. Classic, tough, easy to flatten.
- Laminated SYP. Budget friendly and heavy when thick.
- MDF sandwich with hardboard skin. Super flat, replaceable top layer. Keep it dry.
- Pre-made butcher block. Fast and clean. Check for voids and add stiff stretchers.
Top thickness:
- Sweet spot is 3 to 4 inches for holdfasts and mass.
- MDF tops can be 2 to 3 inches in layers. Add a hardwood edge for durability.
Source: abramsbooks.com
Vises, Dogs, Holdfasts, And Workholding
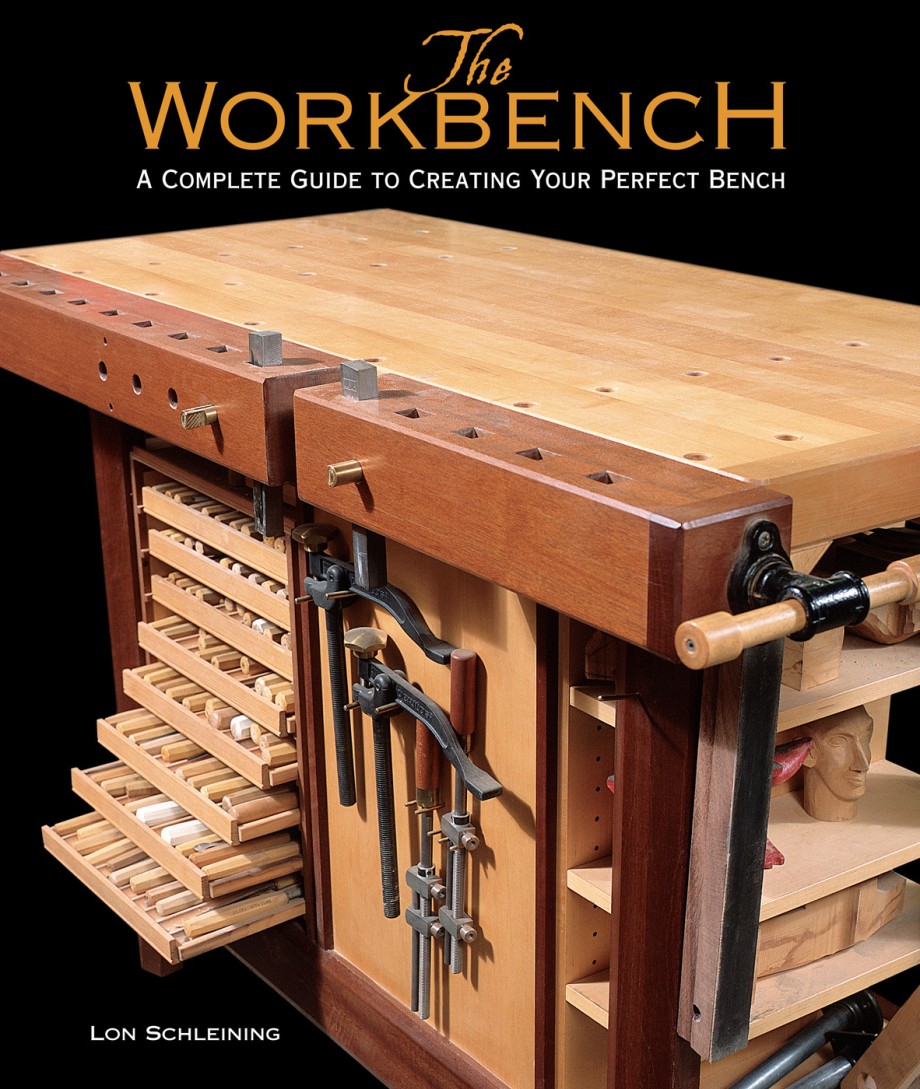
The Complete Woodworking Workbench Guide leans hard on smart workholding. It saves time and keeps hands safe.
Vises:
- Face or quick-release vise. Fast for edges and small parts.
- Leg vise. Huge clamping range and strong grip. Simple hardware, high value.
- Twin-screw vise. Keeps jaws parallel. Great for wide panels.
- Tail or wagon vise. Works with dog holes to hold boards flat.
Bench dogs and holes:
- Standard hole size is 3/4 inch. Spacing is 4 to 6 inches in a grid or rows.
- Use wood or brass dogs with a slight face tilt to grip well.
Holdfasts and clamps:
- Forged holdfasts bite best in a thick top. A mallet tap sets and releases them.
- Add planing stops, doe’s feet, and cam clamps for fast setups.
- A simple planing stop can replace a vise for many tasks.
Pro tip:
- Build a few bench hooks, shooting boards, and Moxon vise add-ons. They turn one bench into many stations.

Source: lostartpress.com
Bench Joinery That Lasts
In The Complete Woodworking Workbench Guide, the joinery sets the tone for decades.
Strong methods:
- Through mortise and tenon with drawbore pins. Tight and glue-free if you want knockdown later.
- Wedged tenons. Lock tight even with wood movement.
- Tusk tenons on stretchers. Easy to take apart for moves.
Knockdown options:
- Bed bolts or barrel nuts in stretchers.
- Half-lap or bridle joints for aprons on Nicholson styles.
Allow for movement:
- Slot the holes in the base-to-top hardware. The top must move across its width with the seasons.
Source: foxchapelpublishing.com
Dimensions And Layout You Can Trust
This section of The Complete Woodworking Workbench Guide gives you measured targets that work.
Reliable layout:
- Leg faces flush with the front edge for easy clamping.
- 3 to 6 inches of end overhang for vise hardware and clamping.
- Dog hole rows set parallel to the front edge and tail vise.
Sample sizes that fit most:
- 72 inches long by 24 inches deep by 34 inches high.
- 96 by 28 by 35 if you have space and move sheet goods.
- 48 by 20 by 33 for a small room with hand tools.
Surface flatness:
- Aim for flat within about 0.5 mm or 1/64 inch over the work area. Close is fine. You will re-flatten now and then.
Source: woodcraft.com
Step-By-Step: Build Outline From Rough Boards To First Shavings
Here is the hands-on core of The Complete Woodworking Workbench Guide. Keep it simple and steady.
Plan and mill:
- Pick a design and size. List every part and cut list.
- Mill legs and stretchers square. Let parts rest to release stress.
Build the base:
- Cut mortises and tenons. Test fit. Drawbore if you can.
- Add a lower shelf or rails. Check all for square.
Laminate the top:
- Rip boards to remove cup. Flip grain for balance.
- Glue in sections you can handle. Then glue sections to a full slab.
Flatten and fit:
- Use a jack plane across and along the grain. Or use a router sled.
- Square the front edge. Ease corners. Mark dog hole lines.
Drill and install:
- Drill 3/4 inch dog holes with a guide block for clean, plumb holes.
- Fit vises. Bolt and shim as needed. Add a planing stop.
- Attach the top with slotted holes or buttons so it can move.
Final tune:
- Check height with a mock task. Trim legs if needed.
- Apply a simple finish. Then make your first shavings.

Source: woodstore.net
Finishes, Flattening, And Care
In The Complete Woodworking Workbench Guide, finishes stay simple. You want grip, not gloss.
Best choices:
- Boiled linseed oil with a little wax. Wipe on. It resists glue and feels warm.
- Shellac seal coat for MDF skins. Then paste wax.
- Avoid thick poly. It is slick and chips under tools.
Care routine:
- Scrape dried glue after each job.
- Spot plane high spots. Re-flatten once or twice a year as needed.
- Keep the bench dry and off cold concrete if the shop sweats.
Storage, Mobility, And Add-Ons
This part of The Complete Woodworking Workbench Guide leans into real shop life. The bench is a hub, not a closet.
Smart storage:
- One deep shelf holds planes at hand. Use trays to stop roll-offs.
- Shallow drawers for layout tools. Deep drawers collect dust and junk.
- A tool well can help if you keep it clean. Or skip it.
Mobility:
- Retractable casters move a heavy bench with one foot. Drop to fixed feet for work.
- Lock the bench to a wall for planing if it still walks.
Add-ons that pay back:
- Moxon vise for dovetails at eye level.
- Sliding deadman to support long boards on the front.
- Power strip under the front rail. Good cord control, no trip points.
Safety, Accuracy, And Workflow
The Complete Woodworking Workbench Guide keeps safety up front. A stable bench is the start.
Safety notes:
- Clamp or holdfast every cut. Hands are not clamps.
- Keep the top clear. A tidy bench is a safe bench.
- Stand to the side of push strokes. Plan escape paths for slips.
Accuracy habits:
- Work against a planing stop when you can. It is faster and square.
- Mark a home corner on the top for layout datum.
- Keep a straightedge and winding sticks at the bench. Check flat often.
Workflow tips from experience:
- Set zones. Left for cutting. Center for joinery. Right for glue-ups. Change to fit your hand.
- Mount the main vise for your dominant hand. I am right-handed, so my face vise is on the left. Left-handed folks flip the plan.
Build Or Buy: Budget And Brand-Agnostic Advice
In The Complete Woodworking Workbench Guide, both paths work. Pick the one that gets you working sooner.
When to build:
- You want custom size, height, and vises.
- You enjoy the process and have basic tools.
- You want to save money with construction lumber.
When to buy:
- You need to work now and lack time to build.
- You want tight hardware and a flat top out of the box.
- You can pay more for less hassle.
Budget tips:
- Use SYP 2x stock for the base and top lamination. It is strong and cheap.
- Buy one great vise now. Add a tail vise later.
- Watch for used benches from schools or shops. Re-flatten and refresh.
Real-World Lessons, Mistakes, And Fixes
This slice of The Complete Woodworking Workbench Guide comes from my early builds. Learn from my errors.
Mistakes I made:
- My first bench was too tall. Planing hurt my shoulders. I trimmed an inch and it changed my life.
- I drilled dog holes off-line. My tail vise did not line up. I made a pegged template and re-drilled in a clean row.
- I made the top too narrow for panel glue-ups. I now use 24 to 26 inches and a sliding support.
Fixes that work:
- If the bench racks, add a back stretcher or a plywood shear panel.
- If it moves on the floor, add rubber feet or lag it to a wall cleat.
- If the top dips, use a router sled and light passes. Then plane for finish.
Sustainable Choices And Long-Term Value
The Complete Woodworking Workbench Guide also cares about the planet and your wallet.
Sustainable picks:
- Use local species. Pine, fir, ash, or beech travel less.
- Buy rough lumber and mill it. You waste less, and you learn more.
- Keep finishes low-VOC and wipe-on.
Long-term value:
- Build the base once. Swap or rebuild the top when needed.
- Choose hardware that can move to your next bench.
- A good bench outlives its maker. Think in decades, not years.
Frequently Asked Questions of The Complete Woodworking Workbench Guide
What is the best height for a woodworking bench?
Most folks start at wrist crease height, about 34 to 36 inches. Lower for heavy hand planing, higher for assembly and detail work.
How thick should a workbench top be?
Aim for 3 to 4 inches for holdfast grip and mass. MDF tops can be layered to reach 2 to 3 inches with a hard skin.
Do I need a tail vise?
No, but it speeds face planing with dogs. A planing stop and holdfasts can cover most tasks on a budget.
What wood should I use for a first bench?
Southern yellow pine or Douglas-fir are great and cheap. If you can afford it, hard maple or beech add wear resistance.
How flat does a workbench need to be?
Flat within about 1/64 inch over the main work area is fine. Re-flatten once or twice a year with a plane or router sled.
Can I build a good bench with basic tools?
Yes. A saw, drill, chisels, and a plane can do it. Break the build into steps and keep joints simple and square.
Where should I place dog holes?
Use 3/4 inch holes in rows 4 to 6 inches apart. Keep a main row parallel to the front edge to pair with a tail vise or stops.
Conclusion
A good bench is a partner, not a prop. You now know how to size it, pick materials, choose vises, add dogs and holdfasts, and tune it for safe, accurate work. Use these steps from The Complete Woodworking Workbench Guide to plan, build, or buy with confidence.
Start small if you must, but start. Sketch your bench, set your height, and mill the first leg this week. When you are ready for more tips and plans, explore my other guides, subscribe for updates, or share your build notes so we can learn together.