
Smart storage saves time, protects tools, and makes woodworking safer and more fun.
You want a clean, fast, and safe shop. You want a plan you can trust. The Ultimate Woodworking Storage Guide gives you a simple system that fits any space and any budget. I’ve set up crowded garages, shared maker spaces, and pro studios. This guide blends hands-on lessons, solid shop math, and proven layouts you can copy today.
Assess Your Space and Needs
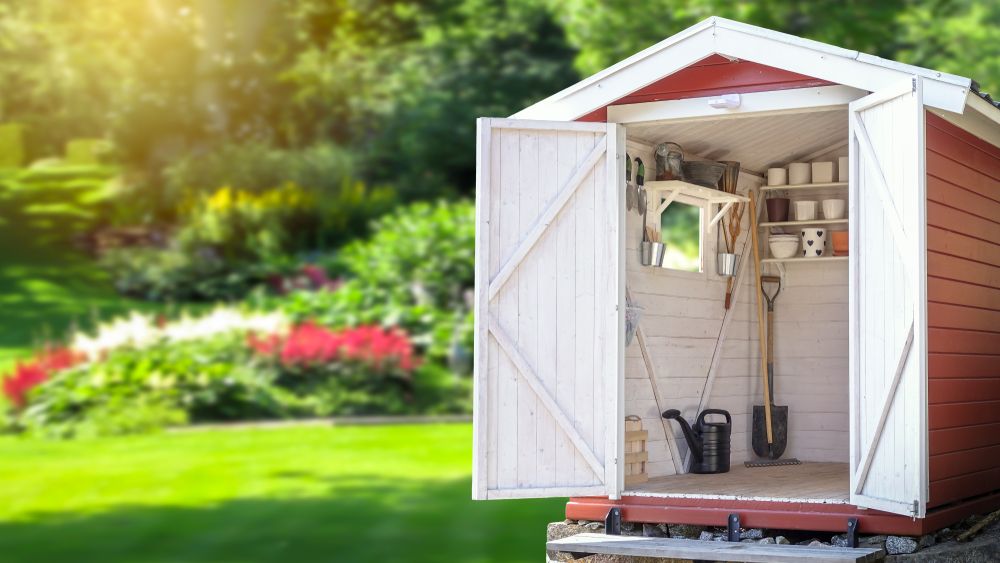
In The Ultimate Woodworking Storage Guide, every good plan starts with a map. Grab a tape, a notepad, and track your real space. Note outlets, doors, windows, heaters, and low ceilings. Mark where dust and noise matter.
List what you own by category. Sort tools, lumber, fasteners, and finishes. Then highlight what you use most. This helps you set reach zones. Keep daily tools near waist to eye level. Park heavy gear low. Store long stock near the door.
Do a quick flow test. Walk a fake project from rough cut to finish. Watch for bottlenecks. Fix the worst one first.

Core Principles of Smart Shop Storage
The Ultimate Woodworking Storage Guide uses four rules: visibility, access, safety, and flexibility. If you can’t see it, you won’t use it. If you can’t reach it, you’ll avoid it. Keep hazards locked down. Make it easy to change as your work grows.
Use clear bins, labels, and color codes. Standardize containers and shelf spans. Put wheels on what moves. Keep working surfaces clear by giving every item a home. Keep two feet of clear walkway.
Set a reset habit. At day’s end, spend five minutes to return tools. This small win stops clutter creep.

Tool Storage: Hand Tools, Power Tools, and Blades
In The Ultimate Woodworking Storage Guide, hand tools live on open walls. Use a French cleat rail for modular racks. Hang chisels, squares, and saws in shaped holders. You will grab the right tool fast and avoid drawer rattles.
For cordless tools, build a charging station. Add a power strip with surge protection. Give each drill and driver a cubby. Store batteries at room temp and off the charger when full. For table saw blades and router bits, use cases or slots that protect edges. Add a note card for tooth count and last sharpen date.
My first shop kept bits in a junk drawer. I ruined cutters by clanking steel on steel. A simple foam-lined tray fixed that for good.
Lumber, Sheet Goods, and Offcuts
The Ultimate Woodworking Storage Guide treats wood like inventory. Keep hardwood upright in a wall rack. Sort by species and thickness. Store sheet goods on a rolling cart. Angle them a bit so they do not warp.
Cull offcuts by size, not hope. Keep three bins: thin strips, panels, and turning blanks. If it will not be used in 90 days, donate it or make shop jigs. Label moisture or move new boards to a stickered rack to acclimate.
If you have a tiny shop, mount a collapsible lumber rack above the garage door. It saves floor space and keeps 8-foot stock safe.
Hardware, Fasteners, and Small Parts
In The Ultimate Woodworking Storage Guide, small parts get a clear, labeled view. Use drawer cabinets with modular bins. Pick one bin size per category. The same size stacks better and saves time.
Label the front and the lid. Add a sample screw or dowel on the label. It stops mix-ups. Sort by function first, then by size. Keep repair sets and odd screws in a quarantine bin. Review that bin monthly and purge.
A magnetic tray near the assembly bench pays off. I stopped losing one washer per project once I added it.

Finishes, Glue, and Chemicals: Safety and Storage
The Ultimate Woodworking Storage Guide puts safety first. Store flammables in a rated cabinet with self-closing doors when you can. Keep rags that touched oil in a metal can with a tight lid. Many fires start in oily rag piles.
Keep glue sealed and upright. Wipe tips with a damp rag. Store finishes between 60–75°F for longer life. Note open dates on cans. Use bloom-free glass jars for small batches and label mix ratios.
Vent the finish zone. A small fan and a carbon filter help. Wear gloves and eye protection. Read the safety data sheet for each product.
Jigs, Clamps, and Fixtures
In The Ultimate Woodworking Storage Guide, jigs live on cleat panels with tags. Note what tool they match and the last test cut. Thin jigs hang. Heavy jigs slide into vertical slots.
Clamps need space and speed. Use a wall rack with deep arms for bar clamps. Keep spring clamps on dowels. Place glue-up clamps near your assembly table. Build a mobile clamp cart if you do lots of panels.
I once stacked clamps in a barrel. It ate time and scratched jaws. A simple ladder-style rack changed my build pace overnight.

Mobile Bases, Carts, and Workflow Zones
The Ultimate Woodworking Storage Guide uses wheels to flex the shop. Put planers and spindle sanders on mobile bases. Roll them out only when needed. Keep carts narrow, stable, and with lockable casters.
Create zones in a U or L flow. Rough mill by the door. Joinery in the middle. Assembly and finish toward the clean end. Use a flip-top cart to swap between tools while saving space.
Mark parking spots on the floor with tape. It stops drift and keeps paths clear.

Dust, Cords, and Hidden Storage
In The Ultimate Woodworking Storage Guide, dust control is storage too. Run a main line high and drops where you cut the most. Use blast gates close to each tool. Keep filter bags clean. A tidy dust path saves lungs and time.
Tame cords and hoses with reels and hooks. Use cable sleeves for bundles. Add a small drawer under each bench for hex keys and setup gauges. Hide long jigs behind doors with French cleats inside.
If your shop shares a garage, hang a curtain track. It keeps sawdust off cars and gives you a clean finish bay.
Budget, Materials, and DIY Builds
The Ultimate Woodworking Storage Guide is friendly to any budget. Use plywood and pocket screws for fast builds. Edge with hardwood only where strength matters. Reuse cabinets and add cleat backs.
Spend where it counts. Buy good casters, strong anchors, and quality drawer slides. Skimp on fancy doors and trim. Paint or seal shop furniture. It boosts light and cleans fast.
Plan builds in sprints. Do a weekend wall panel. Next month, add the charging station. Keep momentum high with small wins.
Maintenance, Labeling, and Systems
The Ultimate Woodworking Storage Guide treats labels as road signs. Use big, simple text. Color code by category. Add QR codes if you love digital lists. Link to a parts list or cut sheet.
Make a 10-minute weekly reset. Empty pockets, sweep, and restock glue and sandpaper. Add a quarterly audit. Ask what is in the way. If a tool lives on the bench, it needs a home.
Track consumables. Put a hash mark on the box when you open it. When you hit three marks, reorder. No more late-night screw runs.
Sample Layouts for Any Shop Size
The Ultimate Woodworking Storage Guide includes tested layouts.
- One-car garage: Fold-down outfeed, wall-mounted cleats, vertical sheet cart, and a flip-top planer/sander. Keep the miter saw on a rolling stand.
- Basement shop: Noise control panels, short lumber rack, tight dust runs, and a narrow assembly bench with drawers.
- Pro space: Dedicated miter saw station, long fence with stops, island assembly table with storage, and a finish room with safe storage.
Match the layout to your main work. Cabinet makers need long infeed. Turners need blank storage near the lathe.
Common Mistakes and How to Fix Them
The Ultimate Woodworking Storage Guide has seen these traps.
- Deep shelves hide tools. Fix with shallow shelves or pull-out trays.
- Mixed bins waste time. Fix with standard sizes and labels on two sides.
- No landing zones. Fix with a small empty shelf near each station.
- Saving every offcut. Fix with a size rule and a 90-day cull.
- No safety plan. Fix with a flammables cabinet, oily rag can, and first-aid kit.
I once built tall cabinets first. The doors blocked light and swing space. I replaced them with open cleats and gained speed and smiles.
Project Plan: Weekend Storage Upgrades
The Ultimate Woodworking Storage Guide includes a quick win plan.
Day 1 morning:
- Install a 10-foot French cleat rail with three tool holders.
- Build a six-bin hardware tower from plywood.
Day 1 afternoon:
- Add a drill and driver charging shelf with a power strip.
- Mount a clamp rack near assembly.
Day 2 morning:
- Build a rolling sheet cart with a small offcut bay.
- Hang a dust hose boom over the table saw.
Day 2 afternoon:
- Label everything and do a reset walk.
- Make a punch list for next month.
This small sprint changes the feel of your shop at once.
Frequently Asked Questions of The Ultimate Woodworking Storage Guide
What is the best way to store sheet goods in a small shop?
Use a vertical rolling cart with a slight angle and a lip at the base. Keep the cart near the door so you load and unload with less strain.
How do I decide what goes on the wall versus in drawers?
Wall space is for tools you grab daily, like squares and chisels. Drawers hold small, loose items like bits, blades, and layout tools.
Are French cleats better than pegboard?
French cleats support more weight and are modular. Pegboard is cheap and fast but best for light tools and simple hooks.
How should I store oily rags safely?
Place them in a metal can with a self-closing lid. This lowers fire risk and meets common safety guidance for solvent-soaked materials.
What’s the ideal height for a wall cabinet in the shop?
Aim so the lowest shelf sits near elbow height and the top is still reachable. Adjust for your height and the weight of items.
How do I keep clamps from taking over my space?
Use a wall rack with deep arms and a simple count system. Keep the most-used sizes closest to the assembly bench.
What labels work best in a dusty shop?
Use large, high-contrast labels with clear tape overlays. Paint pens on raw plywood also hold up well.
Conclusion
A calm, fast shop is not luck. It is a system you build step by step. Map your space. Set clear homes. Use strong racks, clear bins, and honest labels. Protect finishes, control dust, and keep walkways open.
Start with one upgrade this weekend. Hang a cleat, build a clamp rack, or roll out a sheet cart. Small moves stack into big change. Want more practical shop wins like these? Subscribe for fresh plans, or drop a comment to share your next storage goal.
Pingback: The Ultimate Saw Blade Guide: Best Picks And Tips - wood craftard
Pingback: The Ultimate Wood Species Guide: Choose The Best Wood - wood craftard
Pingback: The Ultimate Sandpaper Guide: Best Grit Tips - wood craftard
Pingback: The Ultimate Tool Maintenance Guide: Pro Tips To Last - wood craftard
Pingback: The Ultimate Woodworking Jig Guide: Build Better Projects - wood craftard