
Router bits shape, cut, and finish wood edges with speed, precision, and control.
If you want cleaner joinery, smoother profiles, and fewer woodworking mistakes, understanding router bits is a game changer. I’ve spent a lot of time matching the right bit to the right cut, and the difference between a good result and a frustrating one usually comes down to bit choice, feed rate, and setup. This guide walks through the essentials of router bit types, uses, materials, safety, and buying tips so you can choose with confidence and get better results on your next project.
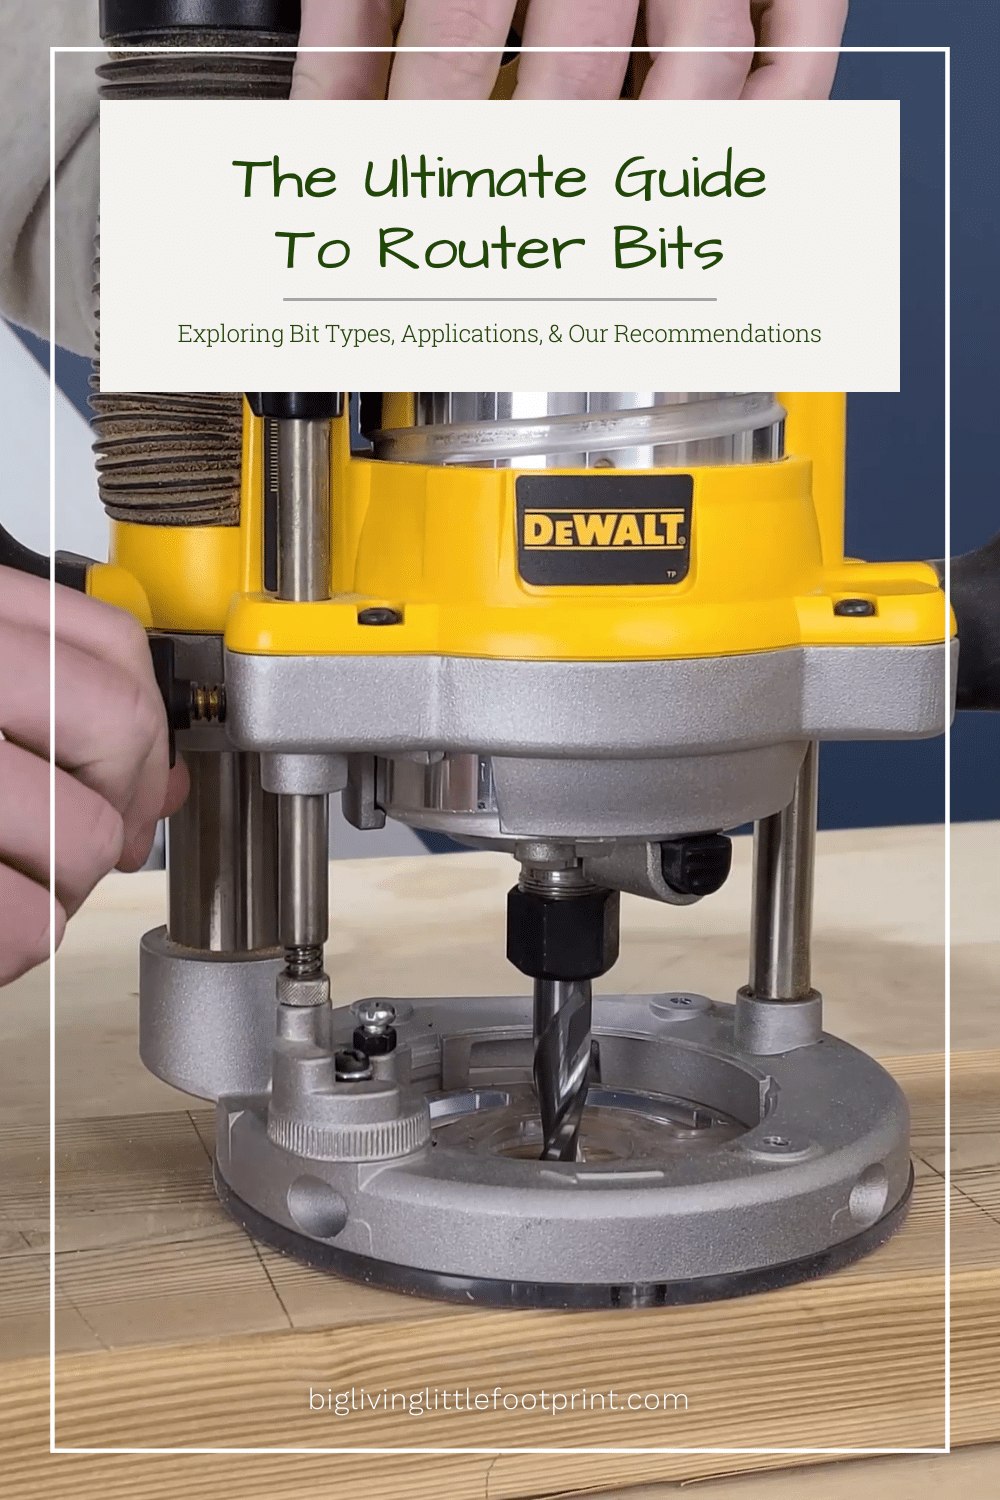
What Router Bits Are and Why They Matter
Router bits are cutting tools that fit into a router and remove material from wood, MDF, plywood, and some plastics. They come in many shapes, and each shape serves a different purpose. Some create decorative edges, while others cut joints, grooves, or flush surfaces.
The reason router bits matter so much is simple: they control the final look and fit of your work. A cheap or dull bit can leave burn marks, tear-out, or rough edges. A sharp, well-matched bit, on the other hand, can make a homemade shelf look almost factory built.
In my own shop work, I learned early that the bit is not just an accessory. It is the part doing the real cutting. The router is only the motor and guide. The bit decides the result.
Common jobs router bits handle
Router bits are used for many everyday woodworking tasks:
- Edge shaping on tabletops, shelves, and trim
- Cutting dados and grooves for cabinets and shelving
- Making rabbets for joinery and panel fit
- Trimming laminate or edging flush
- Cutting decorative patterns and signs
- Creating box joints, dovetails, and mortises with specialized jigs
The better you understand the job, the easier it is to choose the right bit. That saves time, reduces waste, and makes the work feel smoother.
Main Types of Router Bits
There are many router bit styles, but most woodworkers use a core group again and again. Knowing these types helps you build a practical set instead of buying tools you will rarely touch.
Straight bits
Straight bits cut grooves, dadoes, mortises, and recesses. They are one of the most useful bits in any collection. You can use them for shelf pin holes, joinery, and general material removal.
A good straight bit should feel clean and stable in use. If it chatters or burns, the bit may be dull, the feed rate may be too slow, or the cut may be too deep.
Flush trim bits
Flush trim bits use a bearing to follow a template or edge. They trim one surface so it matches another. This is great for laminate work, copy cutting, and template shaping.
I use flush trim bits often when I want two parts to match exactly. They are especially useful after rough cutting a piece a little oversized. The bearing rides the guide, and the cutter makes the edge clean and even.
Roundover bits
Roundover bits soften sharp edges and give projects a finished feel. They are common on tabletops, cutting boards, and furniture edges. They also help reduce splintering on exposed corners.
A small roundover can make a piece feel more polished without changing the design too much. Larger roundovers create a softer, more decorative look.
Chamfer bits
Chamfer bits cut angled edges instead of rounded ones. They are great for modern, clean lines. They also help break sharp corners in a simple, controlled way.
These bits are useful when you want a design that feels crisp rather than soft. A chamfer can also hide small edge flaws better than a straight edge.
Rabbeting bits
Rabbeting bits cut a stepped edge, which helps create joints or fit panels into frames. Many come with interchangeable bearings for different cut widths. They are a strong choice for cabinet and box work.
When I first started cutting rabbets, I underestimated how much the bearing size changes the cut. Once I began checking the bearing before every setup, my fits improved fast.
Cove and ogee bits
Cove bits create a concave curve. Ogee bits create a classic S-shaped profile. These are decorative bits used for furniture, molding, and trim work.
They can make simple projects look more refined. But they also show setup errors more clearly, so a test cut is smart before working on the final piece.
Pattern and template bits
Pattern bits follow a template or master shape. They often have a top or bottom bearing. These are ideal when you need repeatable shapes across many pieces.
They are popular in production-style woodworking because they improve consistency. If you are making several matching parts, a pattern bit can save a lot of sanding and correction.
Specialty bits
Specialty bits include:
- Dovetail bits
- Slot-cutting bits
- Raised panel bits
- Box joint bits
- V-groove bits
- Core box bits
These bits serve specific tasks and are often used with jigs or tables. They are powerful, but they are best bought after you know you need them.
Router Bit Materials and Coatings
The cutting edge material has a big impact on performance, lifespan, and price. Most router bits are made from carbide or high-speed steel, with carbide being the more common choice for serious woodworking.
High-speed steel
High-speed steel bits cost less and can work well for light duty use. They are easier to sharpen than carbide. Still, they dull faster, especially in hardwoods and abrasive sheet goods.
These bits can be fine for occasional projects. But for regular shop use, they usually wear out too soon.
Carbide-tipped bits
Carbide-tipped bits are the standard for most woodworkers. Carbide stays sharp longer and handles hardwood, plywood, and MDF better than high-speed steel. It costs more, but the longer life usually makes it worth it.
I have found carbide bits to be the best balance of cost and performance. They are not magical, but they do hold up far better under normal workshop use.
Solid carbide bits
Solid carbide bits are usually used in smaller diameters or specialty cuts. They are very sharp and durable. They also tend to cost more and can be more fragile if abused.
For precision work, solid carbide can be excellent. Just treat them carefully, because a sudden drop or bad setup can ruin the edge.
Coatings
Some bits have coatings that reduce friction and heat. Common coatings may help with chip flow and can sometimes extend tool life. Still, coating is not a substitute for good cutting technique.
If a bit is burning wood, the real issue is often speed, feed, or sharpness. Coating helps, but it does not fix poor setup.
How to Choose the Right Router Bit
Choosing the right router bit starts with the job you want to do. Then you match the bit size, shank, material, and cutting style to that task. A good purchase is about fit, not just price.
Match the bit to the material
Different materials respond differently to cutting.
- Softwood cuts easily, but it can tear if the bit is dull
- Hardwood needs a sharp carbide edge and controlled feed
- MDF is smooth but abrasive, so it wears bits faster
- Plywood can chip at the edges, especially with poor support
- Plastic needs careful speed control to avoid melting
If you work across many materials, a high quality carbide bit is usually the safest bet.
Choose the right shank size
Router bits usually come in 1/4 inch or 1/2 inch shanks.
- 1/4 inch shanks are common and fit smaller routers
- 1/2 inch shanks are stiffer and reduce vibration
- Larger bits often perform better with 1/2 inch shanks
If your router can handle both, I usually suggest 1/2 inch shanks for better stability. The extra stiffness helps with smoother cuts and less chatter.
Look at cutting length and diameter
A bit must reach deep enough for the cut, but not so deep that it loses control. Larger diameter bits remove more material and can create cleaner profiles, but they may require slower feed rates and more power.
The trick is to keep the cut realistic. For deep work, make multiple passes instead of forcing the full depth at once.
Check bearing quality and design
For bearing-guided bits, the bearing matters a lot. It should spin smoothly and stay aligned. A rough or loose bearing can ruin the accuracy of the cut.
I always spin the bearing by hand before use. It takes a few seconds and can save a project from a bad edge.
Router Bit Safety and Best Practices
Router bits are sharp, fast, and unforgiving if used carelessly. Good habits matter just as much as good tools. Safety also improves quality, since control and safety usually go hand in hand.
Use the right speed
Bit speed should match bit size and material. Smaller bits can usually spin faster, while larger bits often need slower speeds. Too much speed can burn the wood or stress the bit.
A router manual or speed chart is a helpful guide. If you are unsure, start lower and test on scrap.
Make multiple passes
Trying to remove too much material at once is a common mistake. It can cause burning, tear-out, kickback, or a rough finish. Light passes are safer and usually cleaner.
This is one of those lessons I learned the hard way. The cut that looks fastest at the start often becomes the slowest once you have to fix the damage.
Secure the workpiece
Clamp the material well. A loose board can shift during the cut and ruin accuracy. It can also become dangerous.
Use a stable bench, a fence when needed, and both hands on the router whenever possible. Control starts with a stable setup.
Keep bits sharp and clean
Pitch, resin, and dust can build up on a router bit. That buildup creates heat and makes cuts worse. Clean bits with a safe bit cleaner and replace dull bits when sharpening no longer helps.
A sharp bit feels smoother, makes less noise, and gives a better finish. If the router sounds strained, do not ignore it.
Wear proper protection
Use eye protection and hearing protection every time. Dust collection or a respirator also helps, especially with MDF or long routing sessions. Router work is not the place to take shortcuts.
Router Bit Maintenance and Storage
Good maintenance extends bit life and keeps cuts cleaner. It also protects your investment. Even high quality bits wear down faster if they are stored badly or left dirty.
Cleaning router bits
Clean bits after use, especially if you worked with resinous woods or MDF. Soaked buildup can make the bit run hot and cut poorly. A soft brush and proper cleaner usually do the job.
Avoid harsh scraping that may damage the cutting edge. Treat the carbide like a precision tool, because it is one.
Inspecting for damage
Check for chipped edges, bent shanks, loose bearings, and cracks. Even a small flaw can affect cut quality. If a bit vibrates or leaves burn marks unexpectedly, inspect it before using it again.
I have learned to trust my eyes and hands here. A bit that looks fine from a distance can still be damaged up close.
Safe storage
Store bits in a rack, case, or labeled organizer. This keeps edges from touching each other. It also makes it easier to grab the right bit quickly.
Good storage habits save money and reduce accidents. A dull or chipped bit often starts with a bad storage habit.
Common Router Bit Mistakes to Avoid
Many beginner errors are easy to fix once you know them. The router bit guide gets much simpler when you avoid the usual traps.
Using the wrong bit for the job
A profile bit is not the same as a straight bit. A flush trim bit is not the same as a pattern bit. Matching the tool to the task matters more than forcing one bit to do everything.
Routing too fast or too deep
Fast cuts are tempting, but they often lead to poor results. Deep cuts can overload the bit and the router. Small passes are usually safer and cleaner.
Ignoring grain direction
Wood grain affects tear-out. Routing against the grain in the wrong area can chip the surface. A test cut on scrap helps you see the grain before touching the final piece.
Forgetting test pieces
I always recommend a scrap board first. It shows the real cut, not the imagined one. Test pieces help dial in height, fence position, and speed before you commit.
Building a Smart Router Bit Set
You do not need every router bit on the market. A practical set covers most woodworking needs. Start with the basics, then add specialty bits as your projects demand.
A useful starter set often includes:
- Straight bits in a few diameters
- Flush trim bit
- Roundover bit
- Chamfer bit
- Rabbeting bit
- Pattern bit
- Cove or ogee bit if you do decorative work
This small set handles a surprising number of tasks. Over time, you can add specialty bits based on real project needs instead of guesses.
Buying Tips for Better Value
A higher price does not always mean a better bit, but very cheap bits often disappoint. The goal is value, which means sharpness, durability, and consistency.
What to look for
- Clean carbide edges
- Strong brazing or bonding
- Smooth bearing movement
- Clear size markings
- Solid shank quality
- Good packaging or storage case
What to avoid
- Blunt edges right out of the package
- Poorly centered shanks
- Loose bearings
- Missing size details
- Excessive vibration in first use
I usually trust a bit more after a small test cut. If it runs smooth and leaves a clean edge, that is a better sign than fancy marketing.
Frequently Asked Questions of The Ultimate Router Bit Guide
What router bit should a beginner buy first?
A beginner should start with a straight bit, a flush trim bit, and a roundover bit. These cover the most common tasks and help build skill without overwhelming you.
Why does my router bit burn the wood?
Burning usually happens when the bit is dull, the feed rate is too slow, or the router speed is too high. Resin buildup and taking too deep of a cut can also cause it.
Are 1/2 inch shank router bits better than 1/4 inch bits?
In many cases, yes, because 1/2 inch shanks are stiffer and vibrate less. That usually means smoother cuts, especially with larger bits, but 1/4 inch bits still work well for lighter tasks and smaller routers.
How often should router bits be replaced?
Replace a bit when sharpening no longer restores clean cutting or when you see chips, cracks, or wobble. How fast that happens depends on how often you use the bit and what materials you cut.
Can router bits cut metal?
Most router bits are made for wood, MDF, plywood, and some plastics. They are not designed for metal, and using them on metal can damage the bit and be dangerous.
Conclusion
The right router bit can make woodworking easier, safer, and far more satisfying. Once you understand bit types, materials, shank sizes, and safe cutting habits, you can choose tools that match the job instead of guessing. That is where better results really begin.
If you remember only one thing, make it this: start with the task, choose the right bit, and always test on scrap first. That one habit has saved me from more mistakes than I can count. Keep learning, keep testing, and build your bit collection with purpose.
If this guide helped, explore more woodworking tips, share your own router bit lessons, or leave a comment with the bit you use most often.