
A Wood Coloring Guide helps beginners and professionals understand how to transform plain wood into attractive furniture, flooring, crafts, and home projects. In the United States, many homeowners use wood coloring to refresh old furniture, customize DIY projects, and create warm natural interiors.
After working with wood finishes, one lesson becomes clear: the best results come from respecting the wood itself. Every species absorbs color differently, so testing small areas before applying any product is one of the most important steps.
This Wood Coloring Guide explains the main coloring methods, the tools you need, common mistakes, and practical techniques that help create smooth and durable finishes.

What Is Wood Coloring and Why Does It Matter?
Wood coloring is the process of changing or enhancing the natural appearance of wood using products such as stains, dyes, paints, oils, and tinted finishes. The goal is not only to add color but also to highlight the grain and improve the overall look of a project.
A good Wood Coloring Guide starts with understanding that wood is a natural material. Knots, grain patterns, pores, and moisture levels all affect how color appears after application.
Wood coloring matters because it allows people to match furniture with home designs, restore older pieces, and protect surfaces from daily wear.
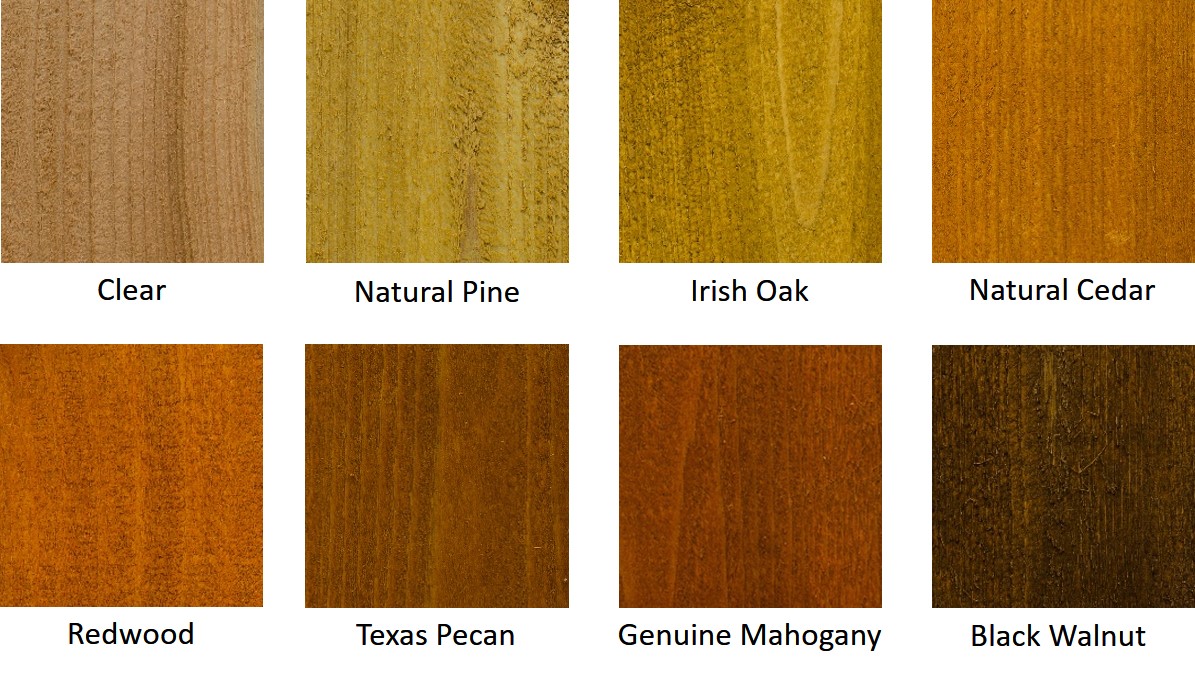
- ✦ Enhances Natural Grain
Many coloring products soak into wood fibers and make patterns, textures, and natural details easier to see.
- ✦ Creates Design Options
Coloring allows woodworkers to create modern, rustic, classic, or artistic finishes.
- ✦ Adds Surface Protection
Many colored finishes include protective layers that reduce damage from moisture and sunlight.
How Wood Absorbs Color
Wood absorbs color through its pores and fibers. Soft woods often absorb more quickly, while dense hardwoods may need extra preparation.
The final shade depends on the wood species, sanding level, product type, and number of coats applied.
- ✦ Softwood Example
Pine and cedar can absorb stain unevenly, so pre-stain conditioner may help create a smoother result.
Different Types of Wood Coloring Methods
Choosing the right coloring method is one of the most important parts of any Wood Coloring Guide. Each option creates a different appearance and level of coverage.
Some methods keep the natural grain visible, while others create a solid color layer over the surface. The right choice depends on the project and the look you want.
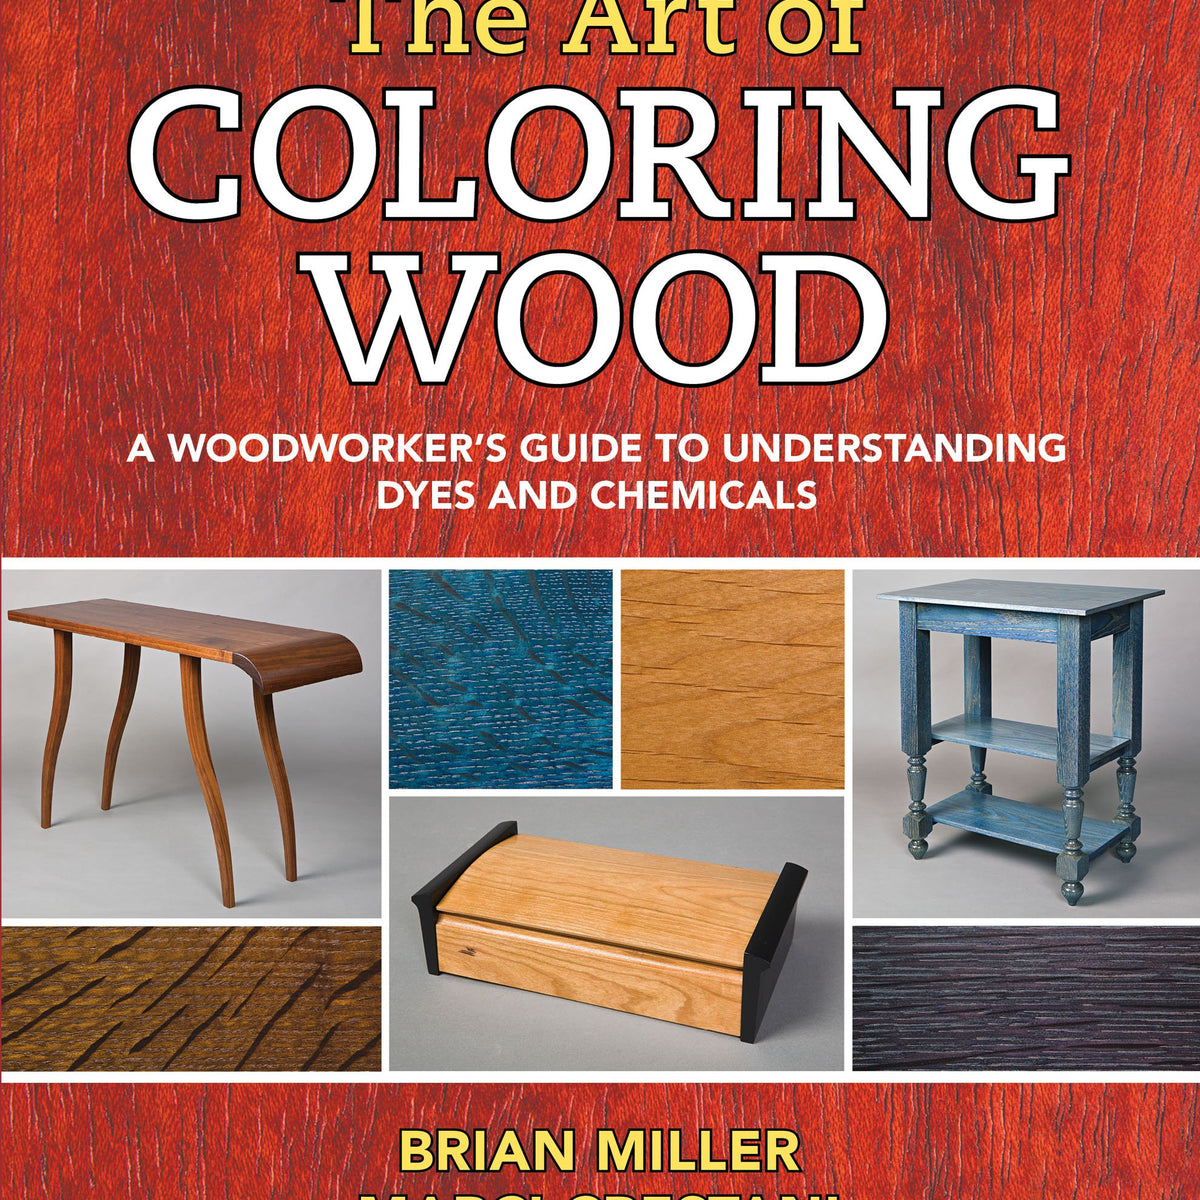
- ✦ Wood Stain
Stain penetrates the wood and enhances grain patterns while adding color. It is popular for furniture, decks, cabinets, and flooring.
- ✦ Wood Dye
Dyes create deeper and brighter colors because they penetrate smaller wood fibers more easily than many stains.
- ✦ Wood Paint
Paint covers the grain and provides a wide range of color choices for decorative projects.
- ✦ Colored Oils
Tinted oils protect wood while giving it a natural matte appearance.
Choosing Between Stain and Dye
Stain is often easier for beginners because it creates a traditional wood appearance. Dye is useful when you want stronger color without hiding the grain.
Professional woodworkers often combine techniques to achieve special effects, such as applying dye first and stain later.
How to Prepare Wood Before Coloring
Preparation controls the final result more than many people expect. Even the best wood color products can look poor when applied to dirty, rough, or uneven surfaces.
A reliable Wood Coloring Guide always includes sanding, cleaning, and testing before the main application begins.
- ✦ Clean the Surface
Remove dust, grease, old finishes, and dirt before applying any coloring product.
- ✦ Sand Properly
Use suitable sandpaper grits to create a smooth surface without closing the wood pores completely.
- ✦ Test the Color
Apply the product to a hidden area or scrap wood to check the final shade.
Why Sanding Affects Color
Sanding changes how wood accepts color. Very rough surfaces may absorb too much product, while overly polished surfaces may resist absorption.
A balanced sanding process creates a surface that accepts color evenly.
Step-by-Step Wood Coloring Process
A simple process helps prevent mistakes and creates a cleaner finish. Most wood coloring projects follow a similar workflow.
The key is patience. Allow each layer to dry fully before adding another coat or protective finish.

- ✦ Step 1: Prepare the Wood
Sand, clean, and remove dust before starting the coloring process.
- ✦ Step 2: Apply Color
Use a brush, cloth, sponge, or spray method based on the product instructions.
- ✦ Step 3: Remove Excess Product
Wipe away extra stain or dye to create an even appearance.
- ✦ Step 4: Seal the Surface
Apply a clear finish to protect the color and increase durability.
Common Wood Coloring Mistakes and How to Avoid Them
Many coloring problems happen because people rush preparation or choose the wrong product. Understanding common mistakes can save time and materials.
This Wood Coloring Guide recommends focusing on small tests and proper surface preparation before starting large projects.

- ✦ Skipping the Test Area
A color that looks good on a sample may appear different on your actual wood surface.
- ✦ Applying Too Much Product
Heavy coats can create uneven colors, sticky surfaces, and longer drying times.
- ✦ Ignoring Wood Type
Different woods react differently, so product selection should match the material.
Fixing Uneven Wood Color
Uneven color can often be improved by light sanding and applying another controlled coat.
For serious issues, removing the finish and starting again may create better results.
Tips for Creating Professional Wood Color Finishes
Professional-looking finishes come from careful planning rather than expensive tools. Small details such as consistent application and proper drying time make a major difference.
Experienced woodworkers often keep notes about products, colors, and techniques so they can repeat successful finishes.

- ✦ Work With the Grain
Apply products in the direction of the wood grain for a smoother appearance.
- ✦ Use Quality Tools
Good brushes, clean cloths, and proper applicators improve control.
- ✦ Protect Finished Wood
A suitable topcoat helps maintain color and prevents surface damage.