
A Finish Nail Guide helps you understand when to use finish nails, how to choose sizes, and how to get clean results. In U.S. homes, finish nails are common for baseboards, door casing, window trim, and furniture work because they leave small holes that are easy to hide.
From my woodworking experience, the biggest mistakes happen when people choose the wrong nail length or use too much force. The right finish nail creates a strong connection while keeping the surface smooth and professional.

What Are Finish Nails and How Do They Work?
Finish nails are small, thin nails with a narrow head. They are designed for projects where appearance matters. The small head sinks below the wood surface and leaves a tiny mark.
A Finish Nail Guide explains that these nails work best in projects that need both strength and a clean look. They hold trim pieces securely without leaving large holes like common nails.

- ✦ Small head design
The small head allows the nail to disappear after filling and sanding.
- ✦ Strong grip
The long body provides enough holding power for many interior wood applications.
Common Uses of Finish Nails
Finish nails are popular for interior carpentry tasks. They work well for decorative wood parts that need a neat surface.
- ✦ Baseboards and casing
Finish nails attach trim while keeping the final appearance smooth.
- ✦ Cabinet work
They help secure thin wood pieces without visible damage.
Finish Nail Sizes and Gauges Explained
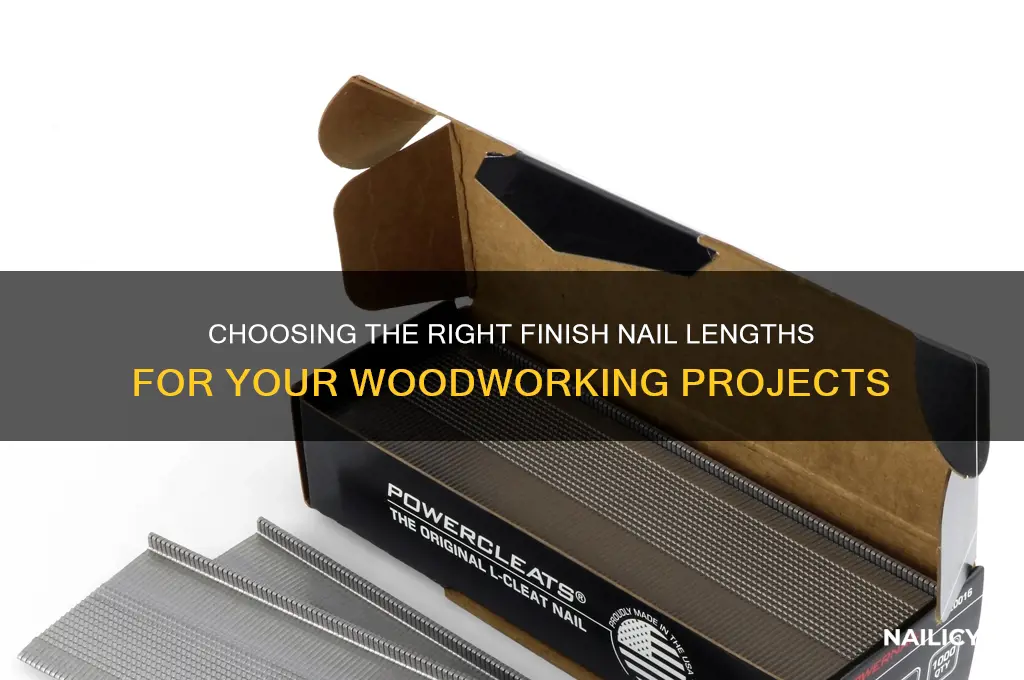
Choosing the correct size is one of the most important parts of a Finish Nail Guide. Finish nails are commonly measured by gauge and length.
In the United States, 15 gauge and 16 gauge finish nails are common choices. A lower gauge means a thicker nail, while a higher gauge means a thinner nail.
- ✦ 15 gauge finish nails
These nails provide strong holding power and work well for heavier trim and thicker wood.
- ✦ 16 gauge finish nails
These nails are versatile and commonly used for general interior trim projects.
- ✦ Length selection
Choose a nail length that enters the base material deeply without passing through.
How to Choose the Right Nail Length
A good rule is to select a nail that goes through the trim and enters the backing material enough to hold firmly. Thin trim needs shorter nails, while thicker boards need longer nails.
- ✦ Small trim
Use shorter finish nails to avoid splitting delicate pieces.
Finish Nails vs Brad Nails: Key Differences
A Finish Nail Guide often compares finish nails with brad nails because both are used for detailed woodworking. The main difference is strength and size.
Brad nails are thinner and work well for light projects. Finish nails have more holding power and are better for trim that needs long-term support.

- ✦ Finish nails
Best for baseboards, door trim, window casing, and stronger connections.
- ✦ Brad nails
Best for small crafts, thin molding, and lightweight materials.
Which Nail Should You Use?
Choose finish nails when strength matters more than the smallest possible hole. Choose brad nails when working with fragile or thin materials.
- ✦ Professional trim work
Many carpenters prefer finish nails because they provide reliable holding strength.
How to Use Finish Nails Correctly
Using finish nails correctly improves both strength and appearance. A Finish Nail Guide should include proper placement, driving technique, and finishing steps.
For most home projects, a finish nailer makes installation faster. Manual hammer use also works but requires more care to avoid marks.

- ✦ Prepare the wood
Make sure trim pieces fit tightly before driving nails.
- ✦ Set nail depth
Drive nails slightly below the surface so holes can be filled.
- ✦ Finish the surface
Use wood filler and sanding for a smooth painted result.
Avoiding Common Mistakes
Splitting wood, using nails that are too long, and overdriving nails are common problems. Slow, controlled work gives better results.
- ✦ Prevent splitting
Avoid placing nails too close to the edge of thin boards.
Tools Used With Finish Nails
The right tools make finish nail projects easier and safer. Many U.S. professionals use pneumatic or cordless finish nailers for speed and accuracy.
A Finish Nail Guide should also consider manual tools because many DIY users complete small repairs without power equipment.

- ✦ Finish nailer
A nailer drives nails quickly and keeps placement consistent.
- ✦ Hammer and nail set
These tools work well for small repairs and careful hand installation.
- ✦ Wood filler
Filler hides small nail holes before painting or staining.
Safety Tips
Always wear eye protection when using nail guns or hammers. Keep hands away from the driving area and follow tool instructions.
- ✦ Check materials
Look for hidden wires or pipes before fastening into walls.
Advantages and Limitations of Finish Nails
Finish nails offer a balance of strength and appearance. They are one of the most useful fasteners for indoor woodworking.
However, they are not designed for every situation. Heavy structural work needs stronger fasteners made for load support.
- ✦ Advantages
They create clean surfaces, provide good holding strength, and work well with painted or stained trim.
- ✦ Limitations
They are not suitable for major structural connections or very heavy outdoor applications.
Best Projects for Finish Nails
Finish nails are ideal for home improvement projects such as installing crown molding, door casing, and decorative wood panels.
- ✦ Interior improvements
They help create professional-looking results in living spaces.