
Many DIY woodworkers in the United States use Pre Stain Conditioner before applying stain because some woods absorb color unevenly. Without preparation, soft woods can develop dark patches, streaks, or an inconsistent appearance.
A Pre Stain Conditioner acts like a preparation layer that helps control how much stain enters the wood surface. From furniture projects to cabinets and home repairs, this simple step can improve the final look of many unfinished wood surfaces.
In my experience with wood finishing projects, skipping surface preparation is one of the most common reasons stains look different from expectations. A few extra minutes with the right conditioner can make a major difference in the final result.

What Is Pre Stain Conditioner?
Pre Stain Conditioner is a wood preparation product applied before stain. It helps reduce uneven stain absorption by partially sealing the wood surface while still allowing color to penetrate.
Wood has natural pores and different grain patterns. Some areas absorb more stain than others, especially on soft woods. A Pre Stain Conditioner creates a more balanced surface so the stain spreads with fewer dark spots.
Most Pre Stain Conditioner products come in oil-based or water-based formulas. The best choice depends on the type of stain you plan to use and the wood project you are completing.
- ✦ Surface preparation
It prepares unfinished wood before staining and creates a more predictable color result.
- ✦ Absorption control
It slows uneven stain penetration in areas that normally become darker.
How Pre Stain Conditioner Works
The conditioner fills some of the open spaces in the wood grain. This reduces sudden stain absorption and allows the color to spread more evenly across the surface.
- ✦ Better stain control
The product helps prevent harsh color changes between different grain areas.
Why Use Pre Stain Conditioner Before Staining Wood?
Not every wood surface needs a Pre Stain Conditioner, but many common project woods benefit from it. Soft and light-colored woods often create the biggest staining challenges.
The main goal is not to make wood darker. The goal is to help the stain create a more uniform appearance while keeping the natural character of the grain.
For beginners, Pre Stain Conditioner can make staining projects easier because it reduces mistakes that are difficult to fix after the stain dries.

- ✦ Reduces blotching
It helps prevent uneven dark areas caused by different absorption rates.
- ✦ Improves appearance
It creates a smoother and more consistent finished look.
- ✦ Supports beginner projects
It gives DIY users more control during staining.
Which Woods Need Pre Stain Conditioner?
Pre Stain Conditioner is especially useful on woods that have a loose grain structure. These woods can absorb stain quickly and unevenly.
Common examples include pine, fir, birch, maple, and some types of poplar. These materials are popular in American furniture projects, shelving, trim work, and DIY renovations.
Dense hardwoods may not always require conditioner, but testing on a scrap piece is still a smart step before applying stain to the final project.

- ✦ Pine
Pine often absorbs stain unevenly and commonly benefits from conditioner.
- ✦ Birch
Birch can develop uneven color without proper surface preparation.
- ✦ Maple
Maple may show blotchy staining because of its tight grain pattern.
How to Apply Pre Stain Conditioner Correctly
Applying Pre Stain Conditioner is simple, but proper timing matters. The wood surface should be clean, dry, and smoothly sanded before application.
Always follow the product instructions because drying times vary between brands and formulas. Applying stain too late or too soon can change the final color result.
A small test area is one of the best habits in woodworking. It allows you to see how the conditioner and stain combination will look before treating the entire project.
- ✦ Step 1: Sand the wood
Sand the surface evenly and remove dust before applying conditioner.
- ✦ Step 2: Apply conditioner
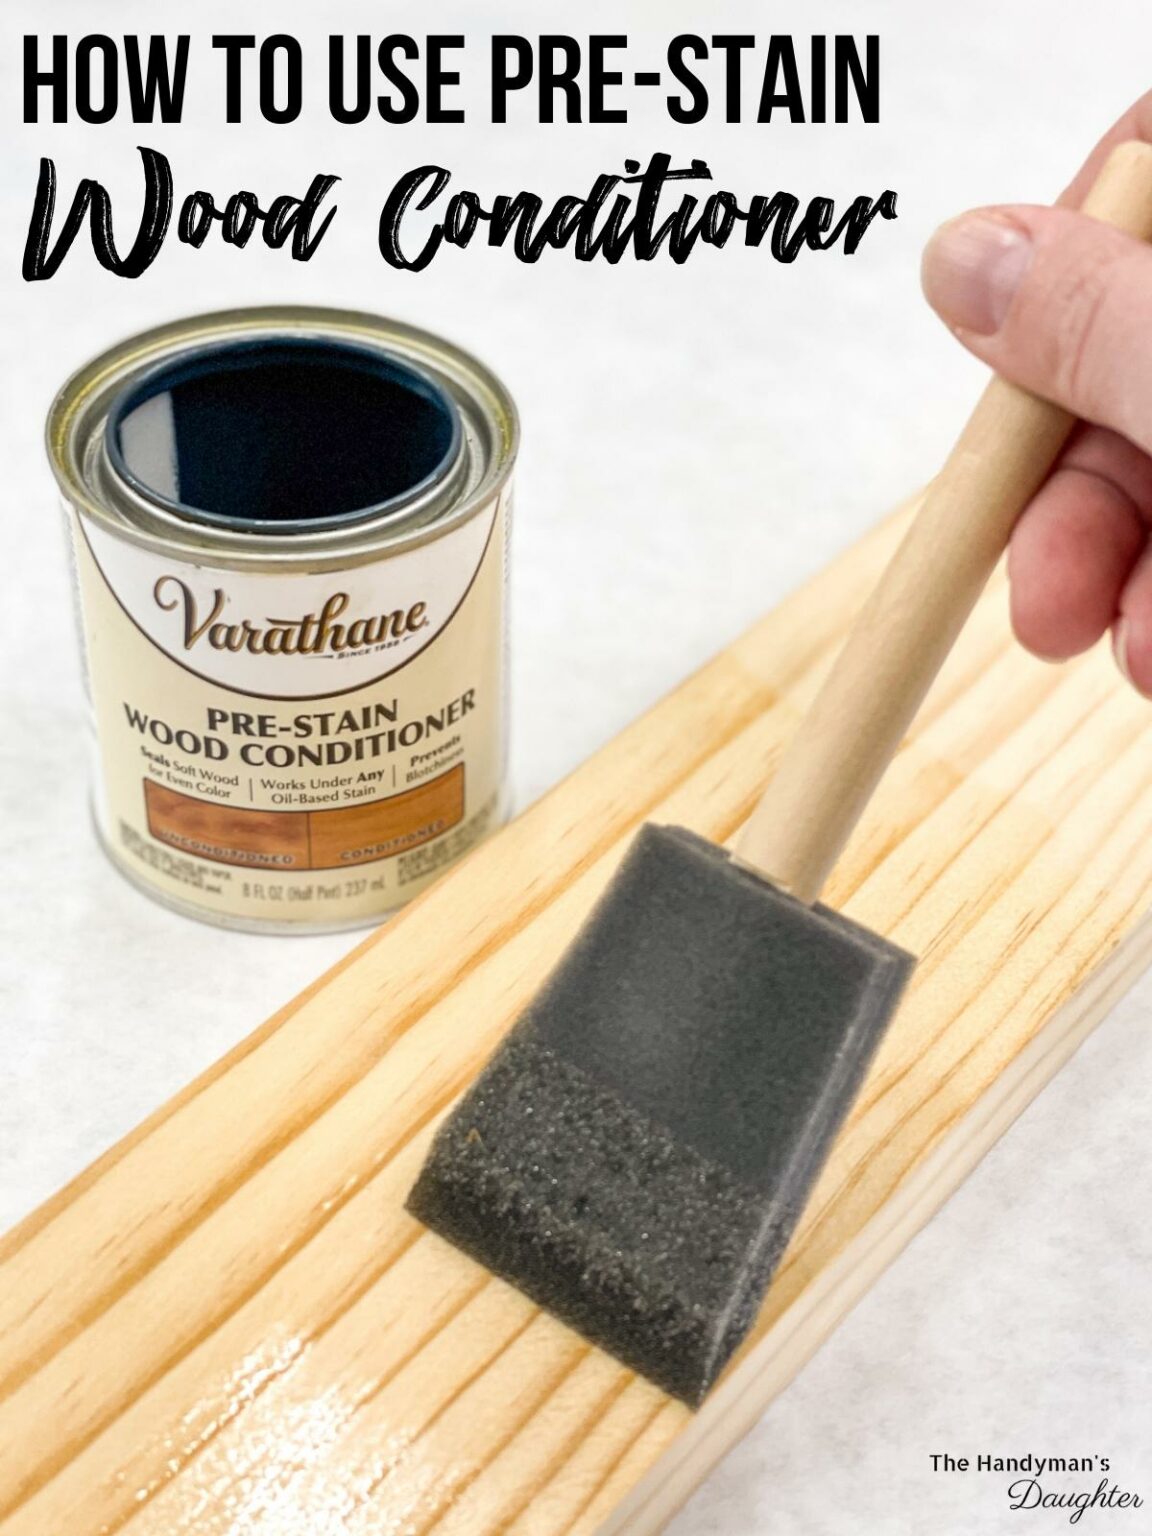
Use a brush or cloth to spread a thin, even layer.
- ✦ Step 3: Apply stain
Follow the recommended waiting time and apply stain evenly.
Common Application Mistakes
Using too much conditioner can reduce stain absorption and create a lighter finish. Another common mistake is staining dirty or poorly sanded wood, which can affect the final appearance.
- ✦ Avoid heavy coats
A thin application usually provides better control.
Oil Based vs Water Based Pre Stain Conditioner
Choosing between oil-based and water-based Pre Stain Conditioner depends on your stain type and project needs. Matching the conditioner with the stain usually creates the most reliable result.
Oil-based conditioners are commonly paired with oil-based stains. Water-based versions work well with water-based stains and are often easier to clean because they use water instead of solvents.
Both types can improve stain consistency when used correctly. The right choice depends on your wood, stain, and finishing goals.

- ✦ Oil based conditioner
Often used with oil-based stains and provides traditional wood finishing results.
- ✦ Water based conditioner
A good option for water-based stains and projects needing easier cleanup.
Benefits and Limitations of Pre Stain Conditioner
Pre Stain Conditioner is a helpful tool, but it is not a solution for every wood finishing problem. It improves stain control but does not replace proper sanding or quality stain application.
Understanding its strengths and limits helps you decide when to use it. Many professional finishers treat it as a preparation step rather than a magic fix.

- ✦ Benefit: More even color
It helps create a smoother stain appearance across uneven wood surfaces.
- ✦ Benefit: Easier staining
It gives beginners more control during DIY projects.
- ✦ Limitation: Not needed everywhere
Some hardwoods may stain well without conditioner.