
Wood finishing protects, beautifies, and extends wood life with simple steps.
If you want wood that looks rich, feels smooth, and lasts, you are in the right place. I have finished hundreds of pieces, from heirloom tables to kids’ stools. This is The Ultimate Wood Finishing Guide. I will walk you through what works, why it works, and how to do it with calm, clear steps. You will get real tips, test-backed insights, and fixes you can trust. Read on, and finish like a pro.

Understanding Wood Finishing Basics
Wood finishing seals the surface and adds protection. It adds color, depth, and sheen. It keeps out water and dirt. It helps wood stand up to daily wear.
A finish can sit on top or soak in. Film finishes build a hard layer on the surface. Think polyurethane, varnish, lacquer, and shellac. Penetrating finishes go into the wood. Think oils and oil blends. Film builds more protection. Oils look and feel warm.
Grain matters. Open-grain woods like oak and walnut have deep pores. They may need grain filler for a glass-smooth look. Closed-grain woods like maple and cherry look smooth with less effort. End grain soaks up more finish. Seal it first for even color.
Moisture matters too. Wood moves with humidity. Let boards acclimate to your shop for a few days. Aim for balanced moisture before you finish. This cuts down on cracks and finish failure.
You will see the term sanding sealer. It is a first coat that sands easy and locks in fibers. It can help with blotch-prone woods. But not every project needs it.
Here is the heart of The Ultimate Wood Finishing Guide. You will match wood, finish type, and use case. You will prep the surface. You will apply thin coats. You will sand light between coats. You will let it cure. That is the path to great results.
Choosing the Right Finish
Pick the finish to match how the piece will live. There is no one best product. The best choice fits your needs.
Common finish families:
- Drying oils. Pure tung and polymerized linseed soak in and add glow. Low build. Easy to refresh. Modest water resistance.
- Oil and varnish blends. Often sold as Danish oil or wiping varnish. Easy wipe-on use. Better build than oil. Good for furniture.
- Polyurethane. Oil based gives warm tone and tough film. Water based stays clear and dries fast. Great for floors and tables.
- Varnish and spar varnish. Varnish is hard and durable. Spar varnish has more oil and UV help for outdoor use.
- Lacquer. Fast to spray. Melts into itself between coats. Great for shops with spray gear.
- Shellac. Warm tone and easy repair. Not great with strong heat or alcohol.
- Hardwax oil. Warm, low-build look. Easy spot fixes. Needs steady care on heavy-use tops.
- Wax. Adds feel and sheen. Use as a top dressing, not a main shield.
Good use cases:
- Kitchen table. Water based polyurethane or hard oil varnish blend.
- Cutting board. Pure tung oil or mineral oil with wax. Food contact safe once cured.
- Outdoor bench. True marine spar varnish or a well-kept oil regime.
- Guitar or fine box. Shellac or lacquer for glow and quick repair.
My rule from The Ultimate Wood Finishing Guide is simple. If you need high protection, go with a film. If you want touch and easy care, go with a penetrating finish. Test on a scrap from the project wood first. Let your eyes decide.
Surface Preparation
Prep is most of the job. A great finish starts with smooth, clean wood.
Steps that work:
- Sand through a steady grit path. Start at 120 or 150. Then 180. Then 220. Stop there for most film finishes.
- Sand end grain to a higher grit. Go to 320 for even color.
- Raise the grain for water based finishes. Wipe with water. Let dry. Sand the whiskers off with 220.
- Fill pores if you want a mirror flat top. Use a grain filler that matches your stain or clear coat.
- Clean the dust. Vacuum. Use a clean brush. Use a tack cloth only if it is finish safe.
Watch for glue squeeze-out. It blocks stain. Use a light and mark shiny spots. Sand them off. A raking light shows scratches too. Slow down here. The Ultimate Wood Finishing Guide puts 70 percent of success in prep.
Application Methods
There are a few good ways to lay down a finish. Pick the one that fits your space and gear.
Brush
- Use a good brush that matches the finish. Natural bristle for oil. Synthetic for water based.
- Load the brush well. Flow the finish with the grain. Tip off light to erase marks.
Wipe
- Wiping varnish and oils are great for beginners. Flood on, wait, then wipe off clean.
- Thin coats avoid runs. More thin coats beat one thick coat.
Spray
- HVLP gives the smoothest film. It takes setup and a safe space.
- Strain the finish. Keep a steady gun distance. Overlap each pass.
Pad or rag
- Shellac and oil go on nice with a pad. Use light, even strokes.
- Keep a wet edge. Work from the center out.
Choose a plan in The Ultimate Wood Finishing Guide and stick to it for the whole piece. Mix methods only with care. Always test on scrap.

Drying, Curing, and Sanding Between Coats
Dry time and cure time are not the same. Dry means you can touch it. Cure means it has reached hardness and chemical set.
Typical windows in normal shop conditions:
- Water based. Recoat in one to two hours. Full cure in one to two weeks.
- Oil based poly or varnish. Recoat in eight to twelve hours. Full cure in two to four weeks.
- Shellac. Recoat in thirty minutes. Cure in a few days.
- Hardwax oils. Recoat by product rules. Cure in a week or more.
Always read the label. Temperature and humidity sway the clock. Cool and damp slows everything down.
Between coats, sand light. Use 320 or 400 grit. You are only knocking off dust nibs. Wipe clean. Do not cut through edges. Use a raking light to spot drips and sags. Shave them down when dry, then recoat. The Ultimate Wood Finishing Guide favors patience over thick coats.
Color and Stain Techniques
Color can be clear and clean. Or rich and deep. You have options.
Types of colorants:
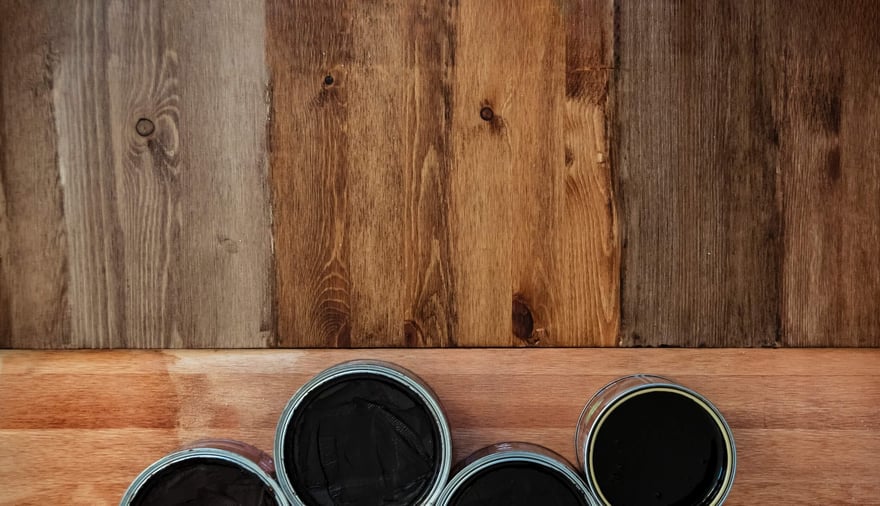
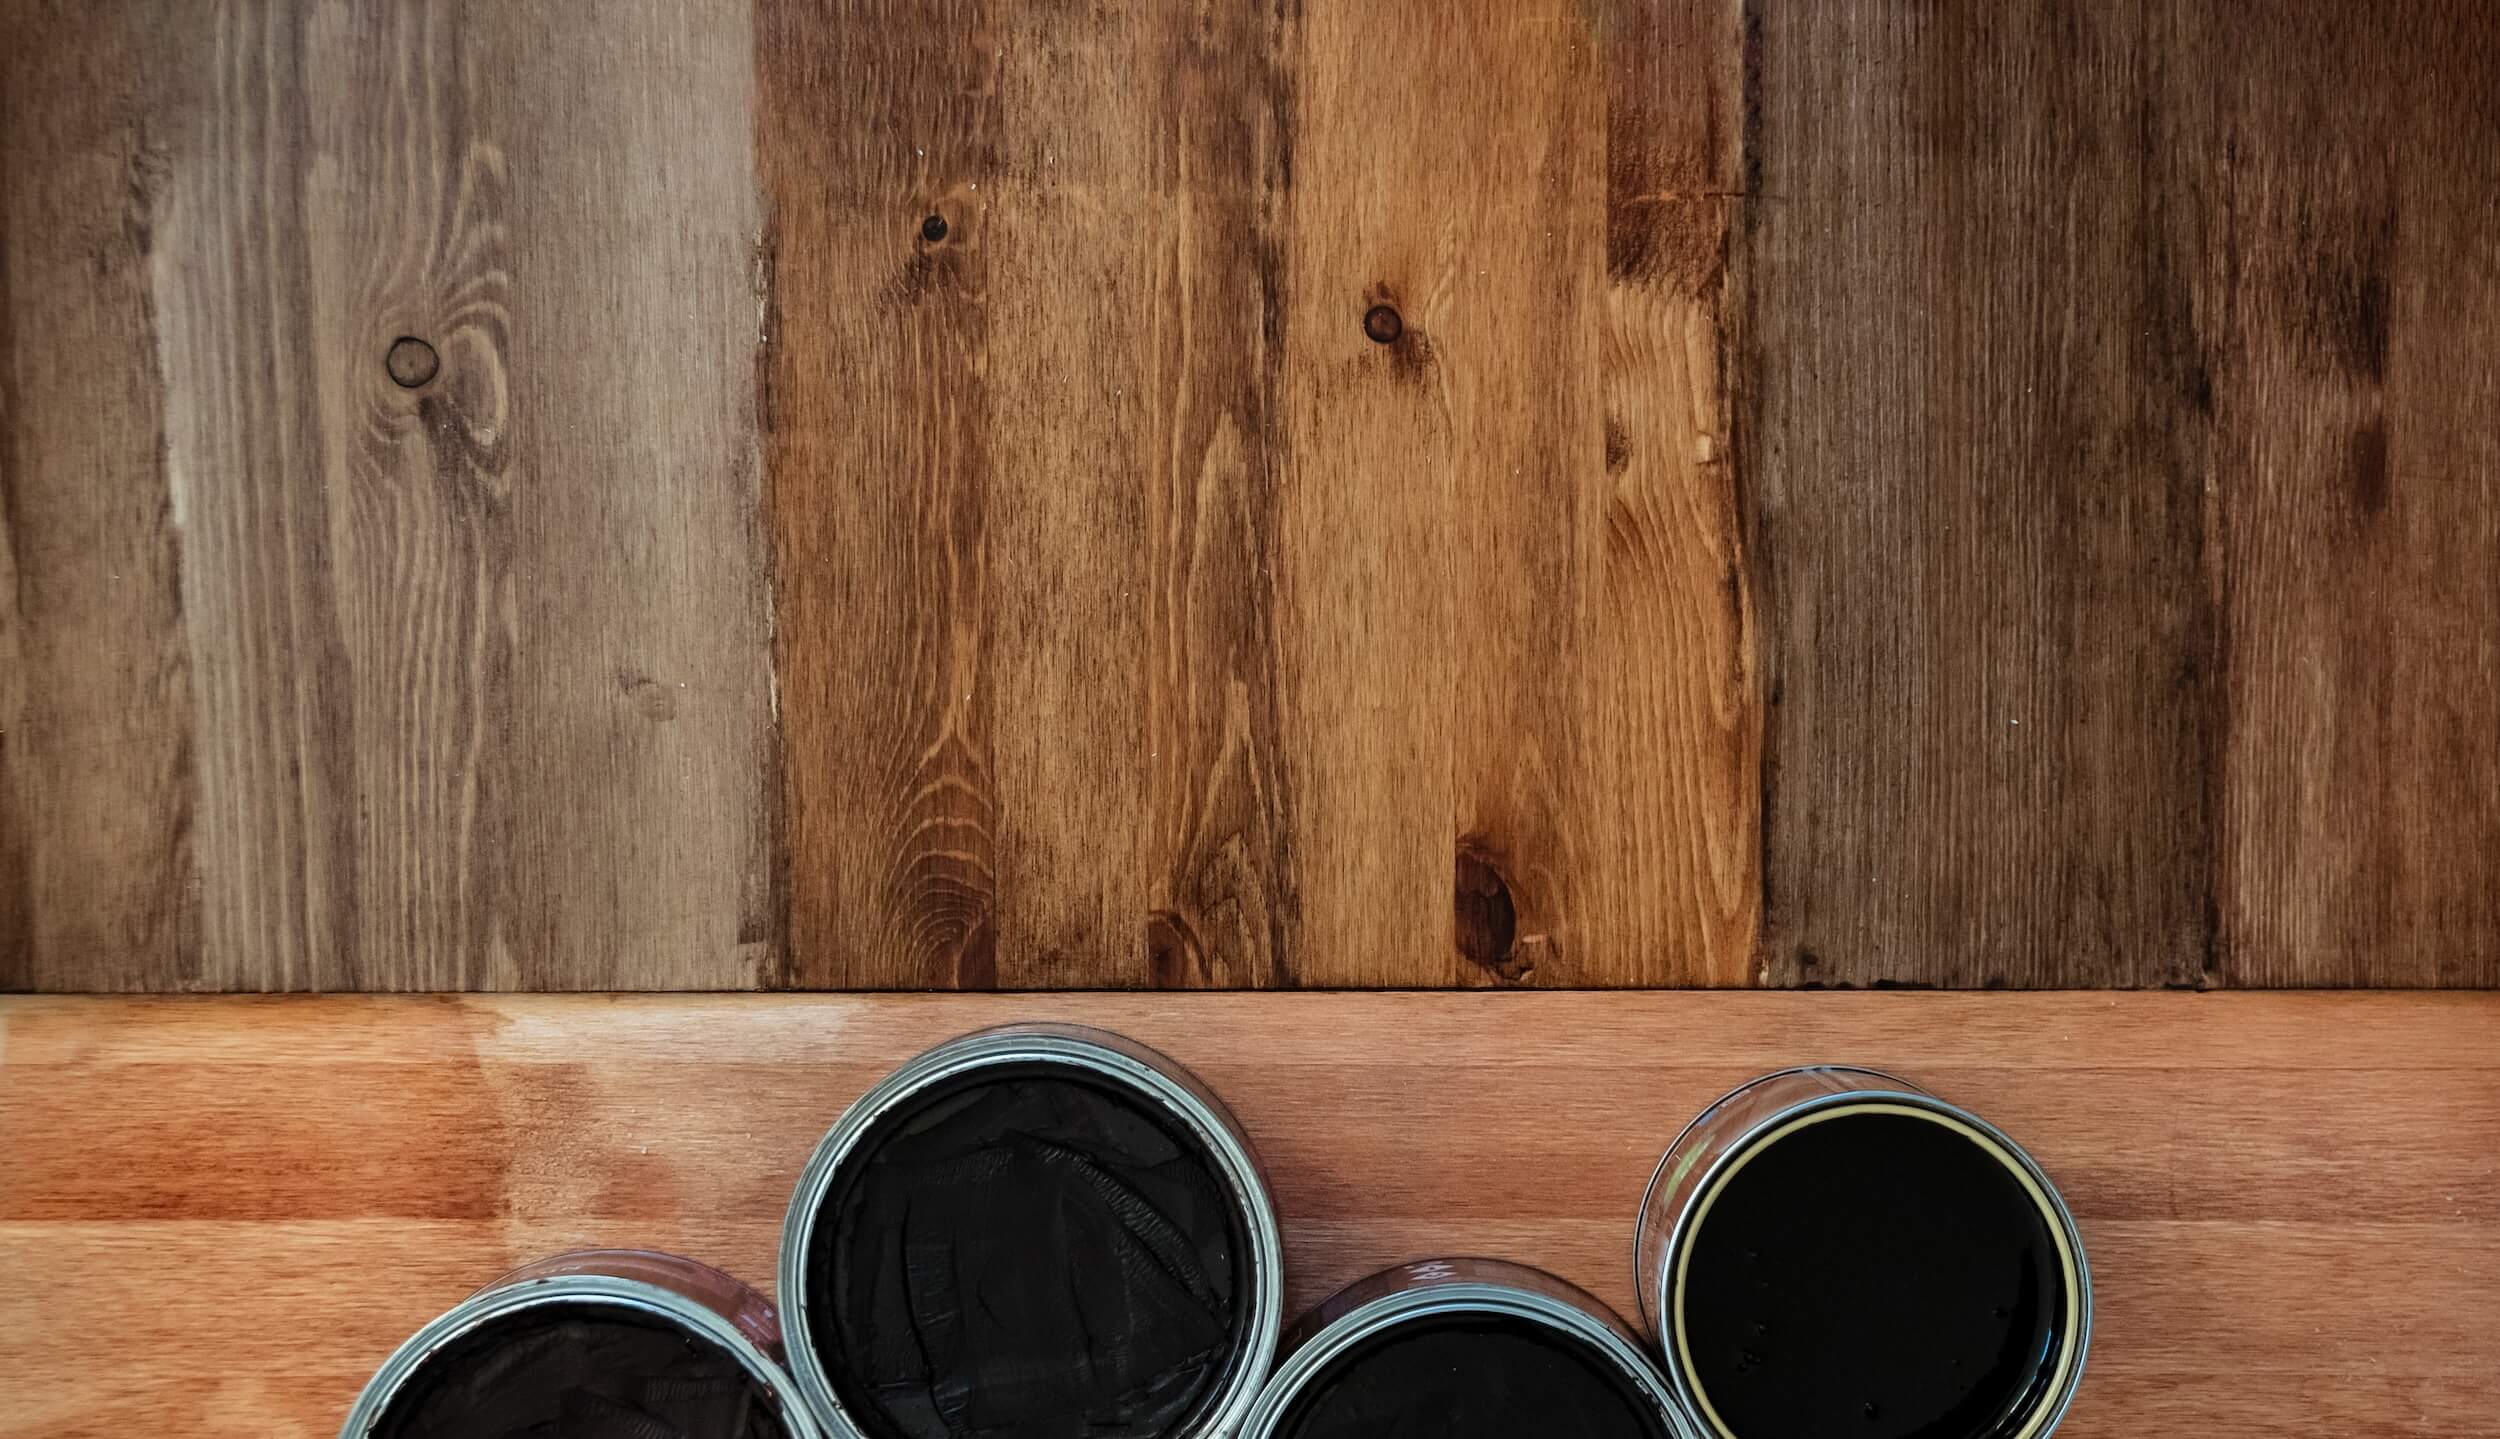
- Pigment stain. Sits in the pores. Great for oak and ash. Wipes easy.
- Gel stain. Thick. Good control on blotchy woods like pine and cherry.
- Dye stain. Soaks in and adds vivid, even color. Great for maple.
Control blotch with a conditioner or a thin wash coat. A light coat of shellac can act as a sealer before stain. Sand with 320 after the sealer to smooth it. Then add color.
Water popping helps even color. Wipe the wood with water. Let it dry to damp. Then stain. It opens pores and helps dye take deep.
Layer color for depth. A dye for base tone. A glaze for contrast in the grain. A clear topcoat to lock it in. The Ultimate Wood Finishing Guide says test each layer on scrap. Label each step. Keep notes you can trust.

Sheen and Final Rub-Out
Sheen shapes the look. Gloss shows depth and every flaw. Satin or matte hides small marks. Choose the sheen in the last coat. You can also rub out a gloss coat to satin by hand.
Rub-out steps after full cure:
- Level dust nibs with 1000 to 1500 grit wet or dry paper.
- Use soapy water as a lube. Keep it light and flat.
- Polish with fine compounds or pads to the sheen you want.
- Clean well and apply a light wax only if the system allows.
Flattening agents in satin and matte can settle. Stir well. Do not shake. The Ultimate Wood Finishing Guide favors satin for most furniture. It looks calm and classic.

Durability, Maintenance, and Repair
Think ahead to care. The finish you choose shapes the upkeep.
Care tips:
- Clean with a damp cloth and mild soap. Dry at once.
- Use coasters and pads. Heat and water can mark most films.
- Refresh oil finishes as they fade. Wipe on a thin coat. Let it cure.
- Wax is optional. It can add feel and slip. It can also show marks.
Repair notes:
- Shellac and lacquer re-melt into themselves. You can spot fix well.
- Poly and varnish do not melt in. Feather sand and recoat a whole area.
- White rings from moisture often buff out with heat and oil. If not, sand and recoat.
I learned this the hard way on a pub table. Beer rings showed up after a big game. A careful rub with heat from a hair dryer and a little oil cleared most of it. I then added a fresh thin topcoat. The Ultimate Wood Finishing Guide teaches that small, smart fixes beat full strip jobs.

Safety, Ventilation, and Environmental Concerns
Solvents can harm your lungs and skin. Dust can harm too. Work safe.
Basic rules:
- Vent well. Use fans to pull air out, not blow dust in.
- Wear a respirator. Use cartridges rated for organic vapors. Add P100 filters for dust.
- Wear gloves and eye protection. Keep skin clean.
- Watch oily rags. They can self ignite. Lay flat to dry, then seal in a metal can.
Choose low VOC when you can. Water based finishes have lower odor and fast dry. Dispose of waste per local rules. The Ultimate Wood Finishing Guide puts safety first. A good finish is not worth a bad day in the shop.
Tools, Supplies, and Setup Checklist
A clean, calm setup makes the work easy. Gather what you need before you open a can.
Core kit:
- Sandpaper in grits from 120 to 400
- Vacuum and soft brush
- Raking light or headlamp
- Clean lint-free rags
- Brushes matched to your finish
- Mixing sticks and strainers
- Measuring cups for ratios
- Gloves, respirator, and eye protection
- Tack cloths that are finish safe
- Mineral spirits or water for cleanup
- Drop cloths and painter’s pyramids
- Test boards cut from your project wood
Nice to have:
- HVLP sprayer and a small compressor or turbine
- Grain filler and spreaders
- Dye concentrate and measuring droppers
- Buffing pads and polishing compounds
Lay out a dust-free zone. Mop the floor. Let the air settle. Then start. The Ultimate Wood Finishing Guide is part tools, part habits. Set up well and you will coast.
Common Mistakes and How to Fix Them
Even pros slip. The fix is to spot the cause and act early.
Dust nibs
- Cause. Dust in the air or on the surface.
- Fix. Light sand with 400. Clean better. Recoat thin.
Bubbles
- Cause. Over-brushing or shaking the can.
- Fix. Let them pop. Sand light. Apply with slower strokes.
Lap marks
- Cause. Finish tacking as you work.
- Fix. Keep a wet edge. Work in smaller zones. Add a touch of thinner if the label allows.
Runs and sags
- Cause. Too heavy a coat or a cool room.
- Fix. Shave off when dry. Sand flat. Recoat light.
Blush in lacquer
- Cause. Moisture trapped in fast-dry sprays.
- Fix. Warm the room. Use a retarder if allowed. Light recoat.
Fish-eye
- Cause. Silicone or oil on the surface.
- Fix. Clean with proper solvent. Use a barrier coat. Avoid silicone polishes in the shop.
I once fought fish-eye from a car polish on a nearby rag. It ruined a door panel. A shellac barrier coat saved the day. The Ultimate Wood Finishing Guide reminds us to control the room as much as the wood.
Project Playbook: Real-World Scenarios
Dining table that takes a beating
- Wood. White oak.
- Look. Natural tone, low amber.
- Plan. Water based polyurethane, satin.
- Steps. Sand to 180. Water pop. Apply two seal coats, sand, then two more thin coats. Cure for two weeks.
- Why. Water based poly stays clear and resists water well.
Cutting board that meets food
- Wood. Maple and walnut.
- Look. Soft glow.
- Plan. Pure tung oil, wiped on in thin coats.
- Steps. Warm the oil. Flood on. Wait. Wipe dry. Repeat for three to five coats. Let cure hard.
- Why. Simple care. Food safe once cured. Easy refresh.
Outdoor bench in sun and rain
- Wood. Teak or cedar.
- Look. Rich, warm color.
- Plan. Marine spar varnish or a UV oil kept on a schedule.
- Steps. Wash wood. Thin first coat. Build three to five coats. Sand light between coats. Renew yearly.
- Why. Flex and UV help for weather.
Walnut keepsake box with glow
- Wood. Walnut.
- Look. Warm, deep chatoyance.
- Plan. Shellac with a hand rub.
- Steps. Sand to 220. Pad on thin shellac coats. Level. Then wax, if desired.
- Why. Fast build and easy repair.
I have built all four. I keep test boards from each. Notes matter. The Ultimate Wood Finishing Guide is your map. Your eyes and hands are your compass.
Frequently Asked Questions of The Ultimate Wood Finishing Guide
What is the toughest finish for a dining table?
Oil based or water based polyurethane offers top protection. Use several thin coats and let it cure fully.
How long should I wait between coats?
Follow the label and your room conditions. When in doubt, wait longer and do a light sanding first.
Can I put water based finish over oil based stain?
Yes, once the stain is fully dry and no smell remains. Seal with a thin coat and sand very light.
Why does my stain look blotchy on pine?
Soft woods absorb stain unevenly. Use a pre-stain conditioner or a shellac wash coat before staining.
Are hardwax oils durable enough for floors?
They can be, with proper care and refresh. They need routine upkeep compared to high-build polys.
Conclusion
A great finish is not magic. It is a set of small, steady steps. Choose the right system. Prep with care. Apply thin coats. Let each layer cure. Fix small flaws fast. The Ultimate Wood Finishing Guide gives you the path and the proof.
Now pick a scrap and run a test. Build your notes. Then finish your next piece with calm and skill. If you found this useful, share it, subscribe for more guides, or drop a question so we can learn together.