
A woodworking router is a handheld or table-mounted tool that shapes, cuts, and joins wood.
If you want crisp edges, clean joinery, and pro-level curves, this guide is for you. I have spent years routing hardwoods, plywood, and tricky veneers. In The Complete Woodworking Router Guide, I’ll show you how to choose, set up, and use a router with confidence, while avoiding the burns, tear-out, and chatter that can ruin a project.

How a Router Works: The Simple Core You Need To Know
A router is a high-speed motor that spins a bit to cut wood. The collet holds the bit. The base controls depth and keeps the tool stable. The fence and guides steer the cut. That is the heart of The Complete Woodworking Router Guide.
Key parts and words you will see:
- Motor measures in amps or horsepower. More power helps in dense wood.
- Collet sizes are 1/4 inch and 1/2 inch. Bigger shanks cut smoother.
- Bases include fixed, plunge, and D-handle. Each suits a task.
- Depth controls set how deep the bit cuts. Small passes are safer.
- Speed is in RPM. Use lower speed for big bits and hard woods.
Quick tip from the shop: I once burned a maple edge by using max speed with a large round-over bit. I slowed the router, made two light passes, and the burn vanished. In routing, speed plus bite equals heat.

Types of Woodworking Routers
Pick a router that fits how you work. This section in The Complete Woodworking Router Guide breaks down the options.
- Trim or palm routers. Light, one-hand use. Great for round-overs, chamfers, and laminate.
- Mid-size routers, about 1.75 to 2.25 HP. The best all-around choice for most shops.
- Full-size routers, 3+ HP. Ideal for raised panels and heavy cuts in a table.
- Fixed base. Best for edge work and router table setups.
- Plunge base. Best for mortises, stopped dados, and inlays.
- Combo kits. One motor with both bases. Good value and range.
My rule of thumb: start with a 2 to 2.25 HP combo kit and a router table insert. That setup will take you far without a big spend.

Router Bits 101: Profiles, Uses, and a Starter Set
Your bit choice shapes your results. The Complete Woodworking Router Guide would be thin without a clear bit plan.
Common bit types:
- Straight and spiral upcut or downcut. Use for dados, grooves, and mortises.
- Flush trim with bearing. Follow a pattern or clean an edge to a template.
- Round-over and chamfer. Break sharp edges with style and control.
- Rabbeting with bearings. Cut steps for backs or casework.
- Cove, ogee, and beading. Add classic profiles to furniture.
- Dovetail and keyhole. Joinery and mounting.
- Bowl and spoilboard. Recesses and slab surfacing.
Starter set I suggest:
- 1/4 inch and 1/2 inch spiral upcut.
- 3/8 inch round-over with changeable bearings.
- 1/2 inch flush trim with top and bottom bearings.
- 3/4 inch straight bit for dados.
- 1/2 inch chamfer bit.
Personal note: A quality 1/2 inch spiral upcut is my desert island bit. It stays cool, clears chips fast, and leaves clean walls in hard maple.

Safety, Setup, and Depth Control
Safety starts before the cut. In The Complete Woodworking Router Guide, we focus on simple habits that prevent slips.
- Secure the work. Use clamps, stops, or a non-slip mat.
- Check the bit. Seat it cleanly in the collet, then back out 1/16 inch before tightening.
- Set speed. Big bits need lower RPM. Small bits can spin faster.
- Plan the feed direction. With handheld routing, move left to right along an edge so the bit pushes against your control.
- Take shallow passes. Multiple light cuts beat one deep cut for both safety and finish.
- Protect yourself. Wear eye and hearing protection and use dust control.
Rout like this: mark, test on scrap, set 1/8 inch depth, cut, then step deeper as needed. Slow, steady pressure is your friend.
Core Techniques: Edge Work, Grooves, Templates, and Joinery
These are the moves you will use every week. The Complete Woodworking Router Guide boils them down.
Edge profiling
- Use a round-over or chamfer bit with a bearing.
- Keep a steady pace to avoid burns.
- Start with end grain, then do the long grain edges to clean up chip-out.
Grooves and dados
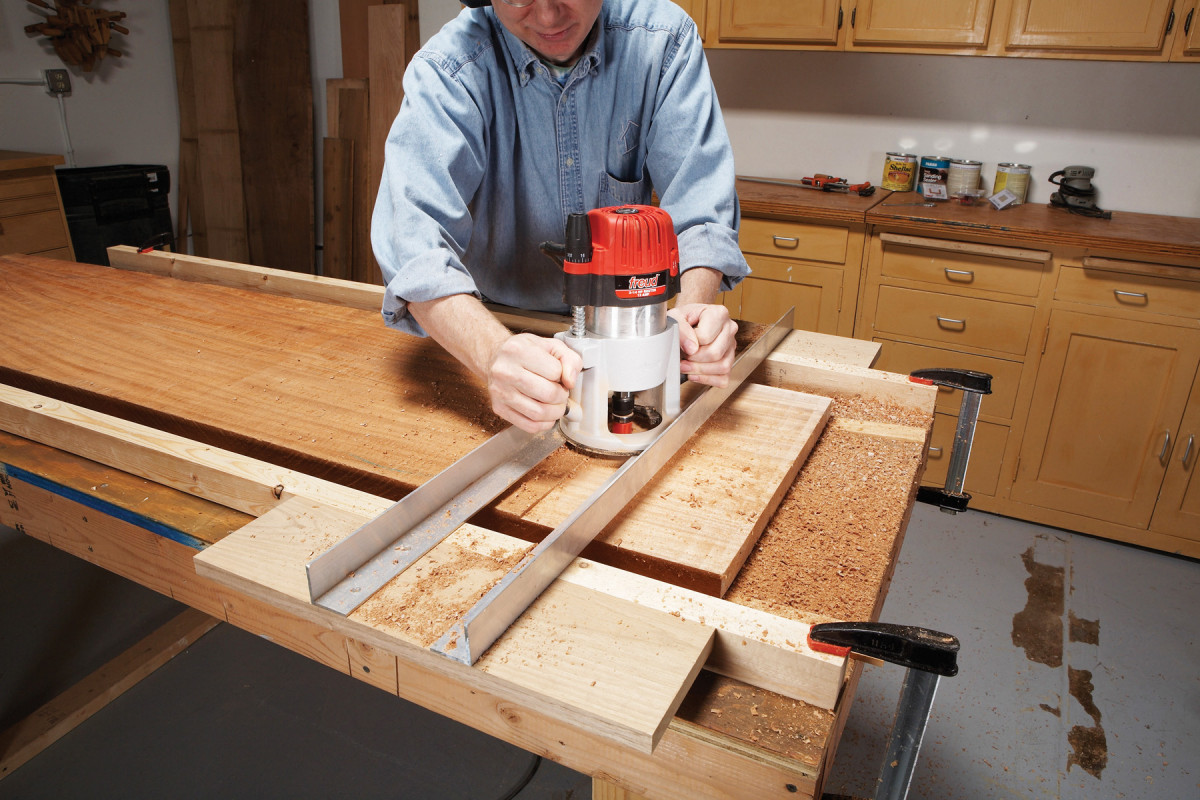
- Guide with a fence or straightedge.
- Plunge in with a spiral bit and take two or more passes.
- Use downcut bits for clean top edges on plywood.
Template routing
- Rough cut with a jigsaw. Then flush trim to a template with a bearing bit.
- Use climb cuts in tiny bites only to avoid tear-out on end grain, but hold tight control.
Joinery
- Mortises with a plunge base and stops.
- Rabbets with a bearing kit or table fence.
- Dovetails with a jig and matched bit.
Shop tip: When routing plywood dados, I run a downcut spiral for a clean top face, then a final pass with an upcut to pull chips. The walls end up crisp and square.

Router Tables, Fences, and Guides
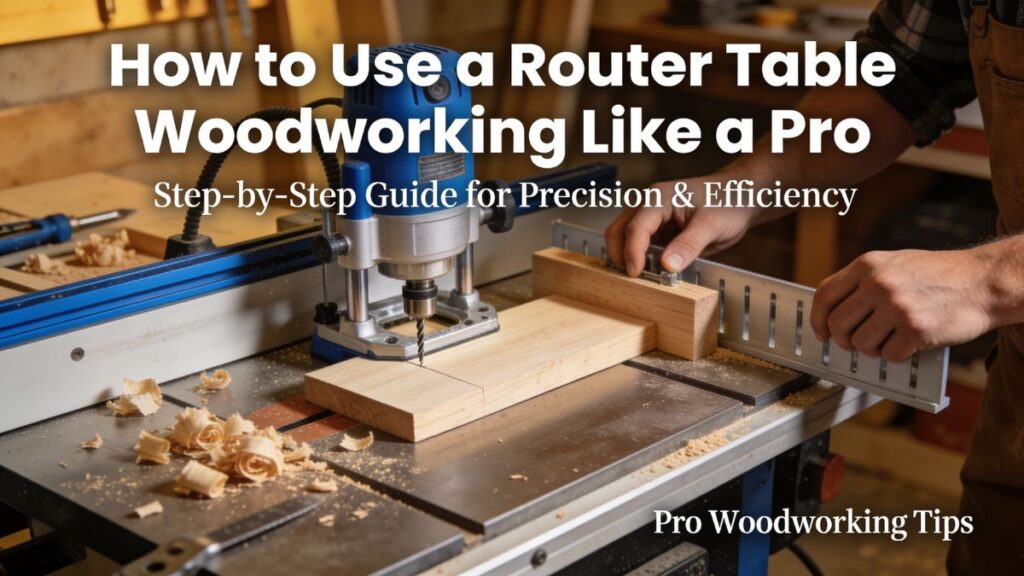
Handheld routers are nimble. A router table brings precision and repeatability. This is a core piece of The Complete Woodworking Router Guide.
- Router table. Adds a flat surface, fence, and often a lift.
- Fence and featherboards. Keep stock tight and reduce chatter.
- Miter slot and push blocks. Better control for small parts.
- Lifts and above-table height adjusters. Fine depth control without guesswork.
When to use a table:
- Narrow or small parts.
- Raised panels and large profiling bits.
- Repeatable rabbets and bevels.
I built my first table from plywood with a simple fence. It changed my work overnight. Cuts were cleaner, and profiles matched from one piece to the next.
Choosing a Router: Buying Guide and Trusted Brands
Let’s match tools to needs. The Complete Woodworking Router Guide helps you avoid overbuying and underperforming kits.
What to look for:
- Power. 2 to 2.25 HP handles most jobs. Go 3+ HP if you run big panel bits often.
- Collet size. A 1/2 inch collet adds stiffness and smooth cuts.
- Speed control. Soft start and variable speed improve safety and finish.
- Ergonomics. Try the grips. A good feel matters for long sessions.
- Dust port. Better ports save cleanup time and lungs.
- Base options. Combo kits stretch your dollars.
Common picks:
- Trim router for small tasks and flush trim work.
- Mid-size combo kit as your main router.
- Big motor in a table if you build cabinets and doors.

Speeds, Feeds, and Materials
Right speed and feed stop burns, chatter, and tear-out. You will see this idea all through The Complete Woodworking Router Guide.
General speed tips:
- Big diameter bit. Lower speed.
- Dense wood like maple. Lower speed and slower feed.
- Small bit. Higher speed with a steady feed.
Material notes:
- Hardwood. Take lighter passes and keep bits sharp.
- Plywood and MDF. Use downcut for clean tops; upcut for chip clearing.
- Softwood. Avoid pushing too fast, or you may tear fibers.
If you see burn marks, slow the RPM or speed up your feed. If the router chatters, reduce your bite and hold firmer against a fence.
Dust Collection and Noise Control
Dust is not just a mess. It harms your lungs and your finish. The Complete Woodworking Router Guide leans on good dust habits.
- Use a router with a shroud or base plate port.
- Attach a shop vac with a fine filter or a dust extractor.
- Add fence dust pickup on a router table.
- Wear hearing protection. Routers are loud, especially with shop vacs.
I keep a dedicated hose at the router table and a high-flow vac on auto start. It keeps my shop clean and my sanding time short.
Maintenance, Storage, and Troubleshooting
Clean tools cut better. This section of The Complete Woodworking Router Guide keeps your setup sharp.
Maintenance
- Wipe pitch off bits with a resin cleaner.
- Check collets for wear and clean them often.
- Blow dust out of vents and switches.
Storage
- Keep bits in a case with labeled holes.
- Protect edges with sleeves or foam.
Troubleshooting
- Burn marks. Reduce RPM or increase feed. Make more passes.
- Tear-out. Switch to a downcut or use climb cuts in short, safe moves.
- Bit slipping. Clean collet and shank. Tighten to spec.
- Vibration. Replace a worn collet or balance the bit.
Starter Projects and Handy Jigs
Practice on small wins. The Complete Woodworking Router Guide suggests projects that build skill fast.
Good first builds:
- Edge profile a cutting board. Learn speed and feed.
- Flush-trim a plywood shelf to a template. Learn control.
- Cut a simple dado and rabbet bookcase. Learn joinery basics.
Simple jigs to make:
- Straightedge guide with a zero-clearance strip.
- Circle-cutting jig for table tops.
- Router table fence with dust port and T-tracks.
Each jig saves time and boosts safety. I still use a plywood straightedge I made a decade ago.
Common Mistakes and How to Avoid Them
Small errors can spoil great wood. This part of The Complete Woodworking Router Guide keeps you out of trouble.
- Taking too deep a pass. Make more shallow passes instead.
- Wrong feed direction. Know when the bit pulls or pushes.
- Dull bits. Sharpen or replace before they burn and chatter.
- Poor workholding. Clamp well and use stops.
- Skipping test cuts. Always test on scrap from the same board.
Mindset tip: Slow is smooth. Smooth is fast. This is true for routing as much as it is for hand tools.
Cost and Value: Kits, Accessories, and Upgrades
You can build a strong kit without overspending. The Complete Woodworking Router Guide keeps costs clear.
Starter budget
- Trim router and a few bits. Great for edge work.
- Add a mid-size combo router when you tackle joinery.
Mid-range setup
- Mid-size combo kit, a basic router table, lift optional.
- Core bit set with a few premium spirals.
Pro path
- 3+ HP table router, lift, quality fence, and dust collection.
- Full bit lineup with replaceable bearings.
Spend more on bits and dust control before chasing an extra half horsepower. Sharp profiles and clean air are worth it.
Frequently Asked Questions
What size collet should I buy first?
Get a router that accepts 1/2 inch bits and use a 1/4 inch adapter when needed. Larger shanks cut smoother and reduce chatter.
How deep should I cut in one pass?
Keep passes to about 1/8 inch deep on most jobs. For big profiles or hard woods, go even lighter.
Do I need a router table to start?
No. You can do a lot by hand with a fence and guides. A simple table adds safety and repeatability when you are ready.
Why does my router burn the wood?
Burns come from high RPM, dull bits, or a feed that is too slow. Lower the speed, sharpen the bit, and make steady passes.
Which bits should I buy first?
Start with a flush trim, round-over, chamfer, straight, and one spiral upcut. Add profiles later as your projects grow.
Conclusion
A router can shape clean edges, cut tight joints, and bring your work to life. With the right bit, setup, and feed, you gain speed and control. The steps in this guide help you work safer and with less guesswork.
Start small. Make test cuts. Build a simple jig. Each pass builds skill. If The Complete Woodworking Router Guide pushed you to try a new cut today, you are on the right path. Subscribe for more tips, share your first router win, or ask a question so we can learn together.