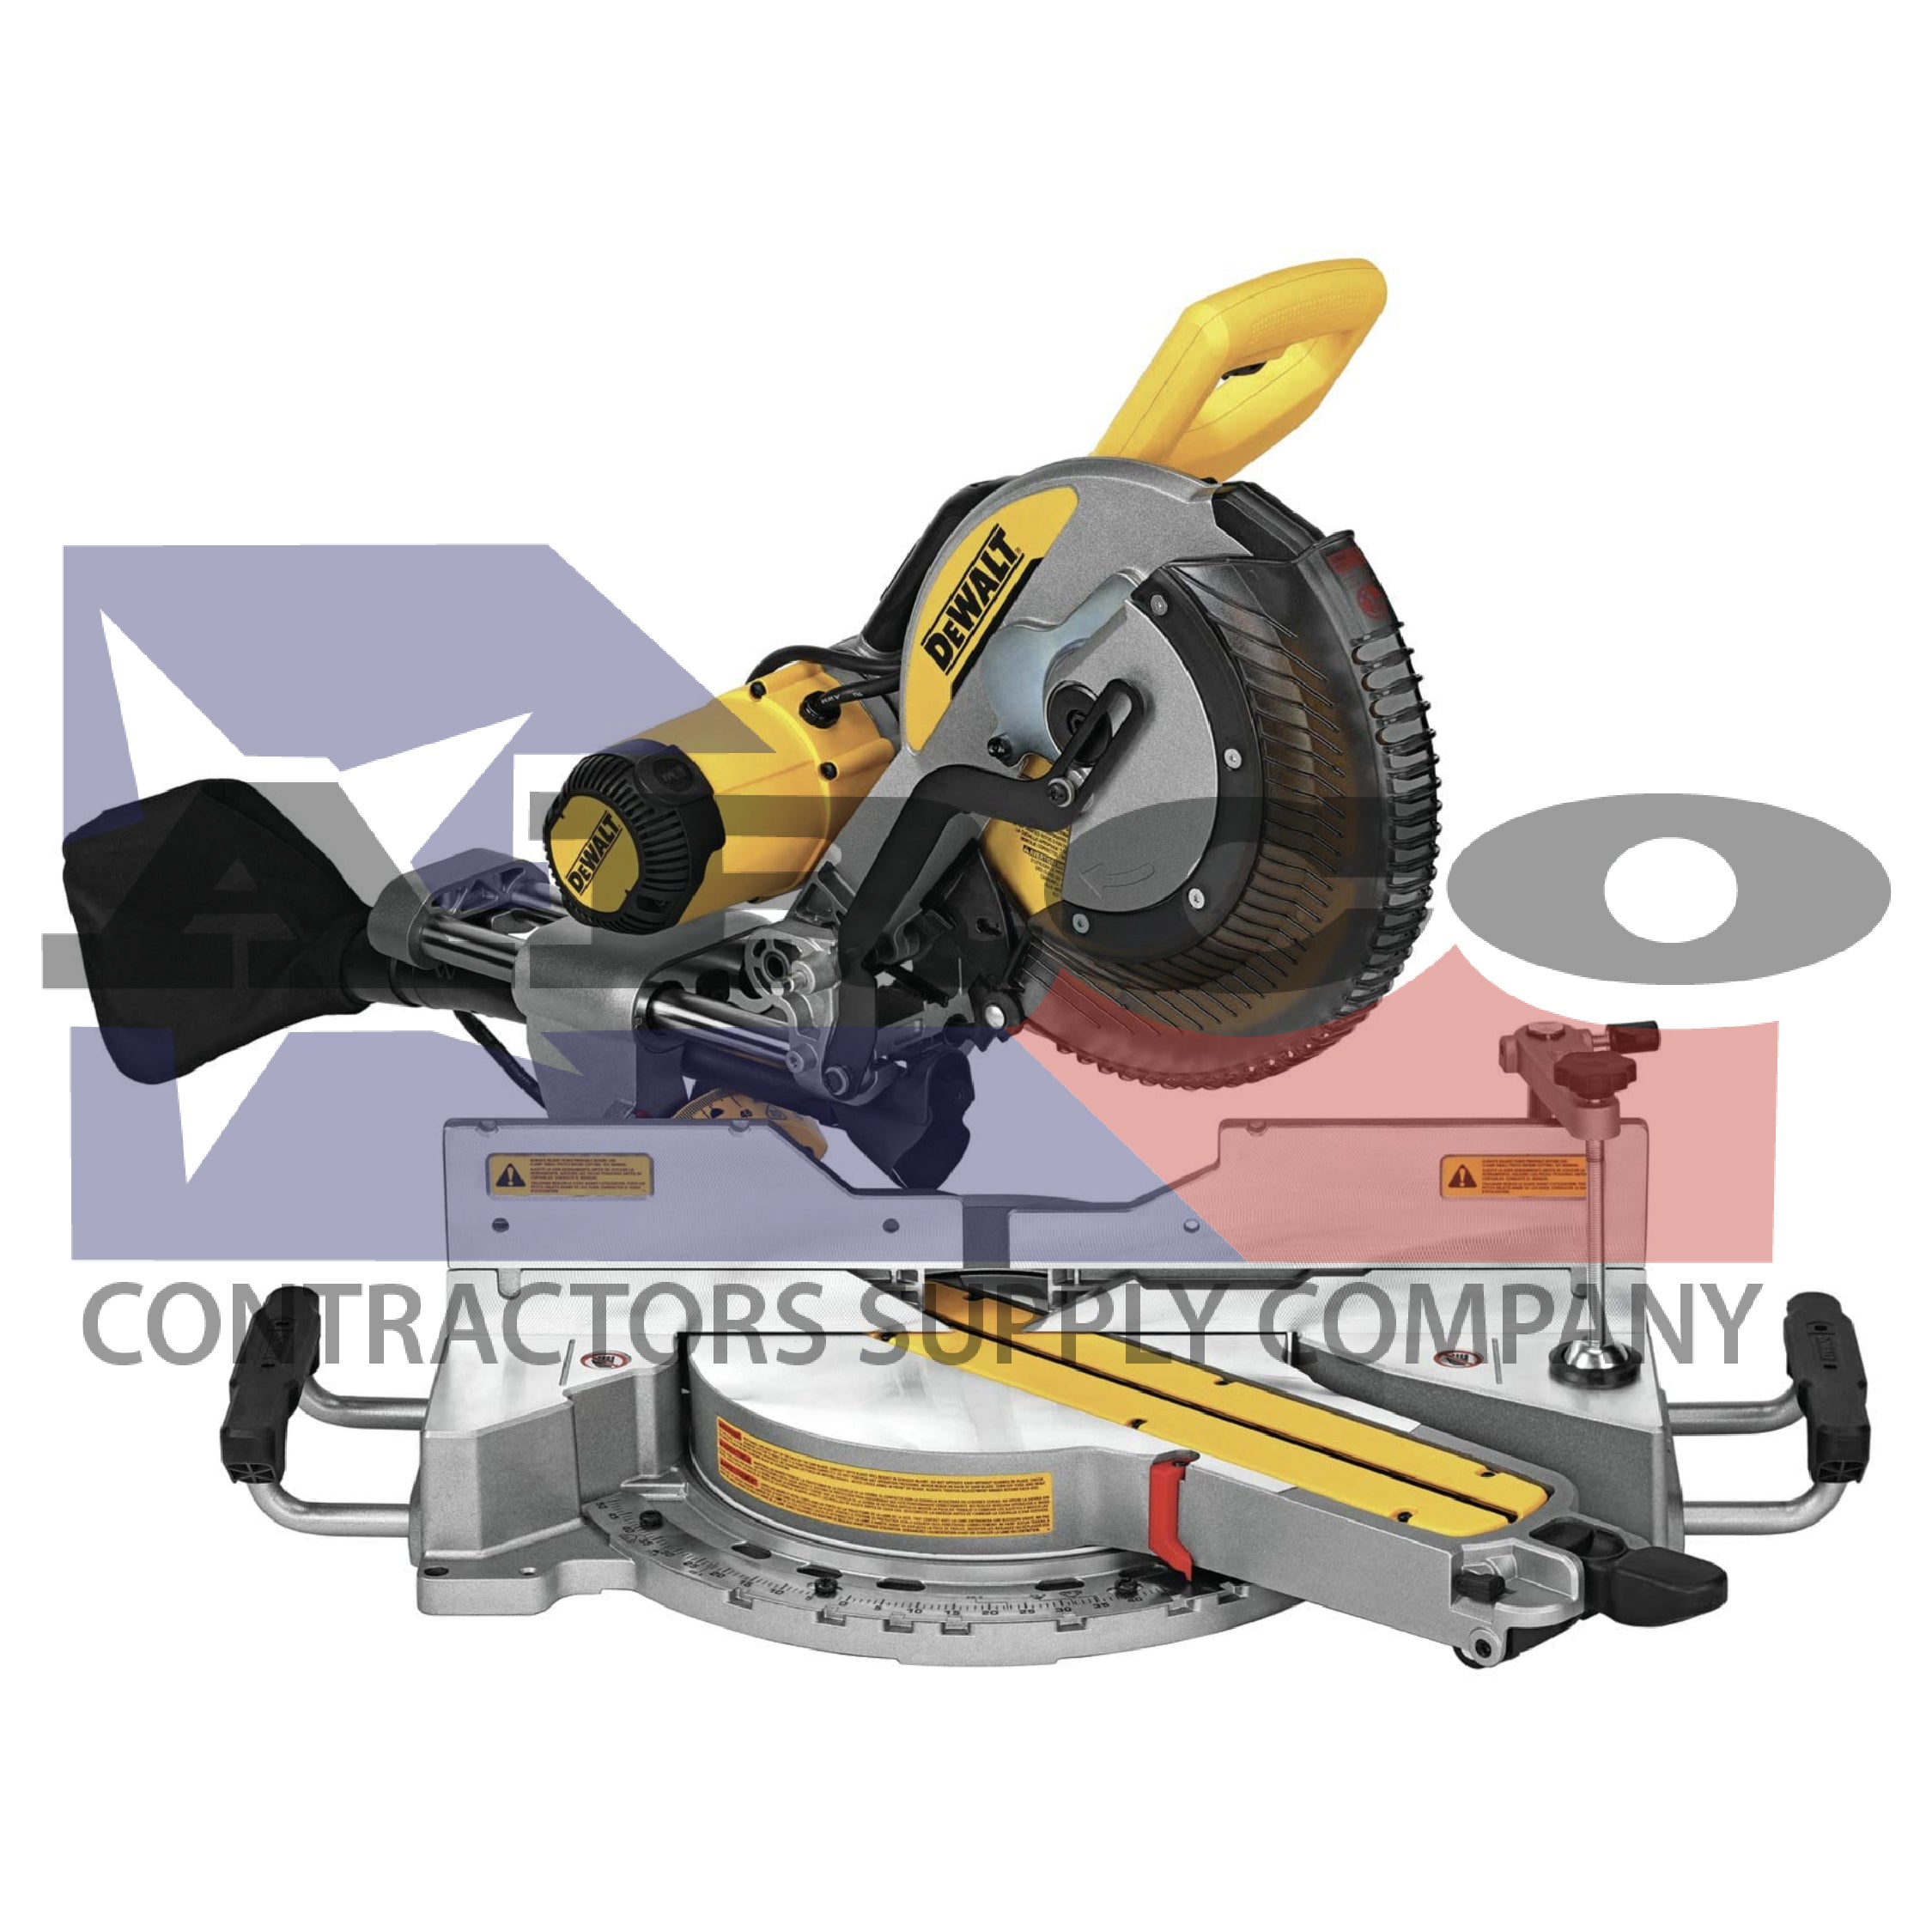
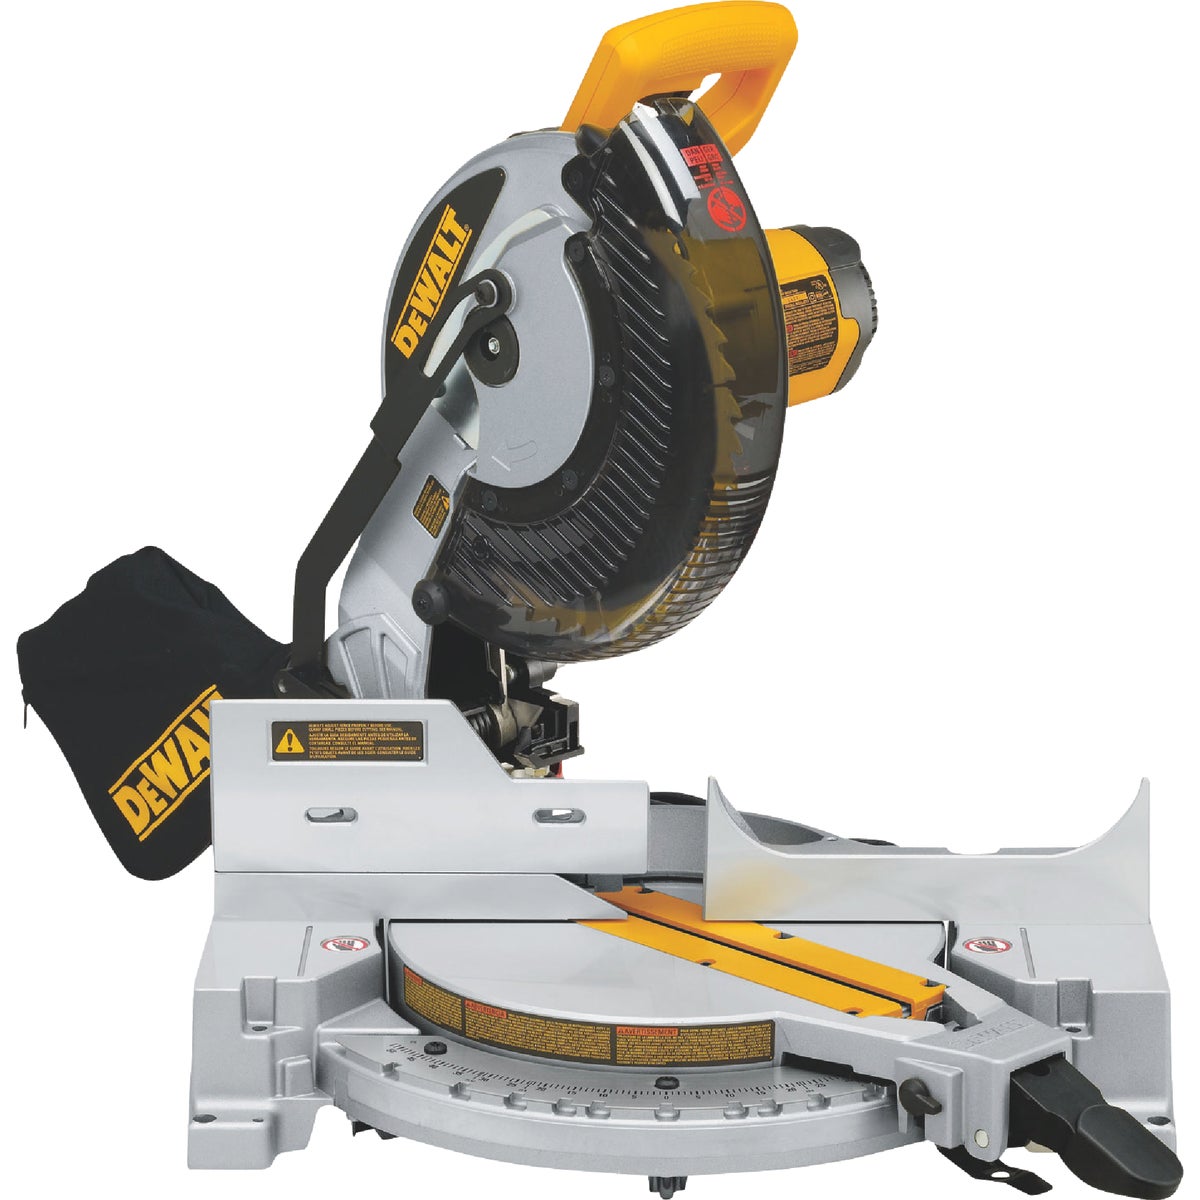
Miter saw safety starts with a stable saw, a working blade guard, properly supported material, appropriate eye and hearing protection, and keeping your hands completely outside the blade path. Always follow the instructions for your specific saw and stop the machine before making adjustments, clearing scraps, or changing the blade.
For homeowners, DIYers, remodelers, and professional carpenters across the United States, a miter saw can make fast and accurate crosscuts, bevels, and miters, but its exposed cutting area demands disciplined operation. OSHA identifies the point of operation and contact with the blade as important hazards and requires applicable machine guarding in covered workplace settings. The Consumer Product Safety Commission has also documented power-saw injuries involving blade contact, material being thrown, and flying debris.
Safe operation is not just about wearing safety glasses. The entire cutting process matters: inspect the machine, secure it to a stable surface, choose the correct blade, support the workpiece, keep your hands away from the danger zone, start the blade before entering the material, and allow the blade to stop completely before raising the head or handling the cut piece. Manufacturer manuals can add model-specific requirements, so the manual for your particular saw remains the controlling source for its operating procedure.
Source: boschtools.com
What Makes a Miter Saw Dangerous?
A miter saw combines a high-speed circular blade with a pivoting cutting head. The operator lowers the blade through the workpiece while the material is held against a fence and table. This design makes accurate crosscuts convenient, but the cutting zone can cause severe injuries if a hand enters the blade path or if material moves unexpectedly.
OSHA’s machine-guarding guidance identifies the point of operation as an area where injury can occur and specifically notes that miter saw operators can suffer severe cuts or amputations when hands are too close to the blade. OSHA also states that applicable miter saw guards should provide continuous protection from the blade as the material thickness changes.
The hazards are not limited to the blade itself. A loose workpiece can shift or be thrown, damaged blades can fail or cut unpredictably, dust and chips can become airborne, and an unstable saw can move during operation. Electrical hazards can also exist when cords, plugs, switches, or power connections are damaged.
Source: arconow.com
Blade contact
The rotating blade can cause severe lacerations or other serious injuries if hands enter the cutting zone.
Moving workpieces
Material that is not properly supported or secured can shift, bind, or be thrown during cutting.
Flying debris
Wood chips, fragments, and other particles can leave the cutting area at high speed.
Dust exposure
Cutting wood can produce airborne dust, making effective dust collection and suitable respiratory protection important when conditions warrant.
Unexpected machine movement
A saw that is not securely mounted or positioned on a stable surface can shift during a cut and reduce operator control.
The blade guard is a critical safety component
The lower blade guard should move freely and cover the blade appropriately when the saw is at rest. Do not remove, disable, tie back, or deliberately defeat the guard. Before operation, check that the guard is not cracked, obstructed, or damaged and that it moves according to the manufacturer’s instructions.
Past U.S. recalls demonstrate why guard condition matters. The CPSC has documented miter saw recalls involving lower guards that could break or fail to provide adequate blade coverage. If your saw has been recalled or has a safety defect, stop using it and follow the manufacturer’s recall or repair instructions.
Stop if the guard sticks
A guard that does not move or return correctly is a reason to stop using the saw until the problem is properly corrected.
Use compatible replacement parts
A replacement guard or safety component must be appropriate for the exact saw model and installed according to the manufacturer’s instructions.
Miter Saw Safety Checklist Before You Cut
The safest cut begins before the trigger is pulled. A short inspection can identify problems with the saw, material, workspace, or setup before the blade starts moving. Manufacturer safety guidance and woodworking safety programs commonly emphasize inspecting the tool, evaluating the workpiece, establishing proper supports, and confirming that the cutting path is clear.
Start by reading the operating manual for your exact model. Miter saws differ in blade size, guard design, sliding mechanism, bevel range, clamping system, and approved materials. Do not assume that a procedure that works on one saw is appropriate for another.
Source: hemlockhardware.com
Inspect the saw
Check the blade, guard, fence, table, switches, clamps, slide mechanism, power cord or battery, and visible fasteners for damage or abnormal conditions.
Check the blade
Use a sharp blade designed for the material and compatible with the saw’s specifications. Do not use a cracked, bent, damaged, or otherwise unsuitable blade.
Secure the saw
Place the saw on a stable surface and secure it according to the manufacturer’s instructions. Portable saws should not be allowed to slide or tip during a cut.
Clear the work area
Remove scraps, cords, tools, and other objects that could interfere with the saw, material, or operator.
Inspect the material
Check lumber for nails, screws, staples, knots, cracks, embedded objects, or other conditions that could affect cutting.
Plan the cut
Confirm the required length, miter angle, bevel angle, cutting direction, support arrangement, and blade clearance before switching on the saw.
Wear the right personal protective equipment
Eye protection should be treated as basic equipment whenever a miter saw is operating. Safety glasses or other appropriate eye protection help protect against chips and flying debris. Ordinary prescription eyeglasses are not automatically equivalent to safety glasses unless they meet the applicable impact-protection requirements.
Hearing protection can reduce exposure to the loud sound produced by power-tool operation. Dust protection should be selected based on the material, work environment, and applicable safety requirements. Avoid loose clothing, dangling jewelry, and other items that could interfere with the machine. Long hair should be secured.
Eyes
Use suitable safety glasses or other appropriate eye protection.
Hearing
Use appropriate hearing protection when noise exposure warrants it.
Respiratory protection
Use suitable dust control and respiratory protection when required by the material, workplace conditions, or applicable safety program.
How to Use a Miter Saw Safely
Once the saw passes the inspection, use a controlled sequence for every cut. The exact operating method depends on the saw model, especially for sliding miter saws, so follow the manufacturer’s instructions when they differ from this general procedure.
For a typical wood cut, position the workpiece flat on the table with the appropriate edge against the fence. Use a clamp when the saw and workpiece configuration allows it. Long material should be supported so its weight does not cause the piece to rotate, lift, or shift as the cut progresses.
Source: skyman.cz
1. Set the saw while it is off
Set the miter and bevel angles as required, lock the adjustments, and confirm that the fence and other components are positioned correctly.
2. Position the workpiece
Place the material against the fence and on the table. Keep the intended cut area clear of clamps and other hardware.
3. Secure and support the material
Use the supplied clamp or another approved method when appropriate, and provide outboard support for long material.
4. Check blade clearance
With the saw switched off, move the head through the required range to confirm that the blade, guard, fence, clamp, and material do not interfere with one another.
5. Establish your hand position
Keep both hands outside the marked no-hands zone and away from the blade path. Never cross a hand over the intended line of cut.
6. Start the saw correctly
Stand in a stable position, activate the saw according to its instructions, and allow the blade to reach its operating speed before entering the material.
7. Make the cut with controlled movement
Use the cutting motion specified in the saw manual. Do not force the blade through the material or make abrupt movements.
8. Finish the cut and stop
Keep control of the saw head and workpiece until the cut is complete. Release the switch and wait for the blade to stop completely before raising the head or handling the cut.
Safe technique for sliding miter saws
Sliding saws add a forward-and-back travel mechanism that allows wider material to be cut. Because the slide mechanism changes how the head moves, use the sequence specified by the manufacturer rather than assuming every sliding saw should be operated in exactly the same way.
Many sliding miter saw procedures involve positioning the head and controlling the slide so the blade enters the material in a predictable path. The key safety principle is to keep the head and blade under control and never pull or push the machine through a movement that the manual does not permit.
Check the slide lock
Set the slide mechanism according to the width and type of cut and the instructions for your model.
Keep the slide path clear
Make sure walls, clamps, stands, fences, cords, and nearby objects cannot interfere with the rails or saw head.
Never reach around the blade
If material shifts or a piece becomes trapped, switch off the saw and wait for complete blade stoppage before investigating.
Workpiece Support, Clamping, and Hand Placement
The workpiece must remain stable throughout the cut. A board that moves can change the cutting path, pinch the blade, damage the workpiece, or pull the operator’s hands toward the blade. Manufacturer manuals commonly recommend clamps when practical and additional support for long material.
Use the saw’s fence and table as intended, but do not assume they are enough for every workpiece. Long boards can extend beyond the table and require additional supports. The supports should keep the material level without interfering with the blade, guard, fence, or movement of the saw head.
Source: carbonestore.cr
Use a clamp when appropriate
A compatible work clamp can hold material in position and reduce the need to place a hand near the cutting zone.
Support long boards
Use stable extensions, a miter saw stand, or other suitable supports so long material does not sag or rotate.
Keep hands out of the danger zone
Follow the no-hands marking on the saw and the minimum hand-clearance instructions in the manual.
Never reach behind the blade
Do not reach behind the fence or blade to hold material, remove scraps, or make an adjustment while the blade can move.
Do not cut unstable small pieces
If a piece is too small to hold or clamp securely without placing your hands near the blade, use a different method or setup recommended for the task.
Why long material needs extra support
A long board can behave like a lever. If its unsupported end drops during a cut, the workpiece can rotate against the fence or change position relative to the blade. Supporting the material on both sides of the cut helps keep it stable and makes the cutting process more predictable.
Supports must be positioned so they do not become an obstruction. A clamp, stop, extension, or support that contacts the moving blade or guard can create a separate hazard.
Keep supports level
The support surface should keep the workpiece aligned with the saw table rather than forcing the board upward or downward.
Check the complete movement
Before powering the saw, move the head through the planned cut with the blade stationary to verify clearance.
Blade, Dust, Electrical, and Maintenance Safety
A safe miter saw also depends on condition and maintenance. OSHA requires applicable hand and power tools in covered construction workplaces to be maintained in a safe condition and requires guarding where power-operated tools are designed to accommodate guards. For homeowners and hobbyists, the same principle is practical: do not use a tool when a safety-critical component is damaged or malfunctioning.
Use only blades that match the saw’s specifications and the material being cut. A blade should be installed correctly and tightened according to the manufacturer’s instructions. If a blade is damaged, dull, contaminated, or unsuitable for the material, stop and correct the problem rather than trying to compensate with additional force.
Dust collection can reduce airborne debris and keep the work area cleaner, but a dust bag or extractor should not be treated as a substitute for appropriate respiratory protection or ventilation when those controls are required. Dust-producing work can also create visibility problems if the cutting area becomes heavily contaminated.
Source: i.ytimg.com
Disconnect before servicing
Unplug a corded saw or remove the battery from a cordless saw before blade changes, cleaning, maintenance, or adjustments that could expose you to moving parts.
Use the correct blade
Match blade diameter, arbor size, speed rating, tooth configuration, and intended material to the requirements of the saw and job.
Keep the blade clean and sharp
A suitable sharp blade can cut more predictably than a damaged or inappropriate blade. Follow the blade and saw manufacturer’s maintenance guidance.
Check the power system
Inspect cords, plugs, switches, batteries, and chargers for damage. Do not operate equipment with damaged electrical components.
Control dust
Use the saw’s compatible dust collection system when available and maintain adequate ventilation and appropriate respiratory controls for the work environment.
Keep safety labels readable
Warnings and no-hands markings communicate important operating boundaries. Replace damaged labels when the manufacturer provides replacements.
What to do if the blade binds or the cut goes wrong
Do not try to hold, pull, or free a moving workpiece with your hands. Release the trigger and keep the saw under control while the blade comes to a complete stop. Disconnect the power source before attempting to remove material or diagnose the problem.
Once the machine is completely stopped and disconnected, inspect the workpiece, blade, fence, clamp, and setup. Look for material movement, inadequate support, an unsuitable blade, incorrect settings, or another condition that could have caused the problem. If the saw itself appears damaged or the cause is not clear, do not resume operation until it has been properly inspected.
Never clear a jam while running
A moving blade can catch material or a tool used to clear the jam, creating an immediate injury hazard.
Do not force the cut
Excessive pressure can reduce control and may indicate that the blade, material, setup, or cutting method needs attention.
Stop after abnormal noise or vibration
Unexpected vibration, noise, smoke, sparks, or loss of normal control is a reason to stop the saw and investigate only after the machine is safe.
Keep bystanders away from the cutting area
A miter saw can eject dust, chips, or pieces of material beyond the immediate cutting area. Keep children, visitors, and other workers away from the machine while it is operating. Anyone who must remain nearby should follow the appropriate protective-equipment and workspace requirements.
Do not allow another person to hold the offcut or assist with a cut if doing so places that person’s hands in the danger zone. Plan the support and handling arrangement before the saw starts.
Establish a clear work zone
Keep people and unnecessary equipment away from the front, sides, and rear areas affected by the cutting operation.
Do not hand off material during a cut
Finish the cutting cycle, stop the blade completely, and then handle or transfer material.
Frequently Asked Questions
Q
What is the most important miter saw safety rule?
Keep your hands completely outside the blade’s danger zone and never place them behind or near the moving blade. A stable setup, functioning guard, proper workpiece support, and correct PPE are also essential parts of safe operation.
Q
Should I clamp every piece of wood on a miter saw?
Not necessarily. The correct method depends on the saw, workpiece size and shape, and the manufacturer’s instructions. Clamping is particularly useful when it improves stability or allows your hands to remain farther from the blade. Never position a clamp where it can interfere with the blade or guard.
Q
How far should my hands be from a miter saw blade?
Use the no-hands zone and minimum clearance specified by your saw’s manufacturer rather than relying on one universal distance for every model. Some manuals provide specific minimum clearances. If your hand must enter the danger zone to control a piece, change the setup or use a different cutting method.
Q
Can I use a miter saw without the blade guard?
No. Do not operate a miter saw with a missing, disabled, damaged, or malfunctioning blade guard. The guard is a safety component designed to reduce exposure to the rotating blade. Stop using the saw until the guard is properly repaired or replaced with an approved component.
Q
Do I need hearing protection when using a miter saw?
Hearing protection is appropriate when the noise level and duration of exposure warrant it. Power-tool safety guidance commonly recommends hearing protection for loud tool operation. In workplaces, employers should evaluate noise exposure and provide controls and hearing protection as required by applicable rules.
Q
What should I do if my miter saw starts vibrating or making an unusual noise?
Stop the cut and allow the blade to come to a complete stop. Disconnect the power source before inspecting the blade, arbor, workpiece, guard, and other components. Do not continue operating the saw until the cause is identified and corrected. If the problem involves a damaged safety component or an issue you cannot safely diagnose, use qualified service support.
✦ Wrapping Up
Conclusion
Miter saw safety is a complete process rather than a single precaution. Before each cut, inspect the machine, verify that the guard works, secure the saw, inspect the material, establish stable support, choose the correct blade, and put on appropriate protective equipment. During the cut, keep your hands outside the danger zone, maintain control of the workpiece and saw head, and never bypass a safety feature.
After the cut, wait for the blade to stop completely before raising the head or handling the material. Disconnect the power source before blade changes, maintenance, or adjustments that require access to the cutting area. If the saw develops abnormal vibration, noise, electrical behavior, or guard problems, stop using it rather than trying to work around the fault.
For U.S. workplaces, applicable OSHA requirements provide an additional layer of protection, while manufacturers’ manuals provide model-specific operating instructions. For any miter saw, the safest routine is the same basic principle: control the machine, control the material, keep the cutting zone clear, and never trade safety for speed.
💡 Key Takeaway
Before your next cut, stop for a 30-second safety check: confirm the guard works, the saw is stable, the blade is appropriate and undamaged, the material is supported and secure, your hands are outside the danger zone, and your eye and hearing protection are in place. If any of those conditions is not satisfied, correct it before turning on the saw.