
A Brad Nail Guide helps homeowners, DIY users, and woodworkers understand when and how to use these small fasteners. Brad nails are popular in the United States because they work well for common home projects like installing baseboards, attaching cabinet trim, and building decorative pieces.
From my woodworking experience, choosing the right brad nail matters as much as choosing the right tool. A nail that is too long can damage material, while a nail that is too short may fail to hold parts together. This Brad Nail Guide explains sizes, uses, materials, and practical tips for better results.
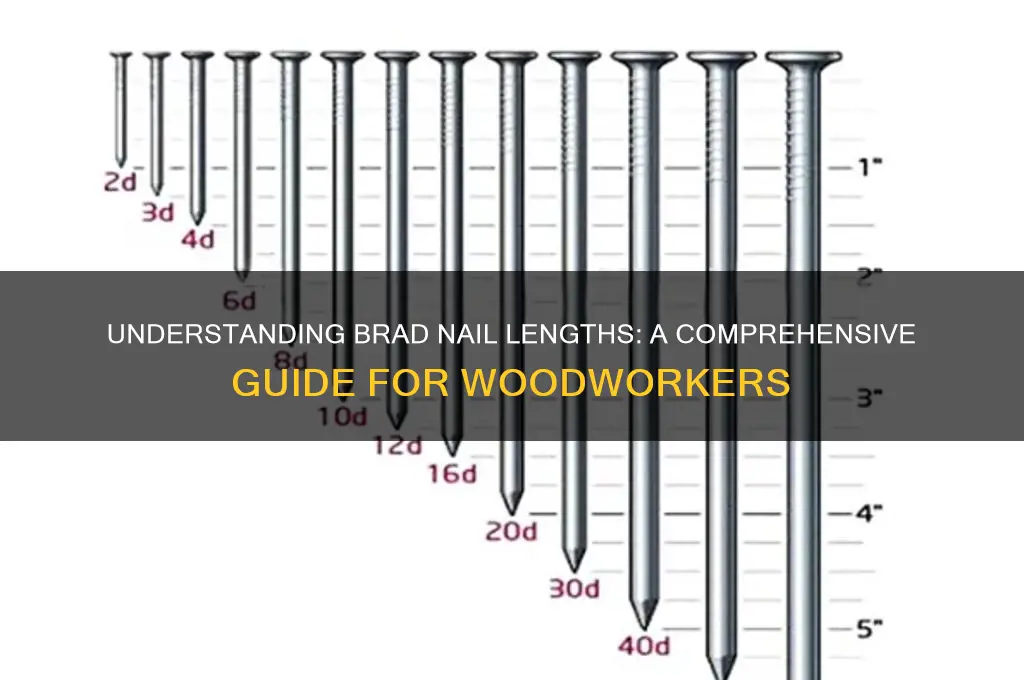
What Are Brad Nails?
Brad nails are thin metal fasteners made for delicate woodworking tasks. They usually have a small head that leaves a tiny mark after installation. This makes them useful when appearance matters.
A Brad Nail Guide starts with understanding that these nails are not designed for heavy structural work. They provide enough holding power for light materials while keeping surfaces clean.
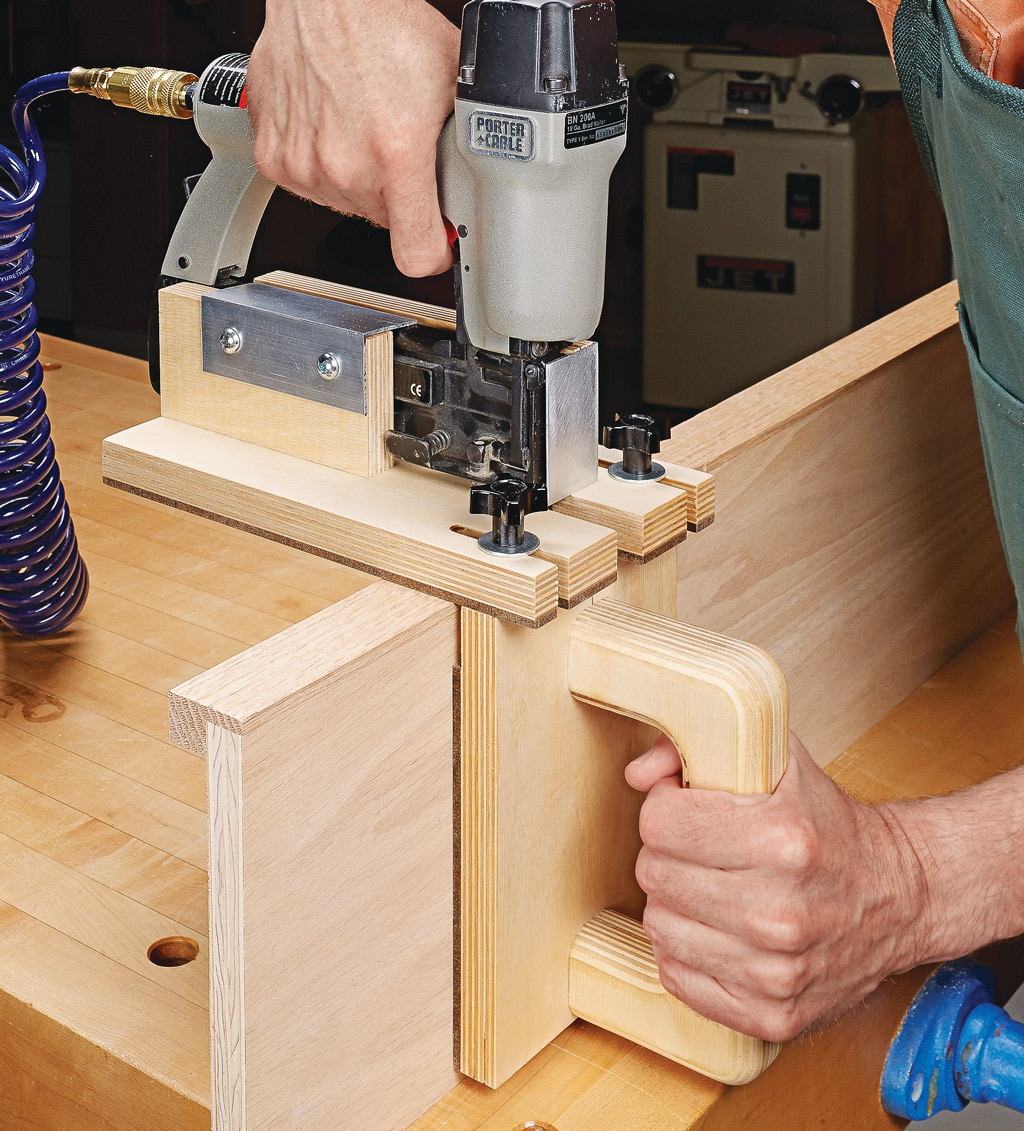
- ✦ Small diameter
Brad nails have a thin body that reduces the chance of splitting small wood pieces.
- ✦ Small nail head
The small head creates less visible damage and needs less filling before painting.
- ✦ Light woodworking use
They work well for trim, molding, crafts, and small furniture parts.
Brad Nail Sizes and Gauges Explained
Understanding size is one of the most important parts of any Brad Nail Guide. Brad nails are usually measured by gauge and length. The gauge describes the thickness of the nail.
Most DIY users and professionals choose 18-gauge brad nails. They offer good holding power while leaving small holes that are easy to hide.
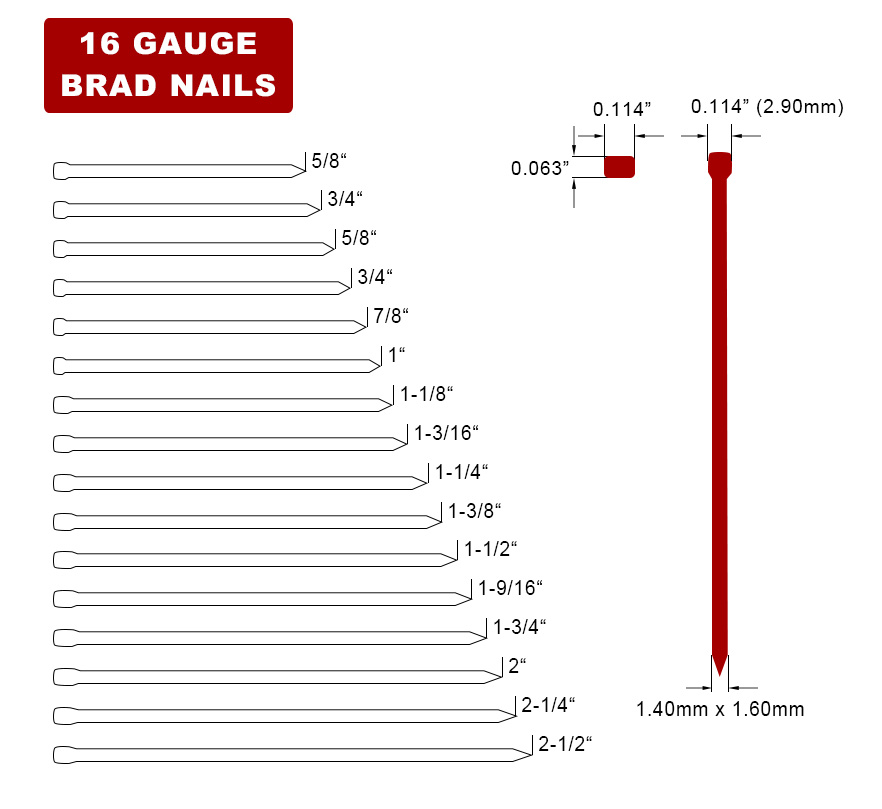
- ✦ 18-gauge brad nails
The most common option for trim, crafts, cabinet work, and general home projects.
- ✦ Brad nail lengths
Common lengths range from about 5/8 inch to 2-1/8 inches depending on the tool and project.
- ✦ Short nails
Short brad nails work best for thin materials like decorative panels and small crafts.
How to Choose the Right Brad Nail Length
The correct length depends on the thickness of the material. A common rule is to choose a nail that penetrates the base material by about three times the thickness of the attached piece.
For example, thin trim may need a shorter nail, while thicker molding may require a longer brad nail for secure attachment.
- ✦ Measure first
Check the thickness of both materials before selecting nail length.
Common Uses of Brad Nails
Brad nails are popular among American homeowners because they solve many small fastening problems. They are especially useful when a clean finish matters.
A Brad Nail Guide should include practical uses because the correct application improves both strength and appearance.

- ✦ Interior trim
Brad nails attach window trim, door casing, and decorative molding.
- ✦ Cabinet projects
They help secure cabinet face frames and small wood components.
- ✦ Craft projects
They work well for picture frames, small boxes, and hobby builds.
- ✦ Furniture repairs
They can reinforce lightweight furniture parts when screws are not suitable.
Brad Nailer vs Other Nailers
A Brad Nail Guide should explain the difference between nailers because each tool has a specific purpose. Brad nailers use thin nails, while other nail guns use thicker fasteners.
Brad nailers are easier to control for beginners. They also create smaller holes compared with finish nailers and framing nailers.

- ✦ Brad nailer
Best for thin trim, crafts, and detailed woodworking.
- ✦ Finish nailer
Better for thicker molding, furniture, and stronger joints.
- ✦ Framing nailer
Designed for large construction tasks that require high strength.
When Not to Use Brad Nails
Brad nails are not suitable for heavy load applications. They cannot replace screws or larger nails when strong structural support is required.
- ✦ Avoid structural work
Use stronger fasteners for decks, framing, and load-bearing projects.
How to Use Brad Nails Correctly
Using brad nails correctly improves safety and project quality. The process starts with choosing the correct nail size and setting the nailer depth.
Experienced woodworkers test nail depth on scrap wood before working on the final piece. This simple step prevents visible damage.
- ✦ Prepare the surface
Make sure materials fit tightly before driving nails.
- ✦ Adjust depth
Set the nailer so the nail sits slightly below the surface.
- ✦ Protect your hands
Follow tool safety rules and wear proper eye protection.
Brad Nail Materials and Finishes
Brad nails come in different materials and coatings. The best choice depends on where you plan to use them.
Indoor projects often use standard steel brad nails. Outdoor or moisture-prone areas need corrosion-resistant options.
- ✦ Galvanized brad nails
These resist rust better and work well in areas with more moisture.
- ✦ Stainless steel brad nails
These provide strong corrosion resistance for demanding environments.
- ✦ Standard steel brad nails
These are affordable and suitable for many indoor projects.