
A complete Hand Sanding Guide helps beginners and professionals create cleaner finishes without expensive machines. Hand sanding remains one of the most useful skills in woodworking, furniture repair, automotive work, and home projects across the United States.
After years of working with wood surfaces and finish preparation, one lesson stays clear: patience creates better results. The goal is not to remove material quickly. The goal is to create an even surface that looks and feels professional.

What Is Hand Sanding and Why Does It Matter?
Hand sanding is the process of smoothing or shaping a surface by moving abrasive paper across it by hand. It allows precise control over pressure, direction, and the amount of material removed.
Many professionals still use hand sanding even when power tools are available. Machines work well for large areas, but hands provide better feedback for corners, edges, curves, and delicate surfaces.
- ✦ Better surface control
Hand sanding lets you feel uneven areas and correct small flaws before applying paint, stain, or finish.
- ✦ Ideal for detailed work
Small furniture pieces, trim, carvings, and repairs often need careful hand sanding.
Essential Tools for Hand Sanding Projects
The right tools make hand sanding easier and more consistent. You do not need a large collection of equipment, but a few basic items can improve your results.
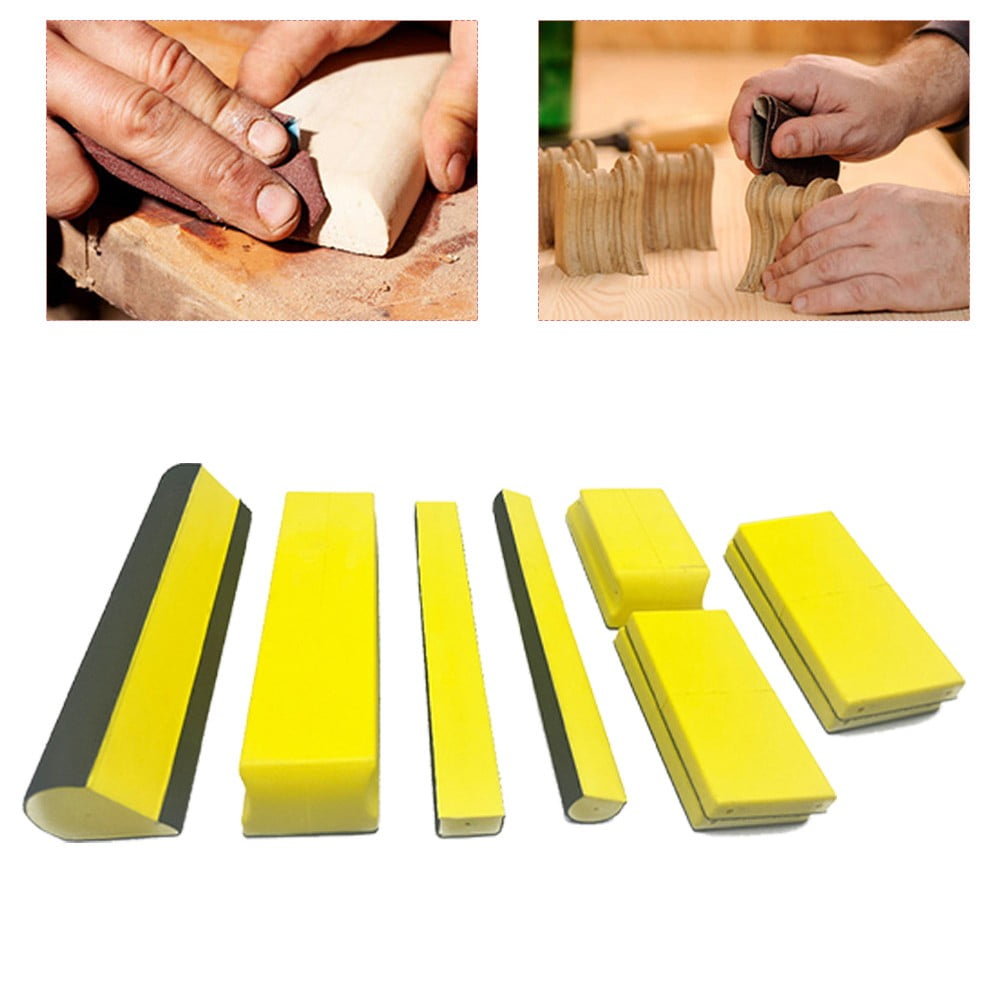
Most DIY users in the USA can complete common projects with quality sandpaper, a sanding block, a dust mask, and a clean workspace.
- ✦ Sandpaper
Use different grits for removing scratches, smoothing surfaces, and preparing finishes.
- ✦ Sanding block
A sanding block keeps pressure even and helps prevent dips on flat surfaces.
- ✦ Safety gear
Wear eye protection and a dust mask to reduce exposure to sanding particles.
Choosing Between Sandpaper and Sanding Pads
Traditional sandpaper works well for flat surfaces. Flexible sanding pads are better for curves because they follow the shape without leaving deep marks.
- ✦ Paper sheets
Best for furniture, boards, and general wood preparation.
- ✦ Sanding sponges
Useful for corners, rounded edges, and painted surfaces.
Understanding Sandpaper Grit for Hand Sanding
Sandpaper grit determines how rough or smooth the sanding action will be. Lower numbers remove more material, while higher numbers create a finer finish.
A common mistake in hand sanding is starting with a grit that is too aggressive. Always choose the least abrasive option that can complete the task.

- ✦ Coarse grit (40-80)
Used for removing old finishes, heavy scratches, and rough surfaces.
- ✦ Medium grit (100-150)
Used for general smoothing and preparing wood before finishing.
- ✦ Fine grit (180-320)
Used for final smoothing before paint, stain, or clear coats.
How to Move Through Sanding Stages
Move gradually from coarse to fine grit. Skipping too many stages can leave scratches that appear after finishing.
- ✦ Inspect often
Check the surface under good lighting between each sanding stage.
Step-by-Step Hand Sanding Technique
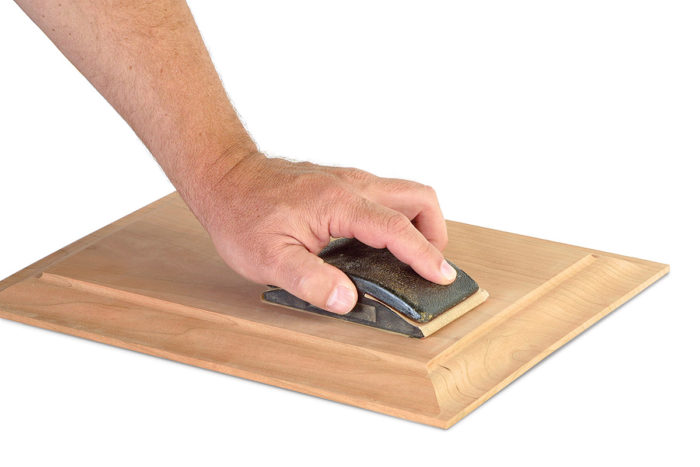
A proper Hand Sanding Guide should focus on technique because pressure and movement affect the final result. Use steady strokes and avoid rushing.
Before sanding, clean the surface and remove loose dirt. A clean surface helps the abrasive work evenly and prevents unwanted scratches.
- ✦ Step 1: Prepare the surface
Remove dust, grease, and loose material before sanding.
- ✦ Step 2: Sand with even pressure
Apply moderate pressure and let the sandpaper do the work.
- ✦ Step 3: Follow the grain
When sanding wood, move with the grain to reduce visible scratches.
Common Hand Sanding Mistakes
Pressing too hard is one of the most common mistakes. Heavy pressure can create uneven spots and wear out sandpaper faster.
- ✦ Ignoring dust removal
Dust left behind can create rough patches under finishes.
- ✦ Using one grit only
Different stages require different sandpaper grits.
Hand Sanding Wood, Drywall, and Other Materials
Hand sanding works on many materials, but each surface needs a slightly different approach. Wood requires attention to grain direction, while drywall needs gentle pressure to avoid damaging the paper layer.
A skilled approach comes from understanding the material before choosing your technique.

- ✦ Wood surfaces
Sand along the grain and remove dust between stages for a smooth finish.
- ✦ Drywall
Use fine sanding materials and light pressure to smooth joint compound.
- ✦ Painted surfaces
Use gentle sanding to improve paint adhesion before repainting.
Professional Tips to Improve Your Hand Sanding Results
Experienced woodworkers focus on small details that improve the final finish. Good lighting, clean tools, and regular surface checks make a major difference.
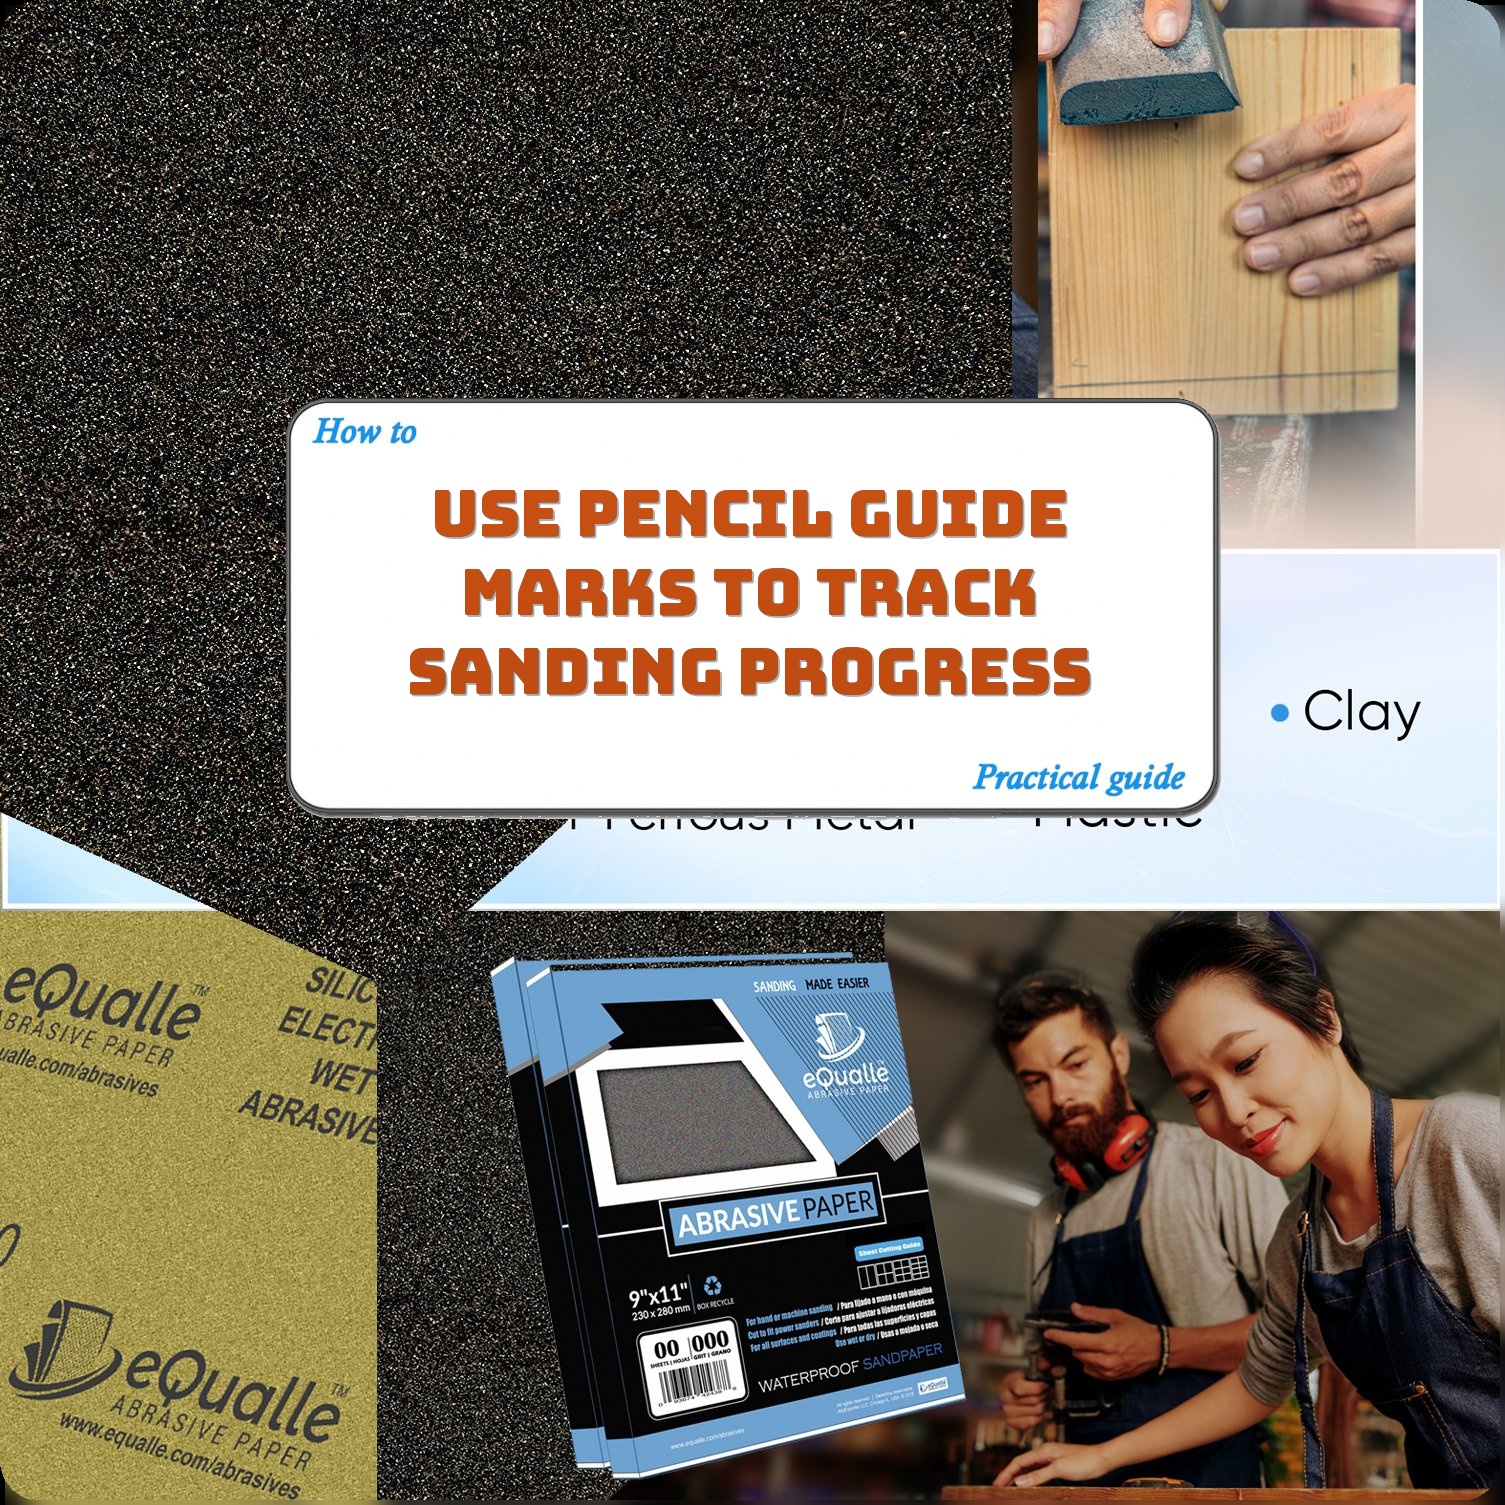
A simple pencil mark method can help track progress. When the marks disappear evenly, the surface is usually ready for the next stage.
- ✦ Use proper lighting
Strong side lighting helps reveal scratches and uneven areas.
- ✦ Keep sandpaper clean
Remove buildup to maintain cutting performance.