Miter saw accuracy depends on the blade being square to the table and fence, the miter and bevel stops being correctly calibrated, the workpiece being held securely, and the cut being verified with a reliable test method.
For U.S. DIYers, remodelers, trim carpenters, and woodworkers, a miter saw is often expected to make repeatable 90-degree crosscuts and accurate angled cuts with little additional work. That expectation is reasonable, but the angle printed on the saw scale is not enough by itself to prove that the blade is actually cutting at that angle. A saw can show zero on its pointer while the blade, fence, table, or stop is slightly out of alignment.
Miter saw accuracy is therefore best treated as a setup-and-verification process. Start with a clean, properly installed blade and a stable saw. Check the blade against the table and fence, calibrate the appropriate stops according to the manufacturer’s instructions, and then make test cuts in straight, flat scrap stock. This approach separates a machine-alignment problem from problems caused by the material, blade, clamping, or cutting technique.
Source: fix.com
What Miter Saw Accuracy Means
Miter saw accuracy describes how closely the actual cut matches the intended angle and position. For example, a 0-degree miter setting should produce a square crosscut, while a 45-degree miter setting should produce a 45-degree cut across the face of the material. Bevel accuracy refers to the blade’s tilt relative to the saw table. A compound cut combines both movements.
Accuracy and repeatability are related but different. A saw may repeatedly make the same cut while being consistently a small amount away from the intended angle. Conversely, a saw may be correctly calibrated but produce inconsistent results if the stock moves, the fence is not supporting the material properly, or the operator changes the cutting technique.
The practical goal is not to chase an abstract number on the scale. The goal is to establish a known reference, calibrate the machine to that reference, and verify the result with test material before committing expensive lumber or finished trim.
Source: images.squarespace-cdn.com
Miter angle
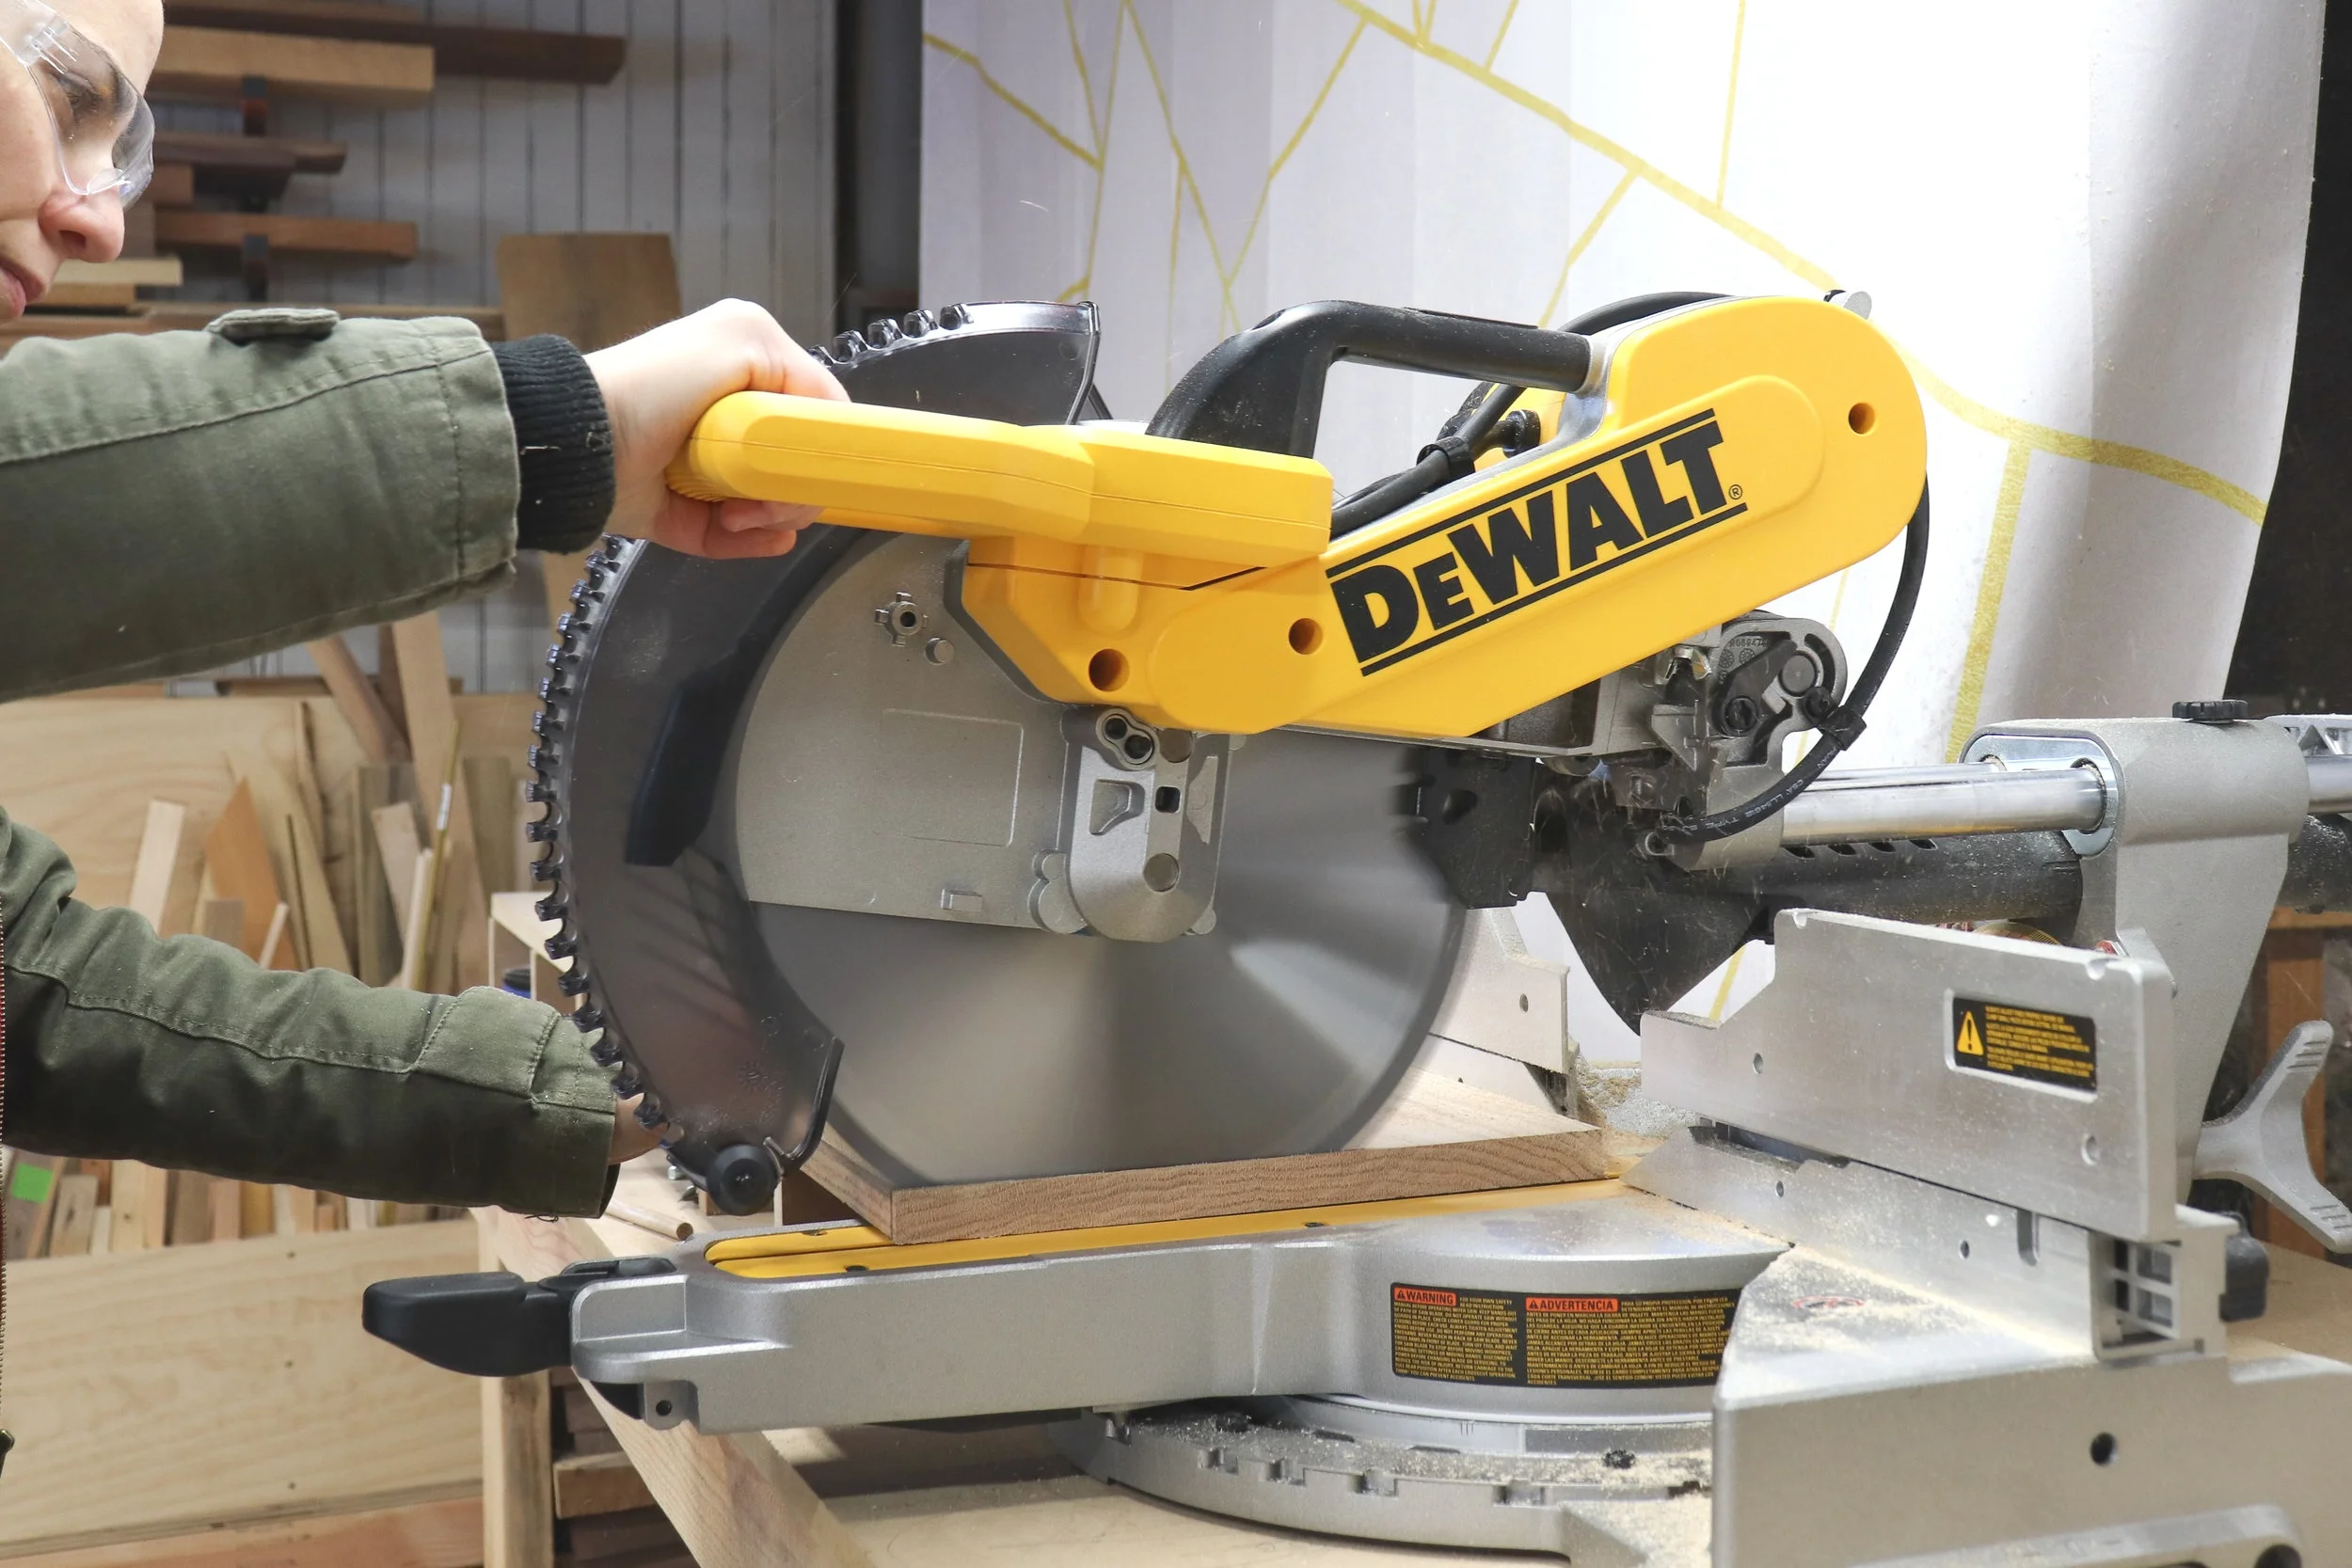
The blade pivots left or right across the workpiece. The zero-degree miter position is normally used for square crosscuts.
Bevel angle
The saw head tilts relative to the table. A zero-degree bevel should leave the blade perpendicular to the table.
Compound angle
A compound cut combines a miter setting and a bevel setting, so errors in either adjustment can affect the finished joint.
Repeatability
Repeatability means producing the same result across multiple cuts. It depends on both machine alignment and consistent workpiece positioning.
Why Small Angle Errors Matter
A small angular error can become visible when two pieces meet. For a hypothetical example, if one mating miter is cut 0.2 degrees away from its intended angle and the other piece has the same error in the same direction, the resulting joint can show a noticeable mismatch. Four-sided frames can make the problem even more obvious because several joints must work together.
The effect also depends on workpiece width and the type of joint. A small angular difference across a narrow board may be difficult to see, while the same angular error across wide casing or a large picture frame can create a much more obvious gap.
Wide stock magnifies visible gaps
The farther a joint extends from its pivot point, the more a small angular error can show at the edge.
Multiple miters compound the problem
Frames and boxes require several mating cuts, so small errors can accumulate across the assembly.
Tools You Need to Check Miter Saw Accuracy
You do not need an expensive calibration system to perform the basic checks. A good combination square or another verified square, a straightedge when needed, and some straight, flat scrap material are enough for most routine alignment work. A digital angle gauge can provide another reference for bevel settings, but it should complement rather than replace the manufacturer’s adjustment procedure.
The measuring tool must itself be trustworthy. A damaged or inaccurate square can cause you to calibrate a perfectly aligned saw incorrectly. Before using a square, check that its edges are straight and that the measuring faces are actually square to one another.
Source: theawesomer.com
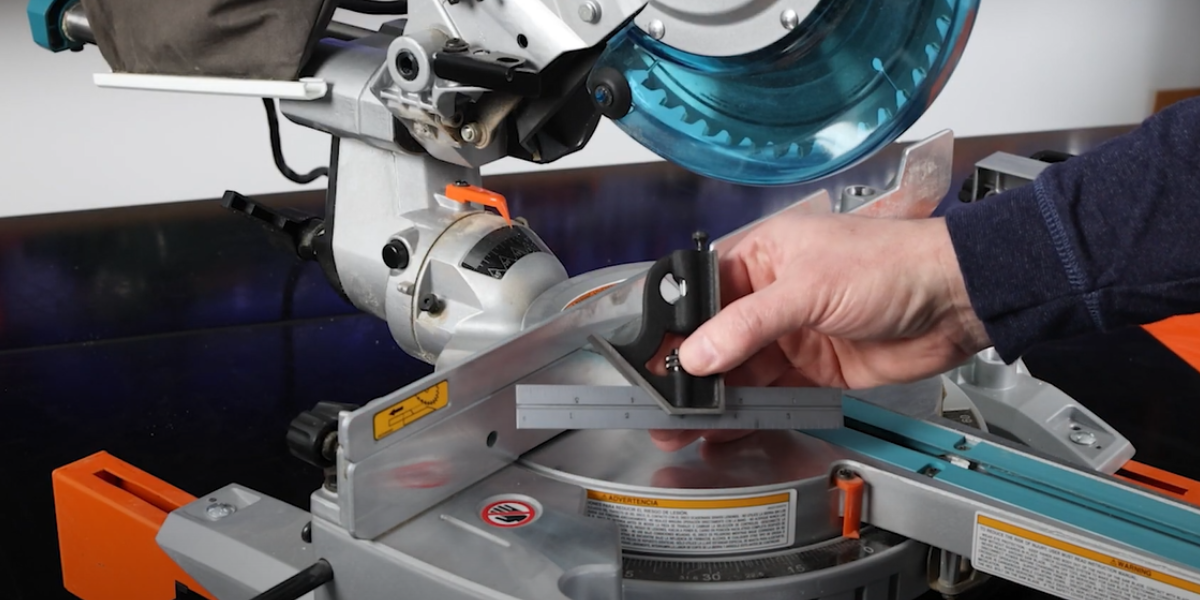
Combination square
Useful for checking the blade against the fence and table. Position the square against the blade body rather than the tooth tips.
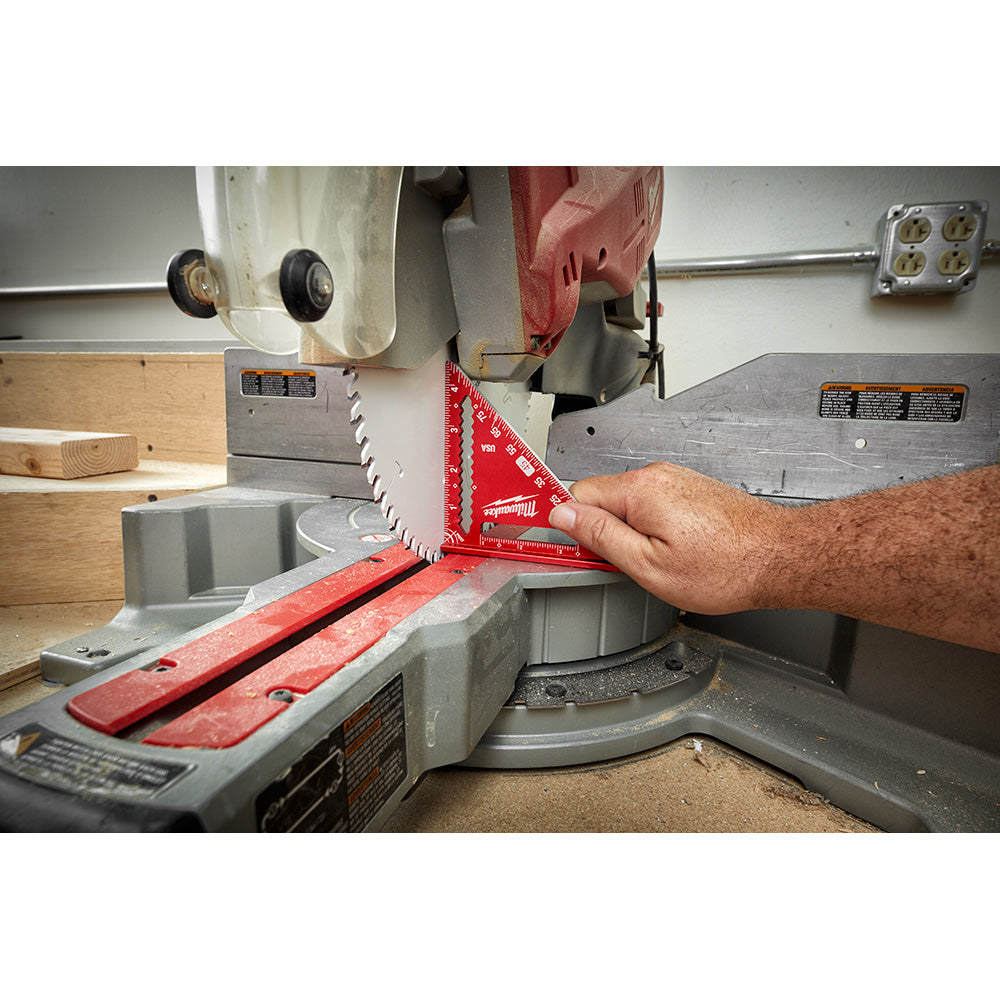
45-degree square or drafting triangle
Helpful for checking common 45-degree bevel settings when the tool provides a sufficiently long and accurate reference.
Straightedge
Useful for checking whether a fence or table has visible gaps, bowing, or unevenness.
Feeler gauges
Can help identify small gaps between a straightedge and a fence or table when the manufacturer’s procedure calls for that type of inspection.
Flat scrap stock
Straight, stable material provides a practical way to confirm whether the calibrated settings produce accurate cuts.
Use the Blade Body as the Reference
When checking squareness, avoid placing a square against the tips of the blade teeth. The teeth are shaped and set for cutting and can introduce a false reading or become damaged. Place the square against a suitable flat portion of the blade body, following the clearance and measurement method specified in the saw manual.
If the blade body is difficult to reference safely, use the manufacturer’s recommended calibration method rather than improvising around the guard, teeth, or arbor.
Do not force the square
Light contact is enough for a basic alignment check. Excessive pressure can flex the blade or disturb the measurement.
Check the tool first
Verify the square before using it as the reference for a machine adjustment.
How to Calibrate a Miter Saw for Better Accuracy
The safest calibration sequence is to disconnect the saw from its power source, inspect the machine, establish the zero-degree bevel, check the blade-to-fence relationship, and then verify the miter and bevel stops. Exact adjustment locations vary substantially by model, so the owner’s manual should control the procedure for your particular saw.
Do not assume that two miter saws from the same brand use the same adjustment hardware. Some models adjust the fence, while others adjust the miter detent or table assembly. Some saws have independent left and right fences, and sliding compound models may require additional clearance checks.
Source: media.popularwoodworking.com
1. Disconnect the saw
Unplug a corded saw or remove the battery from a cordless saw before making adjustments, changing accessories, or working around the blade.
2. Inspect the blade
Make sure the blade is correctly installed, appropriate for the material, and free from obvious damage. A dull or damaged blade can contribute to poor cutting results.
3. Check the 0-degree bevel
Set the saw at its zero-degree bevel stop and check the blade against the table with an appropriate square. Correct the stop according to the model-specific instructions.
4. Check the fence
At the zero-degree miter position, check that the blade is square to the fence. Depending on the saw, adjust the fence or the miter assembly.
5. Recheck the zero position
After making an adjustment, check the entire reference again. Tightening hardware can move the setting slightly, so the final position must be verified rather than assumed.
6. Calibrate the pointer
Only after the mechanical alignment is correct should you reposition a miter or bevel pointer to match the calibrated zero position.
7. Check common angle stops
After zero is correct, verify commonly used angles such as 45 degrees. Follow the manufacturer’s instructions for adjusting the specific stop.
Check the Blade Square to the Table
Set the saw to its zero-degree bevel stop and use the manufacturer’s recommended locking position. With the machine disconnected from power, place a reliable square on the table and reference it against the blade body. The reference should remain consistent along the portion of the blade being checked.
If there is a visible gap, locate the adjustment mechanism identified in the manual. Do not simply move the pointer to make the scale read zero. The pointer indicates a position; it does not physically correct the blade angle.
Correct the stop, not just the pointer
A pointer can be repositioned to display zero, but the underlying mechanical alignment must be corrected first.
Retest after tightening
Always repeat the square check after securing the adjustment hardware.
Check the Blade Square to the Fence
Set the miter mechanism at zero and place the square against the fence. Bring the blade down carefully according to the manufacturer’s procedure and compare the blade body with the square. A gap that changes along the blade indicates that the blade and fence are not correctly aligned.
Some saws use adjustable fences. Others use a fixed fence and require adjustment of the miter table or detent system. Two-piece fences require additional care because the left and right sections can be aligned individually but still fail to form one continuous reference surface.
One-piece fence
Typically adjusted as one assembly, although the exact hardware differs by saw.
Two-piece fence
Each section may need to be checked so that both sides agree with the blade and with each other.
Fixed fence
The miter assembly or detent system may need adjustment instead of the fence itself.
How to Test Miter Saw Accuracy With Real Cuts
A square check tells you about machine alignment, but a test cut tells you whether the complete cutting system is producing the intended result. Use straight, flat scrap material that is similar to the stock you plan to cut. Support the workpiece properly and keep the reference edge firmly against the fence.
For a basic 90-degree test, cut the end of a piece of scrap and check the cut with a reliable square. You can also make two pieces with matching cuts and bring the cut faces together. For 45-degree work, make mating miters and check the joint for gaps before cutting project stock.
Source: mobileimages.lowes.com
90-degree crosscut test
Make a crosscut on straight stock and check the cut face against a reliable square.
45-degree mating test
Cut two pieces at the intended angle and bring the miters together. A gap can indicate an angle, fence, material, or technique problem.
Four-piece frame test
For demanding frame work, cut four equal pieces and dry-assemble them. This exposes small angular errors that may not be obvious on a single cut.
Repeat-cut test
Cut several pieces against the same stop to determine whether the saw and workholding method produce consistent results.
What a Gap in a Miter Joint Can Tell You
A gap does not automatically mean the saw is miscalibrated. If the gap is consistent along the joint, an angle error is one possibility. If the gap changes when the stock is repositioned, look for movement, a bowed board, debris against the fence, or inconsistent support. If the problem appears only during long sliding cuts, check the sliding mechanism and cutting technique as well.
Testing several pieces is more informative than judging a single joint. A single defective board can create a misleading result, especially if the stock is warped, twisted, or not square.
Consistent gap
Can point toward an angle or alignment problem, but the material and blade should still be checked.
Changing gap
Can indicate stock movement, inconsistent support, fence debris, or variation in the workpiece.
Different results at different positions
Can indicate a fence, sliding mechanism, or alignment issue that changes with carriage position.
Common Causes of Poor Miter Saw Accuracy
When a calibrated saw still produces inaccurate cuts, check the entire cutting process rather than immediately recalibrating the machine. The blade, fence, table, workpiece, support setup, and operator technique all influence the final cut.
A common mistake is to adjust the saw repeatedly without identifying the symptom. Make one controlled change at a time and retest. Otherwise, you can correct one alignment issue while introducing another.
Source: thetoolstore.ca
Dull or damaged blade
A worn blade can cut poorly and may make it harder to produce clean, predictable results. Inspect the blade and replace it when appropriate.
Loose blade installation
An incorrectly installed blade or hardware problem can compromise cutting performance. Follow the blade installation procedure in the owner’s manual.
Uneven fence or table
A bowed or damaged reference surface can prevent the workpiece from sitting consistently against the intended alignment surfaces.
Workpiece movement
Stock that shifts during the cut can produce an inaccurate angle even when the saw itself is correctly aligned.
Poor material support
Long boards can move or sag when they are not adequately supported. Keep the stock stable and level with the saw table.
Debris against the fence
A small piece of sawdust or wood trapped between the stock and fence can change the workpiece angle.
Excessive cutting pressure
Forcing the blade through material can affect cut quality and may contribute to blade deflection or movement.
Sliding technique
Sliding compound saws require consistent carriage movement. Uncontrolled pressure or an inconsistent slide can affect the cut.
Troubleshooting by Symptom
If every square cut is wrong by a similar amount, start with the zero-degree bevel and blade-to-fence alignment. If zero-degree cuts are correct but 45-degree miters are wrong, inspect the relevant miter or bevel stop and then verify the actual cut. If cuts are accurate near the front but change as the slider travels, investigate the sliding mechanism and fence relationship.
If the saw checks square but finished joints still have gaps, examine the stock and workholding method before changing the calibration. A warped board, inconsistent reference edge, or small amount of movement can create a joint problem that looks like a machine problem.
All square cuts are off
Check the zero-degree bevel, blade-to-fence alignment, blade installation, and reference surfaces.
90 degrees is correct but 45 degrees is not
Check the appropriate 45-degree miter or bevel stop and verify it with a physical reference or test cut.
Cuts change along the sliding travel
Inspect the rails, carriage movement, fence alignment, and cutting technique.
Saw tests accurately but joints still have gaps
Check stock condition, fence cleanliness, support, clamping, and how the workpiece is being held during the cut.
How to Maintain Miter Saw Accuracy
Miter saw accuracy is easier to maintain when the saw is kept clean, the reference surfaces are protected, the blade is maintained, and the machine is checked after transportation or significant adjustment. A portable saw can experience movement during setup and teardown, so it is sensible to verify the zero position before precision work.
Keep the fence and table free of chips and debris, especially around the areas where stock contacts the reference surfaces. Inspect the blade regularly and use the correct blade for the material and type of cut. If the saw develops unusual vibration, binding, or mechanical looseness, stop using it and follow the manufacturer’s inspection or service guidance.
For repeat production work, use consistent stops and supports rather than measuring every piece independently. A properly positioned stop block can improve repeatability because each piece references the same physical location. The stop should be installed so it cannot interfere with the blade or trap the offcut.
Recheck after moving the saw
Transportation, folding stands, and jobsite setup can change alignment enough to justify a quick verification.
Clean the reference surfaces
Remove sawdust and chips from the table and fence before precision cuts.
Inspect the blade
Replace blades that are damaged, excessively worn, or unsuitable for the intended material and cut.
Use stable support
Keep long material properly supported so it does not lift, sag, or rotate during cutting.
Use repeatable stops
For multiple identical pieces, a correctly positioned stop can improve length consistency and reduce repeated measuring.
When to Recalibrate
Recalibrate when a reliable physical check or test cut shows that the saw has moved out of alignment. You may also want to verify alignment after transporting a portable saw, replacing a blade, making significant fence changes, or noticing a new pattern of inaccurate cuts.
Do not recalibrate simply because the pointer appears slightly different if the actual mechanical reference and test cuts are correct. Pointer position matters for convenient setup, but the physical relationship between the blade, fence, table, and workpiece determines the cut.
Before precision work
A quick verification can prevent a long series of incorrect cuts.
After transportation
Moving a saw can introduce alignment changes, particularly on portable jobsite setups.
After troubleshooting
If you identify a mechanical issue or change the fence or blade setup, verify the relevant reference angles again.
Frequently Asked Questions
Q
How accurate should a miter saw be?
The required accuracy depends on the work. General construction and trim work may tolerate more variation than fine furniture, picture frames, or tightly fitted cabinetry. Rather than relying on a universal accuracy number, verify the specific angle with a reliable reference and confirm the result with test cuts appropriate to the project.
Q
Why is my miter saw not cutting square?
Possible causes include an incorrect zero-degree bevel, fence misalignment, a damaged or improperly installed blade, an uneven reference surface, material movement, or poor support. Start with the machine’s basic alignment checks before changing multiple adjustments.
Q
How do I check if my miter saw is square?
Disconnect the saw from power and follow the manufacturer’s safety procedure. Use a reliable square to check the blade against the table and fence at the zero-degree settings. Then make a controlled test cut in straight scrap material and check the result. The blade body should be used as the measurement reference rather than the tooth tips.
Q
Why are my 45-degree miter cuts not meeting correctly?
Check the actual 45-degree miter setting first, then inspect the fence, bevel setting if the cut is compound, blade condition, and workpiece support. A bowed or twisted board can create a gap even when the saw is accurately calibrated. Make two controlled mating cuts in flat scrap before changing the saw’s calibration.
Q
Does a laser make a miter saw more accurate?
A laser or shadow line can help indicate where the blade will cut, which can improve positioning, but it does not correct the saw’s mechanical alignment. The blade still needs to be correctly aligned with the table and fence, and the final cut should be verified when accuracy matters.
✦ Wrapping Up
Conclusion
Good miter saw accuracy comes from alignment, verification, and consistent workholding rather than from the angle scale alone. Start by checking the blade, table, fence, and zero-degree settings. Calibrate the appropriate mechanical stops using the procedure for your specific saw, then verify common angles with a reliable square and controlled test cuts.
When a cut is inaccurate, do not immediately assume the machine needs another adjustment. Check the blade, stock, fence, support, debris, and cutting technique as well. Once the saw is correctly calibrated and the material is held consistently, repeatable cuts become much easier to achieve.
💡 Key Takeaway
Before your next precision project, disconnect the saw, verify the zero-degree blade and fence alignment with a reliable square, check the relevant angle stops, and make several test cuts in straight scrap before cutting finished material.