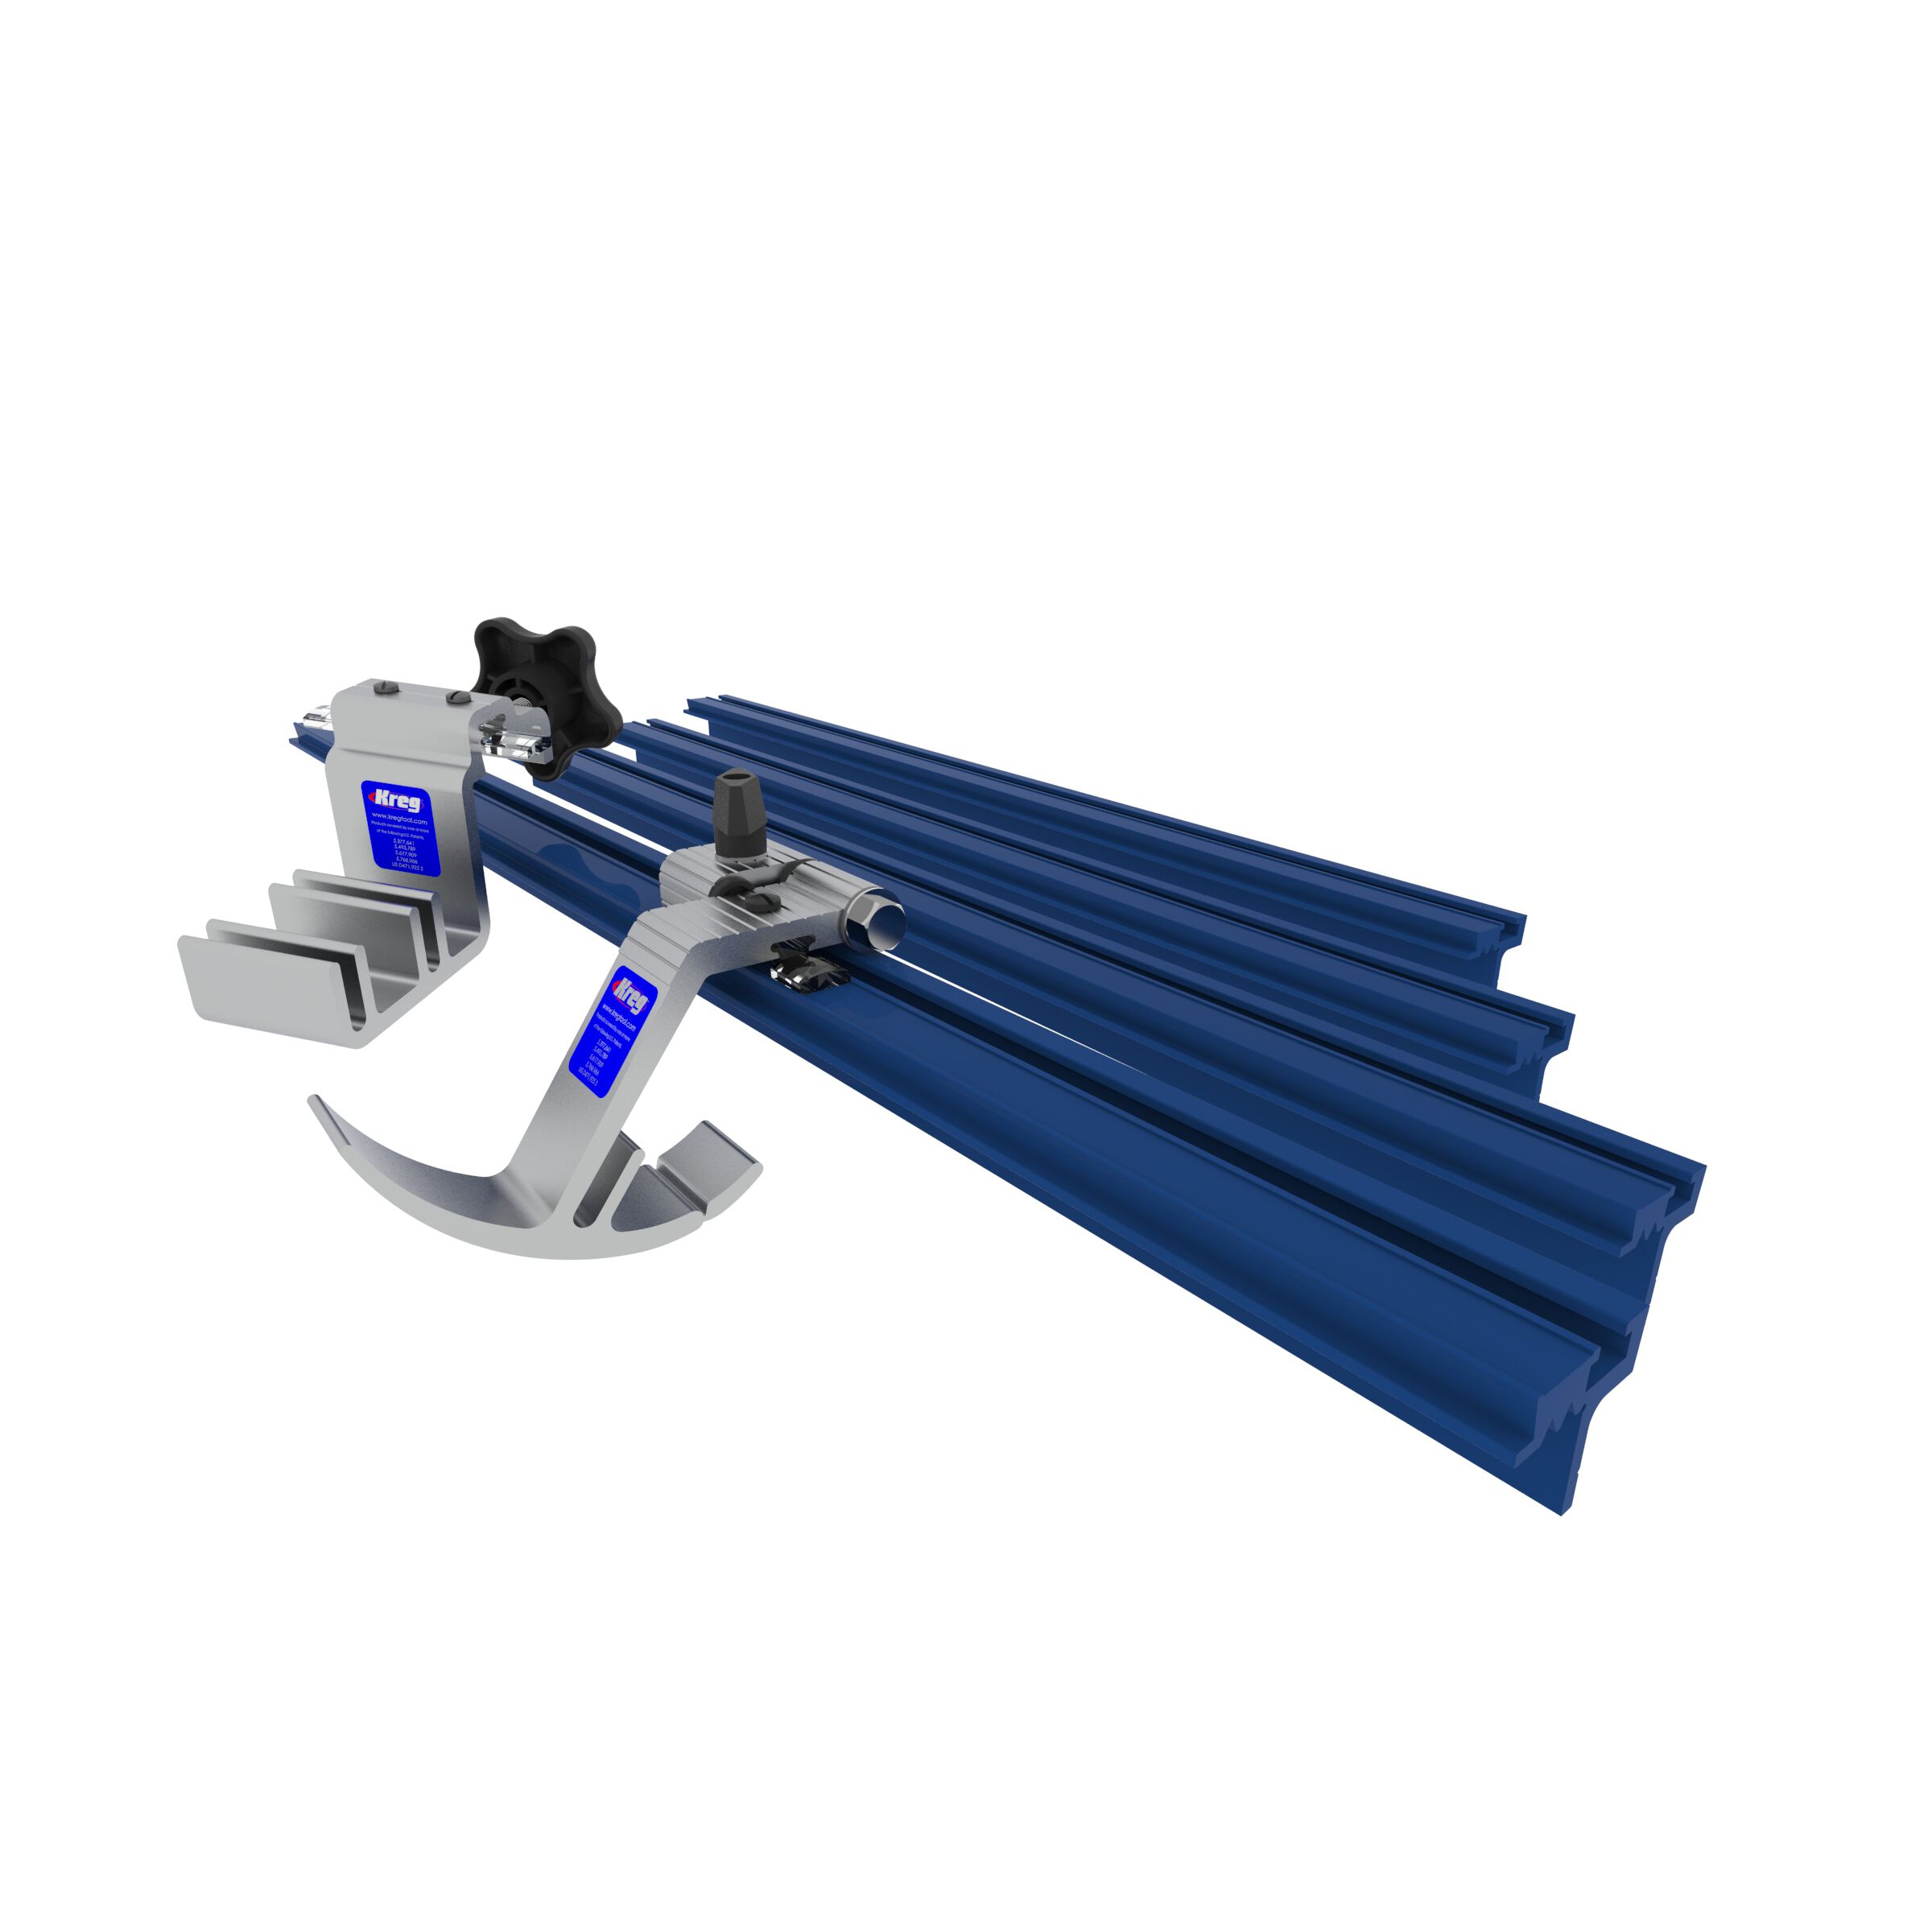
Miter saw extension wings are side supports that extend the saw table so long boards stay supported, level, and stable during a cut. A good setup keeps the wing surface aligned with the saw table and can include a continuous fence, measuring tape, and adjustable stop blocks.
For a typical U.S. woodworking shop or jobsite, miter saw extension wings are useful whenever the factory table is too short to support the lumber you need to cut. A 6-foot or 8-foot board can easily tip or sag when only a small section rests on the saw. Extension wings provide a larger support surface on one or both sides of the blade, making it easier to keep the workpiece against the fence while positioning the cut.
The most important dimension is not a universal wing length. The wing must match the actual height of your miter saw table, because even a small step between the saw and extension can affect how a board sits or moves. Commercial and shop-built systems also differ in how they attach, fold, support long stock, and provide measuring stops. For that reason, measure the specific saw, stand, and work you intend to use before building the wings.
Source: i.pinimg.com
What Are Miter Saw Extension Wings?
Miter saw extension wings are horizontal support surfaces installed to the left, right, or both sides of a miter saw. Their job is to extend the usable support area around the saw so long material remains supported as it approaches and leaves the blade.
A basic wing can be a simple plywood platform supported by a stand or cabinet. More advanced systems can include a raised rear fence, T-track, measuring tape, adjustable stop, folding legs, rollers, or removable mounting hardware. The underlying purpose remains the same: keep the workpiece stable and supported without interfering with the saw’s movement.
Extension wings should not be confused with cutting capacity. If a saw is rated to crosscut a particular width, adding a wider table does not allow the blade to cut beyond that specification. The wings improve workpiece support; they do not change the saw’s blade diameter, travel, throat opening, or rated cutting dimensions.
Source: boschtools.com
Support
The wing carries long stock so the material is less likely to sag, tip, or rotate while it is being positioned.
Reference
A continuous fence gives the workpiece a longer reference surface and makes positioning more consistent.
Repeatability
A properly calibrated stop allows multiple pieces to be cut to the same length without measuring each piece independently.
Why Long Boards Need More Support
A miter saw table may adequately support short trim pieces but provide limited control for long lumber. As the unsupported portion becomes longer, its weight can pull the board downward or cause it to pivot around the saw table. That movement can change the position of the cut and make it harder to keep the board firmly against the fence.
Extension wings reduce that unsupported span. For especially long boards, however, the wings may still be insufficient by themselves. Adjustable roller stands, outfeed supports, or other stable supports can be positioned farther from the saw when the material extends well beyond the wing.
The support should be level
The workpiece should rest on the wing without being forced upward or allowed to drop at the transition.
The support must remain stable
A wing that shifts under load can move the workpiece or destabilize the saw setup.
How Long and Wide Should Miter Saw Extension Wings Be?
There is no single correct wing length for every miter saw. Choose the length based on the longest material you regularly cut, the available shop or jobsite space, and the type of support and stops you want to install.
For a permanent shop station, longer wings can provide a convenient continuous work surface. A portable stand usually benefits from shorter or folding extensions that are easier to transport. Some commercial systems use modular sections so support can be expanded when required.
Width also matters. A narrow rail may support a board adequately near the fence but provide little surface area for wider lumber. A wider wing gives the material more contact area, although excessive width can increase weight and make a portable system harder to handle.
Source: kregtool.com
Permanent shop station
Consider longer fixed wings when the saw will remain in one location and you frequently cut long trim, framing lumber, or furniture parts.
Portable jobsite setup
Folding or removable wings reduce transportation and storage problems while still providing support during cutting.
Limited workspace
Use shorter or collapsible wings and add separate supports only when long stock requires them.
Measure the Saw Table Height First
Measure from the actual support surface of the miter saw table to the surface on which the wing will be built or mounted. Do not rely solely on the stated thickness of sheet material. Plywood, MDF, and other sheet goods can vary slightly from their nominal dimensions.
A practical method is to place the saw on its intended stand or bench, measure the table height, then build the wing structure around that measurement. Kreg’s documented miter saw wing plan uses the actual saw-table height to determine the riser dimensions, illustrating why a model-specific measurement is preferable to a generic dimension.
Use the installed saw
Measure after the saw is positioned at its normal working height, particularly when using a portable stand with adjustable legs.
Check both sides
Verify that the left and right support surfaces meet the same reference height before fastening everything permanently.
How to Build DIY Miter Saw Extension Wings
A simple DIY extension-wing system can be built from plywood or another stable sheet material, with a rigid structure underneath to keep the top at the same height as the saw table. The exact dimensions should be based on the particular saw and stand.
Before cutting material, decide whether the wings will attach to a cabinet, portable stand, folding brackets, or the saw itself. The mounting method determines how much reinforcement is needed and whether the wings can be removed without disturbing the saw’s alignment.
Source: osha.gov
Materials
Common shop-built systems use plywood, MDF, dimensional lumber, aluminum track, screws, bolts, brackets, or adjustable legs. Select materials that remain rigid under the expected workpiece load.
Tools
Typical construction requires a tape measure, square, straightedge, drill, saw, clamps, and suitable fasteners. A router may be useful for installing T-track.
Fence
Use a straight, rigid fence that connects cleanly to the saw’s existing fence without creating a step or obstruction.
Stops
Add a stop track or movable stop only after the wing and fence are accurately aligned.
Basic Construction Sequence
1. Position the miter saw on its final stand or bench and secure it according to the manufacturer’s instructions.
2. Measure the saw-table height from the actual work surface to the planned wing support structure.
3. Cut the wing components to length and build the supporting structure so the top surface reaches the measured height.
4. Temporarily position each wing beside the saw and use a straightedge to check the transition between the saw table and wing.
5. Secure the wings while maintaining the alignment. Do not permanently fasten a wing that is visibly high, low, twisted, or unstable.
6. Install the auxiliary fence if your design uses one. Keep the fence aligned with the saw fence and verify that it does not interfere with miter, bevel, or sliding movement.
7. Add a measuring system or T-track after the physical support and fence are correct.
8. Test the complete setup with power disconnected before making a first cut.
Sign of success
A straightedge can pass from the saw table onto the wing without catching on a raised edge, and a board can move onto the support without rocking at the transition.
If the wing is too high
Lower the support structure or adjust the mounting hardware rather than forcing the workpiece down against the raised section.
If the wing is too low
Raise the support using the intended adjustment mechanism or appropriate shimming that cannot shift under load.
Plywood, MDF, or Aluminum?
Plywood is a common choice for shop-built wings because it is relatively easy to cut and can form a rigid box structure. MDF can provide a smooth work surface but needs protection from moisture and careful support against sagging. Aluminum systems can provide a rigid, modular solution with lower bulk in some designs, but they generally require purpose-made hardware or a more specialized construction approach.
The best material depends on whether the priority is low cost, portability, durability, adjustability, or ease of construction. The surface material matters less than the finished system’s rigidity, alignment, and secure mounting.
Plywood
Useful for custom cabinets, boxes, folding wings, and shop-built stations.
MDF
Useful where a flat, smooth auxiliary surface is desired, provided the structure prevents sagging and protects the material from moisture.
Aluminum
Useful for modular or portable systems where adjustable tracks and lower structural bulk are valuable.
How to Align Miter Saw Extension Wings
Alignment is the most important part of installing extension wings. The wing should meet the saw table at the correct height and remain stable when a long board is placed on it. A wing that looks level by eye may still have a noticeable step or slope that affects how stock sits.
Start with the saw securely mounted and the power disconnected. Place a long, straight reference such as a quality straightedge across the saw table and wing. Check the transition near the saw and again farther along the wing. If the wing is adjustable, make small changes until the support surface is consistent.
Source: dewalt.com
Check for a high spot
A raised wing can cause a board to catch or rock as it moves across the support.
Check for sag
A wing that dips significantly under its own weight or under a workpiece load needs better structural support or an adjustment.
Check front-to-back alignment
The wing should not twist relative to the saw table or force the workpiece away from the intended fence line.
Recheck after tightening
Fastening hardware can change alignment as it is tightened, so verify the finished position rather than relying on the temporary setup.
Align the Fence Separately From the Table
A level wing surface does not automatically mean the auxiliary fence is aligned. Use a straightedge or known-straight board against the saw fence to check whether the extension fence creates a continuous reference line.
If the fence is used with a stop block, the stop should travel along a straight reference. A small fence error can become more noticeable when making repeated cuts farther from the blade.
Do not use the measuring tape to establish fence alignment
The tape provides a measurement reference; it does not prove that the physical fence is straight or parallel to the intended cutting reference.
Calibrate stops after alignment
Changing the fence position after calibrating a stop can change the effective measurement.
Adding a Fence, Measuring Tape, and Stop Block
Extension wings become much more useful when they include a reliable fence and repeatable stop system. The fence keeps the workpiece referenced to the same line as the saw, while a stop establishes a repeatable length for multiple pieces.
A stop system must be calibrated to the actual blade position. Do not assume that a printed measuring tape will be accurate simply because it is attached to the correct length of fence. Make a test cut, measure the resulting piece with a reliable tool, and adjust the stop or tape reference if necessary.
Source: kregtool.com
Fixed fence
A permanently aligned fence works well for a dedicated shop station.
Adjustable fence
A removable or adjustable fence can be useful when the saw needs to accommodate different operations or when the station must be portable.
T-track stop
A T-track provides a convenient path for an adjustable stop and can allow the stop to move away from the workpiece when it is not needed.
Flip stop
A flip-up stop can provide a fixed reference for repetitive cuts and move out of the way when the board must pass continuously along the fence.
How to Calibrate a Stop
Make a test piece with a known target length. Place the workpiece firmly against the fence and stop, then make the cut using the normal cutting technique. Measure the finished piece rather than relying on the scale alone.
If the test piece is too long or too short, adjust the stop reference and repeat the test. Once the measured result matches the intended dimension, lock the stop securely. Recheck calibration whenever the fence, track, blade, or stop mounting position changes.
Use the same reference direction
Keep the measuring reference consistent so the stop setting corresponds to the actual keeper-piece dimension.
Account for the blade kerf
The blade removes material, so measure the finished workpiece rather than treating the marked cut line as if the blade had zero thickness.
Extension Wings for Portable Miter Saw Stands
Portable stands need a different approach from permanent cabinets. The wing system must remain stable during cutting while also allowing the stand to fold, transport, or store without excessive bulk.
Commercial portable stands commonly use sliding support beams, adjustable material supports, rollers, or stops. A DIY version can use folding brackets, removable legs, or detachable wing panels. Whatever method you choose, the support must lock securely before cutting.
A portable setup should also be checked on the actual surface where it will be used. An uneven jobsite can change the height relationship between the saw, wing, and additional support. Adjustable legs or independent supports can help compensate for uneven ground.
Source: sigtools.co.nz
Folding wings
Useful when the stand must fit inside a truck, trailer, or compact storage area.
Removable wings
Useful when the saw is frequently transported and the extension system would otherwise add unnecessary weight.
Sliding supports
Useful when the required support length changes from one project to another.
Adjustable legs
Useful for maintaining a consistent support height on uneven surfaces.
When Separate Roller Supports Are Better
A wing is most useful when the material needs a broad, stable reference close to the saw. For very long stock, separate roller or material supports may be more practical farther from the blade. They can provide support without making the miter saw station extremely wide.
The external support should be adjusted so it supports the workpiece rather than lifting it above the saw table. If the support is too high, the board can pivot or lose full contact with the saw fence.
Use broad support for unstable stock
Wide boards may benefit from a flat platform rather than a narrow roller.
Use rollers for long straight stock
A roller can reduce friction when long material needs to move along the support surface.
Common Problems With Miter Saw Extension Wings
Most extension-wing problems come from incorrect height, inadequate support, fence misalignment, loose mounting, or an uncalibrated stop. Troubleshoot the physical support before trying to correct cutting errors with the stop or measuring tape.
If a board rocks as it crosses the wing, first check the wing height and surface flatness. If repeated cuts vary in length, inspect the fence, stop, workpiece contact, and blade position. If the entire saw moves when long stock is placed on the wing, improve the stand or mounting before making further accuracy adjustments.
Source: osha.gov
Board rocks at the wing transition
Likely causes include a wing that is too high, too low, twisted, or not supported adequately.
Repeated cuts vary in length
Check that the stop is locked, the workpiece is fully against the fence, and the fence and measuring system have been calibrated.
Wing moves during a cut
Check mounting hardware, brackets, legs, and the stability of the stand before using the setup again.
Board pushes away from the fence
Inspect fence alignment and make sure the wing or auxiliary fence is not forcing the board into an unintended position.
Saw becomes unstable
Reduce the unsupported workpiece span and improve the stand or external support. Do not compensate by holding an unstable board by hand.
Safety Checks Before Cutting
Disconnect power while installing, adjusting, or inspecting the extension system. With the blade stopped and power isolated, move the saw through every intended miter, bevel, and slide position. Check that the blade guard, motor housing, handle, fence, clamps, dust hose, battery, and workpiece supports have adequate clearance.
Use the saw manufacturer’s instructions for mounting and operating requirements. Wear appropriate eye and hearing protection, keep hands outside the blade’s danger area, and secure material as required by the saw manual. Never use another person as a substitute for a proper support table or extension system.
Before a cut, make sure the stand and saw are stable, the wing hardware is locked, the workpiece is properly supported, and no stop or clamp can enter the blade path. Allow the blade to stop before raising the saw head after the cut.
Do not exceed the saw’s rated capacity
Extension wings provide support but do not change the manufacturer’s cutting-capacity limits.
Keep supports out of the blade path
A stop, fence fastener, clamp, or other hardware must never occupy the path of the blade.
Do not rely on hand support for unstable stock
Use a properly designed wing, stand, roller, or other stable support instead of asking another person to hold long material.
Frequently Asked Questions
Q
Do miter saw extension wings increase cutting capacity?
No. Extension wings increase the support area around the saw, but they do not increase the blade’s cutting width, depth, slide travel, or rated capacity. Use the cutting limits stated in your specific saw’s manual.
Q
How high should miter saw extension wings be?
The finished wing surface should align with the actual support surface of the miter saw table. Measure the installed saw rather than assuming a universal height. The goal is a stable transition where the workpiece does not have to climb onto or drop down from the wing.
Q
What is the best material for DIY miter saw wings?
Plywood is a practical choice for many shop-built systems because it is easy to cut and can be assembled into rigid box structures. MDF can provide a smooth surface but needs adequate structural support and protection from moisture. Aluminum is useful for modular systems but generally requires more specialized hardware.
Q
How long should miter saw extension wings be?
Make them long enough for the material you commonly cut while considering available space and portability. A permanent shop station can use longer wings, while a portable stand may be better served by folding or removable extensions combined with separate roller supports.
Q
Do I need a fence on miter saw extension wings?
A fence is not required for every simple support setup, but a properly aligned auxiliary fence is valuable when you need consistent workpiece positioning or repeatable cuts. If you install one, verify that it remains aligned with the saw fence and does not interfere with miter, bevel, or slide movement.
Q
Can I use extension wings with a sliding compound miter saw?
Yes, but the wing design must allow the saw head and slide mechanism to move through their full range. With power disconnected, test every intended miter, bevel, and slide position before making a cut. The fence and support layout should not obstruct the rear travel of the saw.
✦ Wrapping Up
Conclusion
Miter saw extension wings solve a simple but important problem: they give long workpieces more stable support before and after the cut. A well-built system can also provide a longer fence, measuring reference, and repeatable stop without changing the saw’s rated cutting capacity.
For a DIY setup, begin with the actual saw-table height, then build a rigid support structure around that measurement. Align the wing with the saw table, align the auxiliary fence with the saw fence, and calibrate any stop using real test cuts. For portable work, prioritize secure locking, manageable weight, and adjustable support.
Once the physical structure is stable and accurately aligned, extension wings can make repetitive crosscutting easier to control and reduce the problems caused by unsupported long stock.
💡 Key Takeaway
Measure your installed miter saw table height first, design the wings around that measurement, align the support and fence with a straightedge, and test the complete setup with power disconnected before making the first cut.