
Wood sanding is one of the most important steps in woodworking. A good sanding job can turn rough boards into smooth furniture, clean cabinets, and beautiful home projects. In the United States, many DIY homeowners use sanding to restore old furniture, prepare decks, and improve custom woodworking projects.
After years of working with wood projects, one lesson becomes clear: sanding is not about removing as much material as possible. It is about controlling the surface. The right pressure, correct sandpaper, and steady movement create a finish that looks professional and lasts longer.
What Is Wood Sanding and Why Does It Matter?
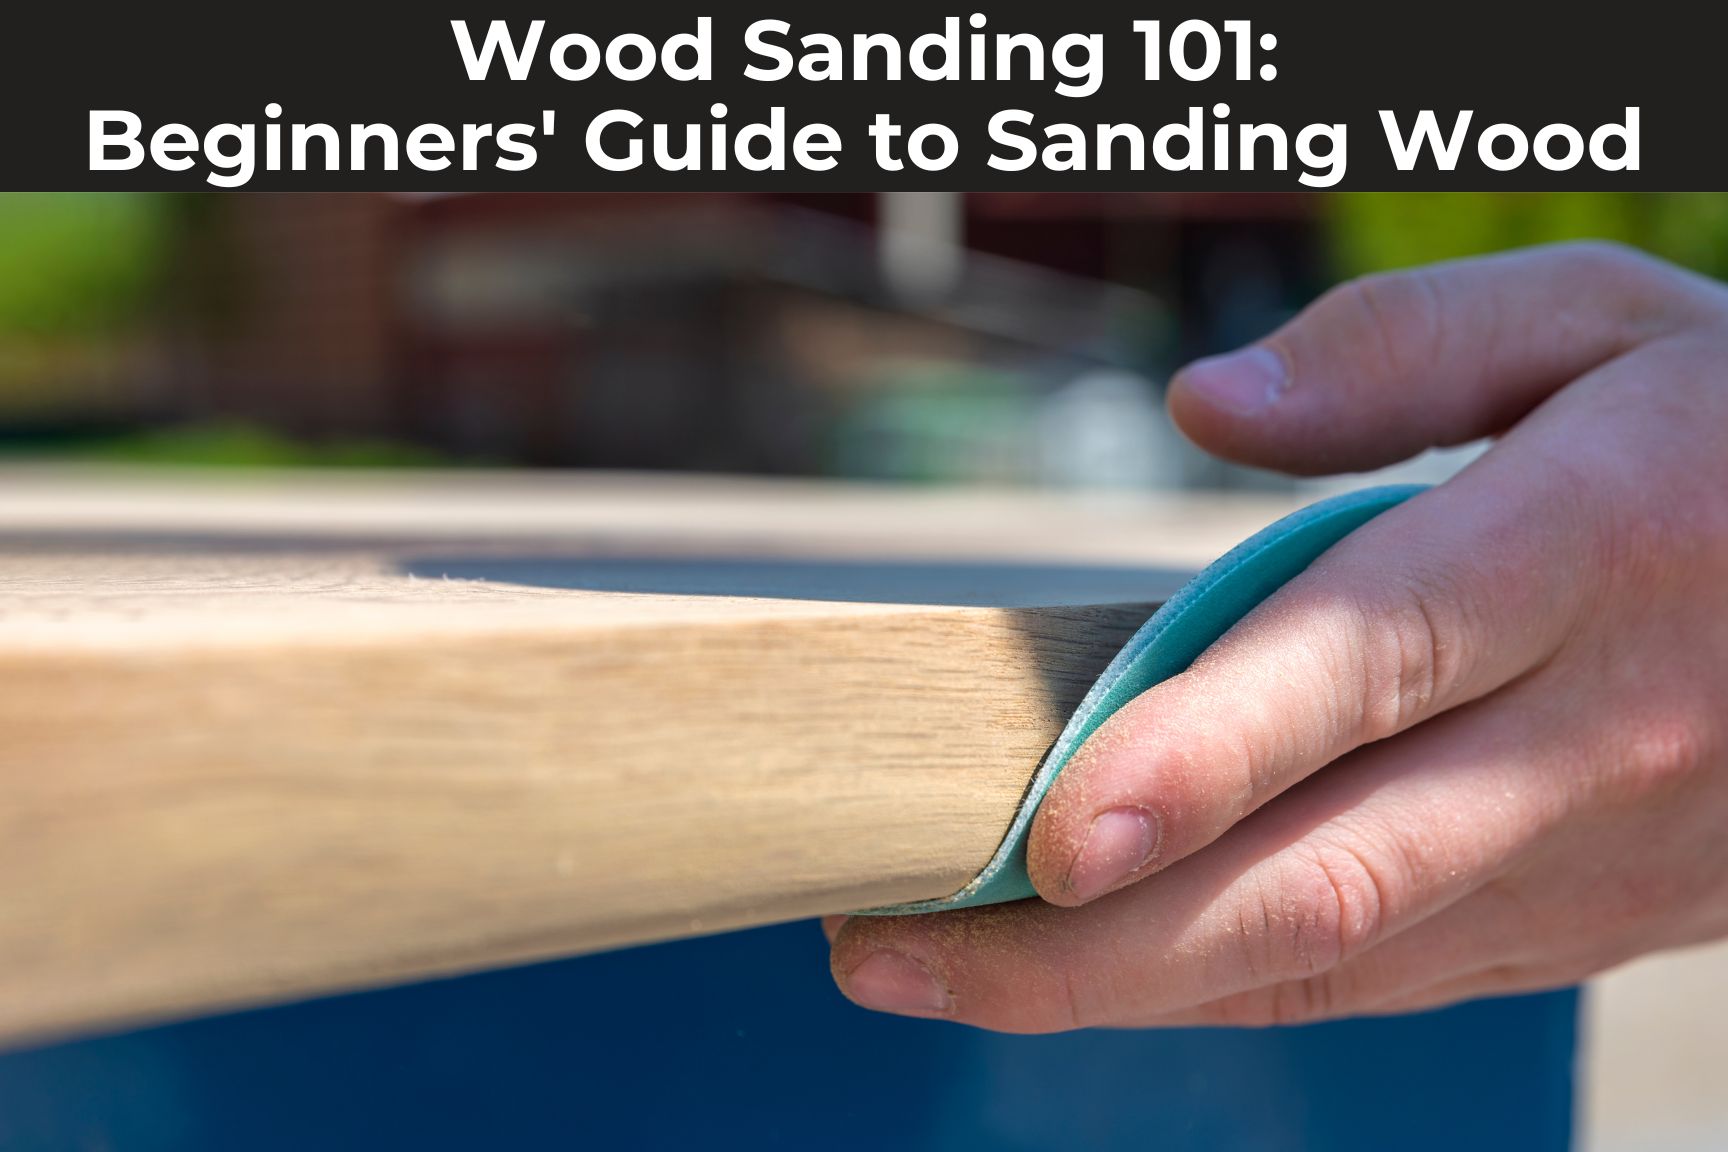
Wood sanding is the process of using abrasive materials to smooth, shape, and prepare wood surfaces. Sandpaper removes small imperfections, old finishes, rough fibers, and tool marks from wood.
A proper Wood Sanding Guide helps beginners and professionals understand that sanding affects the final look of a project. Paint, stain, and clear finishes all perform better when applied to a clean and smooth surface.

- ✦ Creates a smooth surface
Sanding removes bumps, scratches, and rough areas that affect the final appearance.
- ✦ Improves finish quality
A well-sanded surface allows stains, oils, and paints to absorb more evenly.
- ✦ Protects the wood
Smooth wood surfaces collect less dirt and are easier to maintain.
How Sanding Changes Wood Fibers
Wood has natural fibers that can rise after cutting or adding moisture. Sanding gently removes these raised fibers and creates a cleaner surface.
The goal is not to flatten every natural detail. Good sanding keeps the character of the wood while removing unwanted roughness.
Understanding Sandpaper Grit for Wood Projects
Choosing the correct sandpaper grit is a key part of any Wood Sanding Guide. Grit refers to the size of abrasive particles on sandpaper. Lower numbers remove material faster, while higher numbers create smoother finishes.
Most woodworking projects use several grit levels. Starting with a rough grit and slowly moving to finer grit helps remove marks without damaging the wood.

- ✦ Coarse grit (40 to 80)
Used for removing old finishes, deep scratches, and uneven surfaces.
- ✦ Medium grit (100 to 150)
Used for smoothing rough sanding marks and preparing unfinished wood.
- ✦ Fine grit (180 to 220)
Used before staining or finishing for a smooth touch.
Why You Should Not Skip Grit Levels
Skipping too many grit levels can leave visible scratches behind. Each sanding stage should remove the marks created by the previous stage.
For example, moving from 80 grit directly to 220 grit often wastes time because the fine paper cannot remove deep scratches quickly.
Essential Tools for Wood Sanding
The right sanding tools make the work faster and more comfortable. Hand sanding works well for small projects, while power sanders help with large surfaces like tables, doors, and cabinets.
A professional Wood Sanding Guide should include both basic and advanced tools because each tool has a specific purpose.

- ✦ Sandpaper
Available in different grits for removing material and creating smooth finishes.
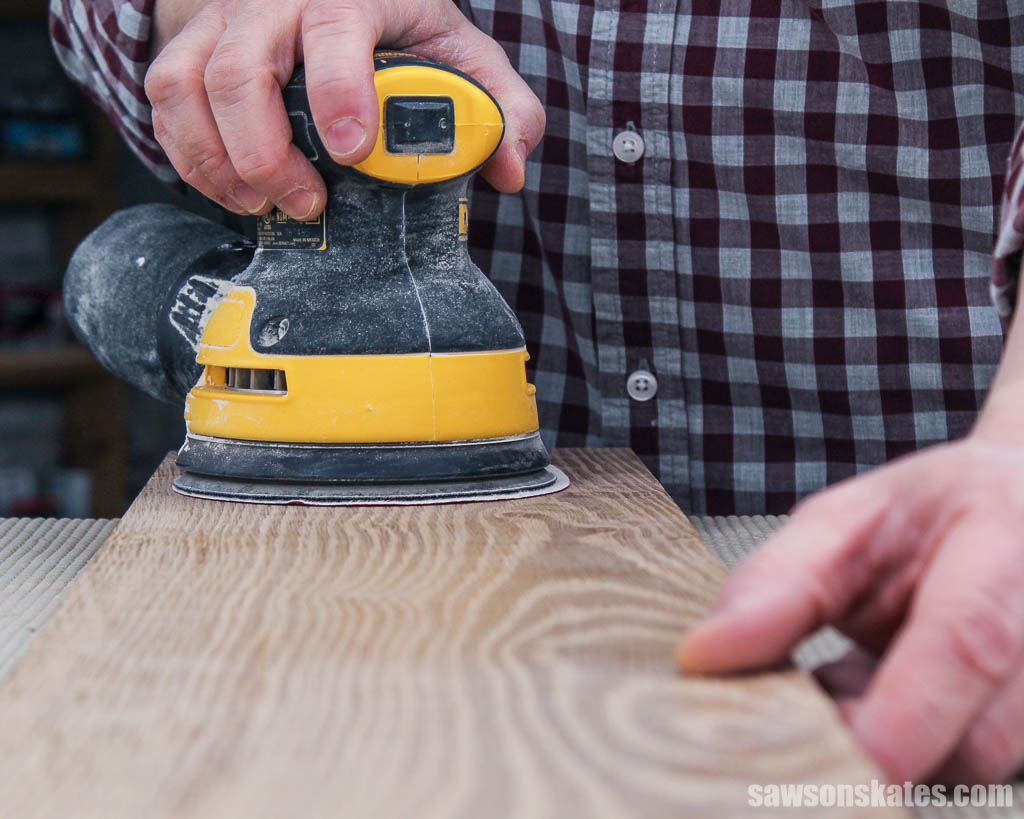
- ✦ Random orbital sander
A popular tool for furniture projects because it creates smooth results with fewer swirl marks.
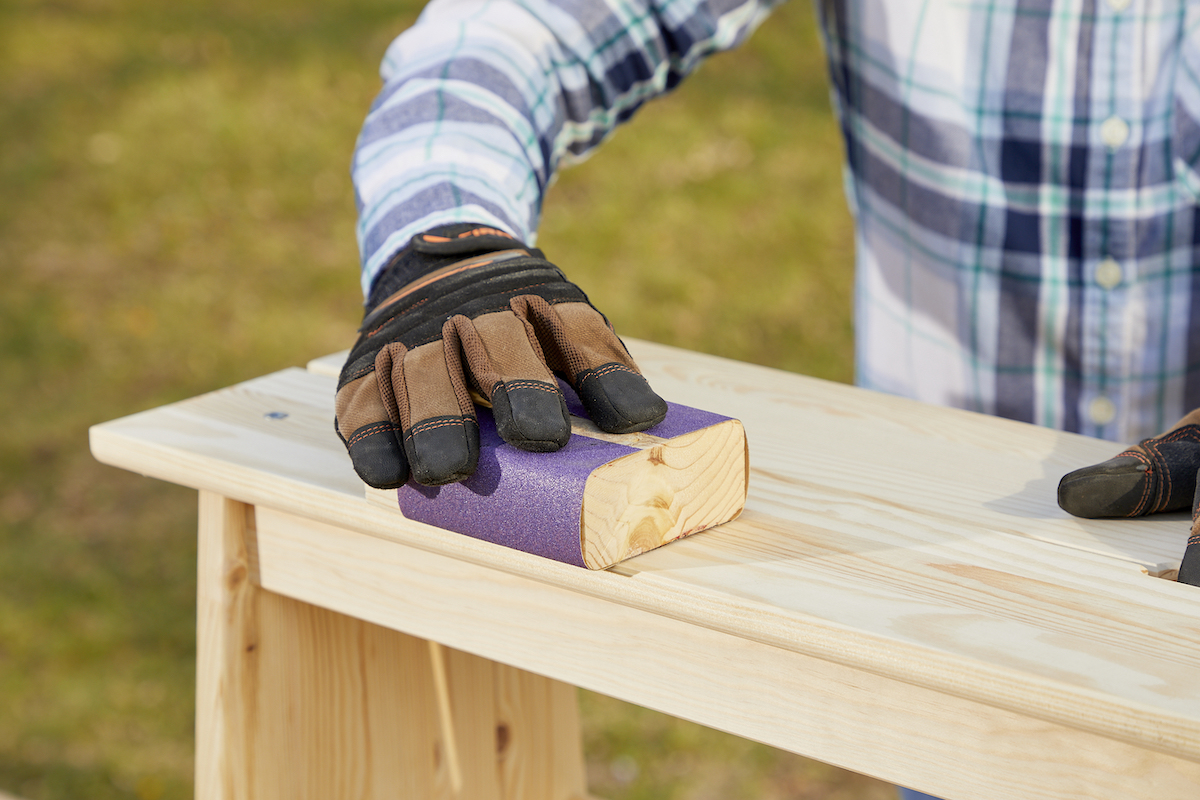
- ✦ Sanding block
Provides even pressure during hand sanding and helps keep surfaces flat.
- ✦ Dust collection system
Reduces airborne dust and keeps the workspace cleaner.
Choosing Between Hand Sanding and Power Sanding
Hand sanding gives more control and works well on corners, small repairs, and delicate surfaces. Power sanding saves time on large flat areas.
Many experienced woodworkers combine both methods. They use machines for speed and hand sanding for final details.
Step-by-Step Wood Sanding Process
Following a clear process makes sanding easier and prevents common mistakes. A careful approach gives better results than rushing through the job.
This Wood Sanding Guide recommends preparing the workspace first, then sanding in stages until the surface feels smooth.
- ✦ Step 1: Prepare the wood
Remove dirt, nails, hardware, and loose finish before sanding.
- ✦ Step 2: Start with rough grit
Use coarse sandpaper to remove major flaws and level the surface.
- ✦ Step 3: Move to finer grit
Sand with medium and fine grits to create a smooth finish.
- ✦ Step 4: Clean the dust
Remove all dust before applying stain, paint, or protective coating.
Sand With the Grain
Always follow the direction of the wood grain when possible. Sanding across the grain can create scratches that become visible after finishing.
This simple habit is one of the biggest differences between beginner work and professional-looking results.
Common Wood Sanding Mistakes to Avoid
Many sanding problems happen because people rush or use the wrong method. Learning these mistakes can save time, money, and materials.
A reliable Wood Sanding Guide focuses on control. Too much pressure or poor preparation can damage even high-quality wood.
- ✦ Using too much pressure
Heavy pressure can create uneven surfaces and damage sanding pads.
- ✦ Skipping surface cleaning
Dust and debris can create scratches during sanding.
- ✦ Using one grit only
A single grit usually cannot provide both correction and a smooth finish.